Topaz Labs’ Software Dramatically Improves My Astrophotography
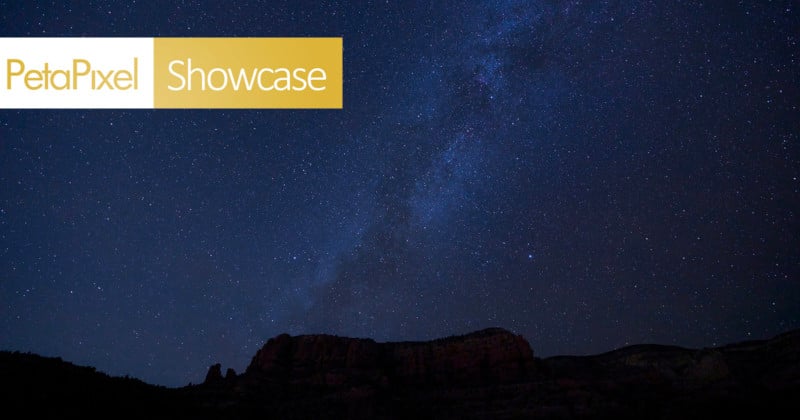
Astrophotography is a discipline rife with compromises. It’s a battle of shutter speed, aperture, and ISO with no one combination being completely ideal. That’s where Topaz Labs in the edit comes to the rescue.
Topaz Labs’ most popular Image Quality Bundle that includes Sharpen AI, DeNoise AI, and Gigapixel AI normally costs $259.97. But through the end of today, November 29, the company has a big Cyber Monday discount on the software: the Image Quality bundle can be picked up for $99.99, which is a 60% savings off its regular retail price. If you’re into video work, you can get their “Everything Bundle,” which includes these three photo apps and Video Enhance AI for just $199.98 (normally $559.96). If bundles aren’t for you, you can still get 25% off individual licenses of DeNoise AI, Sharpen AI, and Gigapixel AI. Additionally, Video Enhance AI is available for $99.99, a 67% savings from the regular price of $299.99.
Topaz Labs sponsored this Showcase so that I could show you how I use the Image Quality bundle to improve my astrophotography. Previously, I shared how I use these programs to enhance my bird photography as well as my wildlife photography. The bottom line is that I’ve trusted this bundle for years to provide me with the best finished images that solely relying on Capture One, Lightroom, or Photoshop can’t.
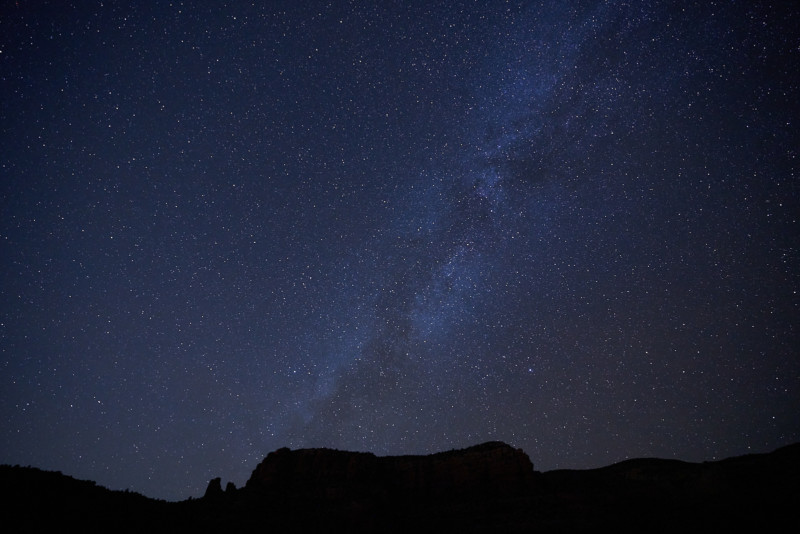
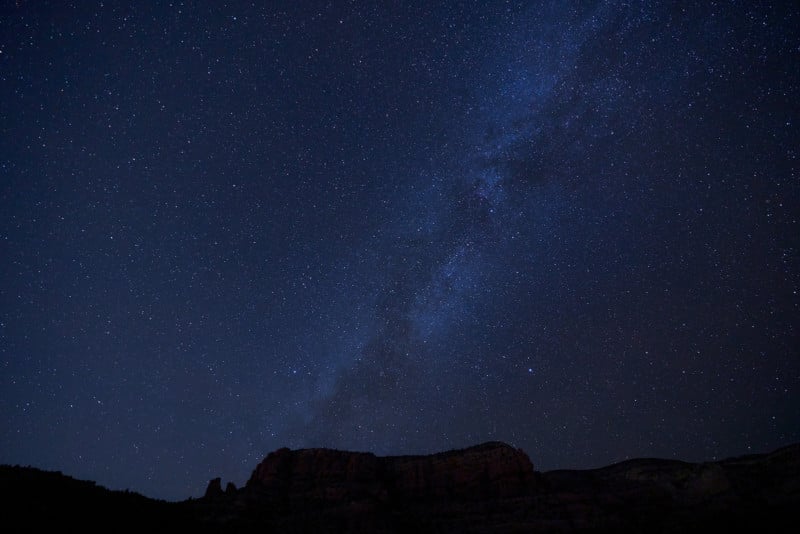
For this particular astrophotography photo, I first begin in Capture One where I make basic adjustments to my taste. I began by adjusting the warmer color temperature near the horizon with a linear gradient mask so that it would not be so conspicuous. I also slightly raised the exposure of the landscape to bring in a hint of detail. Lastly, I evened out the vignetting. Once that was completed, I brought the file into Photoshop where I could work with better cloning and masking tools than Capture One provides, but also start my work with Topaz Labs DeNoise AI and Sharpen AI on independent layers.
Topaz Labs DeNoise AI
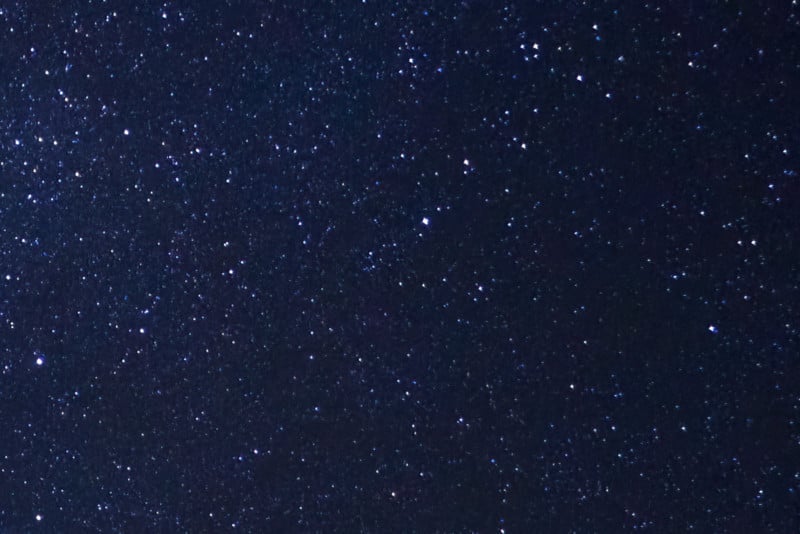
The first program I hit is DeNoise AI. From Photoshop, all I do is go to Filter > Topaz Labs > Topaz DeNoise AI. This photo was taken at ISO 6,400 with the Sony Alpha 7R III which resulted in a good amount of noise that’s especially visible in the darkest areas. From experience, however, it’s certainly still within the capabilities of DeNoise AI to cleanly recover.
The sidebar inside DeNoise AI has everything laid out in simple terms and honestly does a great job at hiding how powerful this program really is once you start tweaking the settings. The first step is to choose the AI Model that appears to work best for the particular photo. This can either be automatically chosen based on the file’s metadata or picked manually. In this case, I picked Low Light as it seemed to work well with dealing with the noise and at the same time bringing out faint star details.
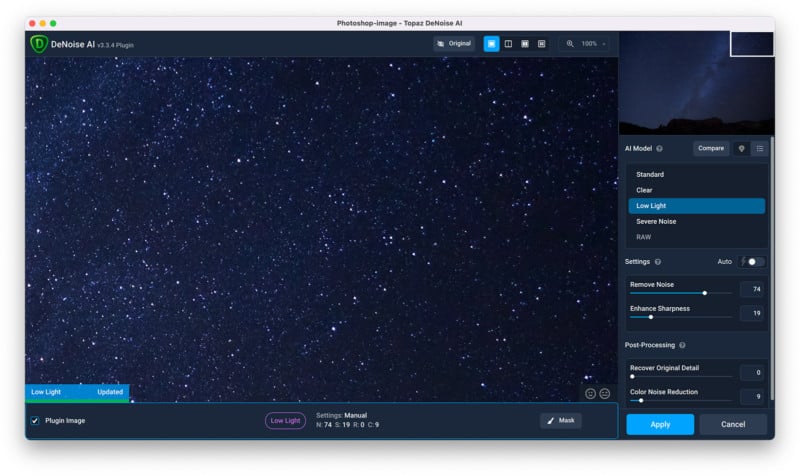
Under this is the Settings panel where noise reduction and sharpness can be further refined. Even with the Remove Noise slider all the way up, DeNoise AI is smart enough to distinguish noise and the dots that are stars. What I’m finding here is a balance between clean noise reduction and where it begins to show some blocky artifacts from overclocking the AI. In the Post-Processing panel, I turned Recover Original Detail to zero since astrophotography is mainly either dots for stars or dots for noise and increasing this just works to bring back the noise I worked to get rid of. On the other hand, Color Noise Reduction is helpful for low-light images if you notice strange patches of false color and want to even it out.
Once finished, I click Apply and it quickly saves to the active layer in Photoshop.

Topaz Labs Sharpen AI
Opening up Sharpen AI is always amusing; sometimes when I think I have an in-focus, sharp photo, Sharpen AI shows me that it could be even better. In astrophotography, achieving crisp stars without having noise muddying up the sky are ideal, and Sharpen AI ensures this every time even when the starting point is a little messy.
Another perfect use for Sharpen AI as it relates to night photography is being able to greatly sharpen the landscape that otherwise would need image stacking to accomplish. Shooting with wide-open apertures means gathering the most light for the stars, but it means a shallower depth of field and it’s sometimes hard to get tack sharp stars and a tack sharp landscape at the same time.
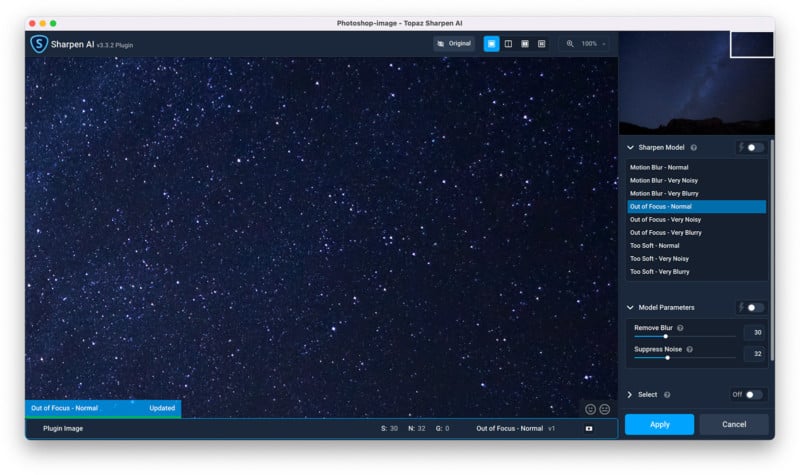
Inside Sharpen AI, the layout is familiar. In the sidebar, I first select the Sharpen Model that will be used to enhance the details of the night sky. For a starting point, you can see the automatic choice by clicking the toggle button next to the lightning bolt. For this image, I went with Out of Focus – Standard as the others seemed to work a little too hard to compensate for what I was going for. From here, I modified the Model Parameters first by getting the automatic suggestion and making minor adjustments from there based on what I saw. The other tools available, Select and Add Grain, were not applicable for what I needed this time but you can see them in use in this previous article of mine.
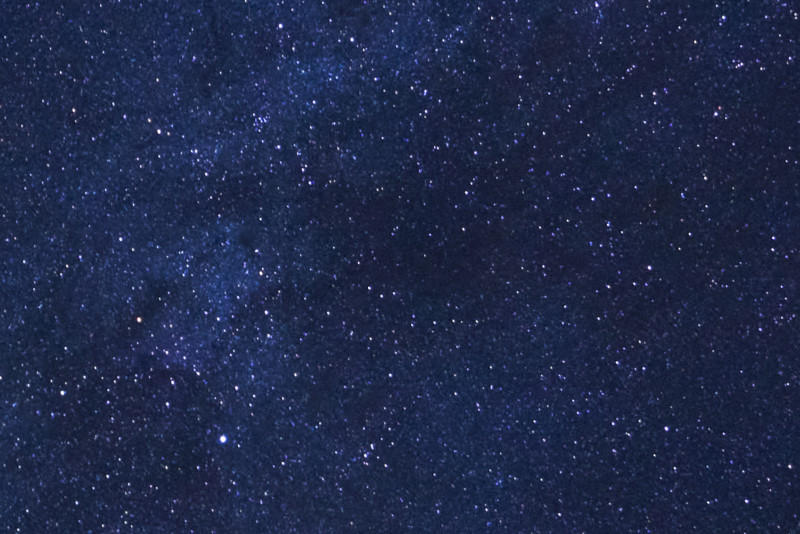
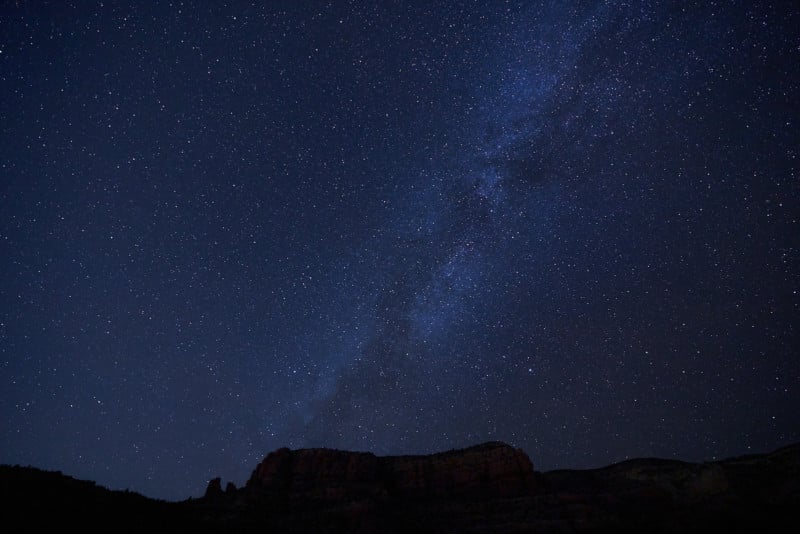
The result of working this image through DeNoise AI and Sharpen AI is quite astonishing. First of all, it’s all straightforward to work with. It’s not like typical noise reduction and sharpening panels where there are six different sliders yet only a couple seem to actually do anything. In the end, though, I lose all the unsightly noise while retaining all the detail, achieving the best of both worlds without that pesky compromise getting in the way.
Topaz Labs Gigapixel AI
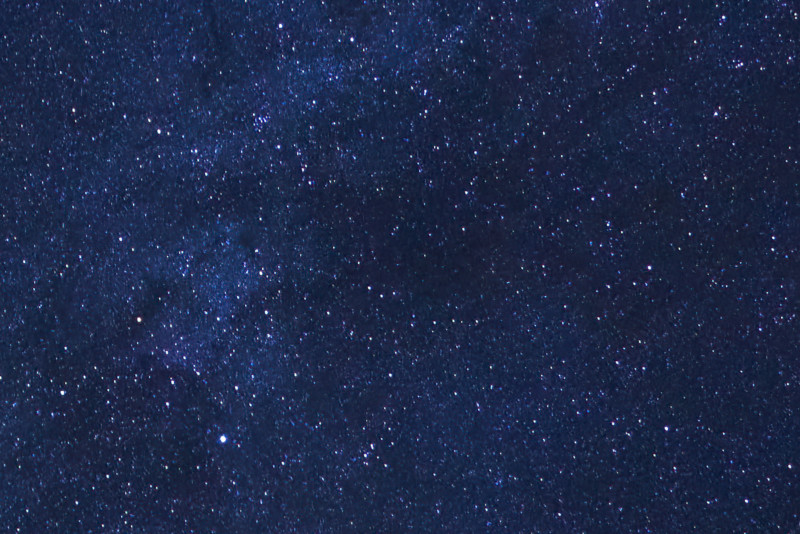
The third piece of software included in the Topaz Labs Image Quality bundle is Gigapixel AI. Like DeNoise AI and Sharpen AI, this leverages the power of machine learning but in this case, the end goal is to greatly enlarge photos and retain accurate details. I ran my finished astrophotography photo above through Gigapixel AI to double its dimensions, creating a 15,904 by 10,608 pixel (168 megapixels!) image.
In the sidebar, I simply chose the 2x option rather than entering my exact pixel or inch requirements in the Width or Heigh tabs. Below that, I kept the AI Model set to Standard as this seems to always be the best option for photography. Next, I could refine how much sharpness and noise reduction are introduced to the enlargement. Since I already handled both of these specifically in the original edit, there was not a lot that needed to be done here to assist the output quality.
That’s it; that’s all it takes to add over a hundred megapixels to a photo that I can now print as big as I’d ever need it to be.
![]()
The Bundle That Changed Everything
The Topaz Labs Image Quality Bundle featuring DeNoise AI, Sharpen AI, and Gigapixel AI make up one of the most powerful kits of photo editing software available today. The special thing about these programs is how they trickle into my shooting experience because I know that I can push into that extra stop of ISO, or save a photo that wasn’t perfectly in focus, or even shoot with a camera lacking in the resolution that I wished I had. It’s a bridge of salvation between what my camera and skills are capable of and what I wish I could achieve.
Welcome to a PetaPixel Showcase, in which our staff gives you a hands-on with unique and interesting products from across the photography landscape. The Showcase format affords manufacturers the opportunity to sponsor hands-on time with their products and our staff and lets them highlight what features they think are worth noting, but the opinions expressed from PetaPixel staff are genuine. Showcases should not be considered an endorsement by PetaPixel.