Colorizing B&W Photos Then and Now, From Oils to Neural Filters
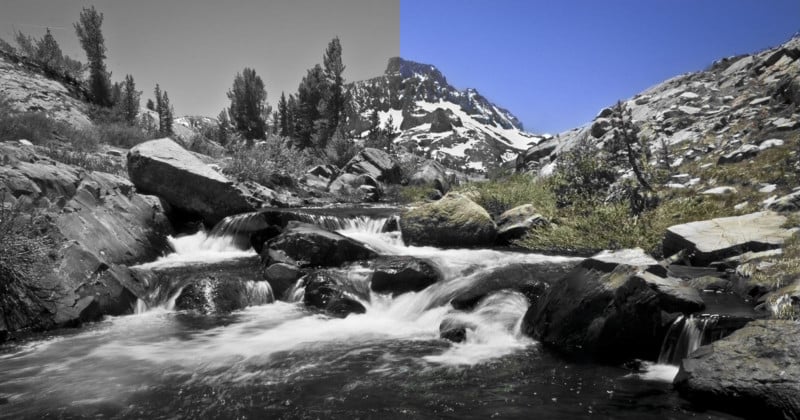
The day after photography was invented in 1839, somebody pointed out that the photographs were just shades of gray – there was no color. The photography inventors knew this was a problem and probably hoped that no one would notice. Paintings were in vivid color and if photography was ever to compete with painting, there needed to be some color in them.
There were three-shot-color cameras that made three different images through red, green, and blue filters which could be printed using dye-transfer techniques, as well as some rudimentary chemical processes, but painting over the photographs turned out to be the most practical solution.
Hand-Painted Color Photos
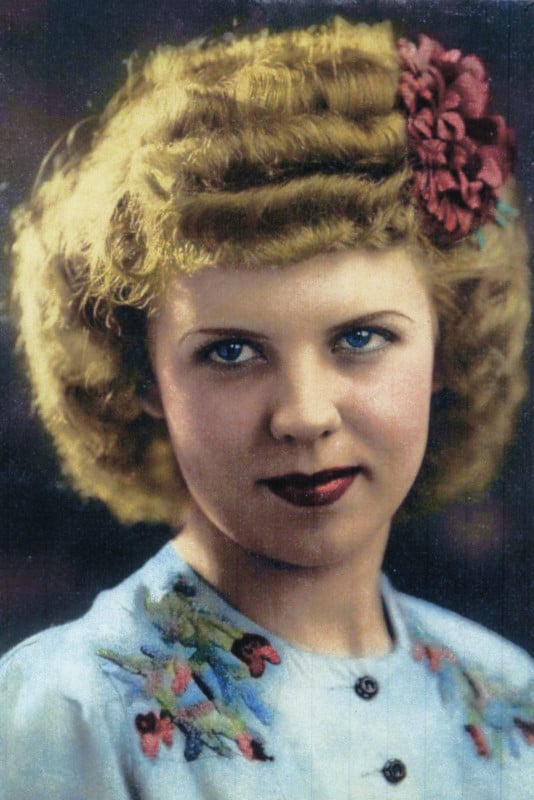
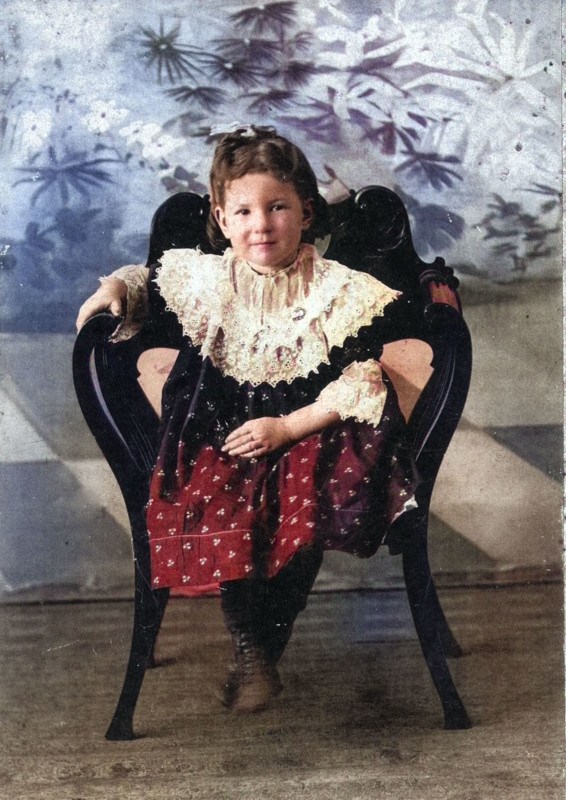
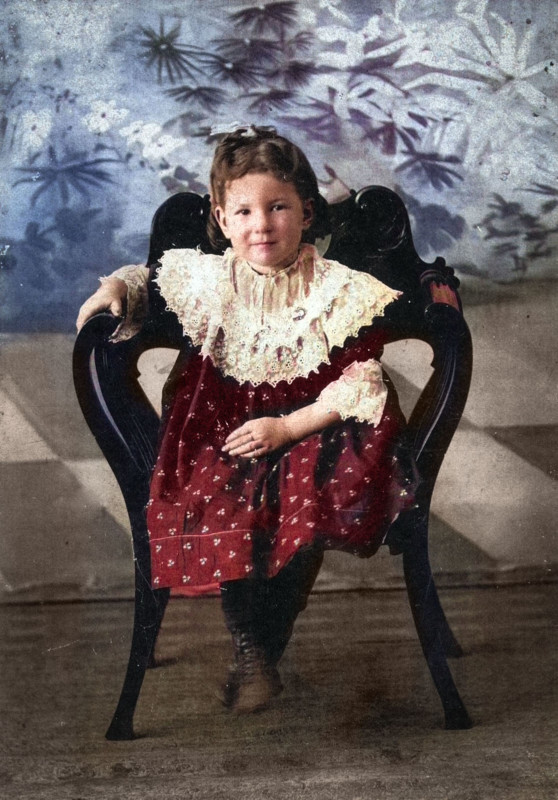
For the 19th century and the first half of the 20th century, black and white photographs were often hand colored using either colored chalk, colored pencils, or artist oils.
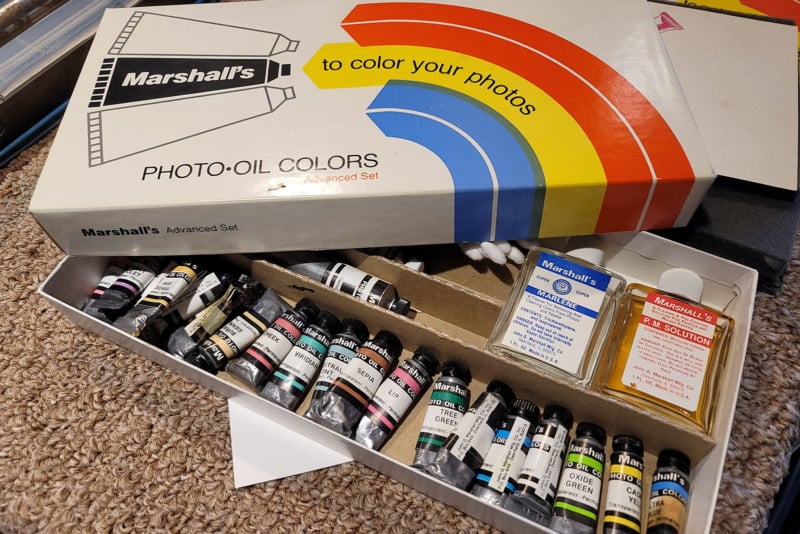
Oil became the most used, especially after manufacturers such as Marshall’s began formulating paint specifically for hand-tinting photographs. The paint was applied with cotton tips and could easily be blended, removed, or applied in various densities and levels of transparency. This was common practice in professional portrait studios up until the time that color-negative film became good enough for professional results in the mid-1960s.
An added benefit was that oil paint-tinted photographs were permanent. Color film and color chromogenic prints made from negatives are very susceptible to fading and changing colors, sometimes in as quickly as a few years. Black and white film and prints are permanent because they contain silver, not dyes. Adding permanent pigment oil paint on top makes them even more impervious to time and the elements.
Oil Layers to Photoshop Layers
By the time Adobe Photoshop was introduced in 1991, the need for hand-tinting and colorizing black and white photographs had been greatly reduced but was still sometimes used for vintage photographs or special effects. Colorists soon realized that the same techniques that worked with Marshall’s Oils and cotton tips could be used with Photoshop.
The basic idea is to make a separate color layer for each color, paint over the image using the brush tool, and then use the standard hue/saturation, color balance, and opacity tools to adjust each color individually. The big advantage of hand-tinting using Photoshop over hand-tinting with oils is that the photo can be saved, resized, multiple prints and sizes, and even different color versions can be made.
In the digital era, we can make prints using 100% cotton paper that will last hundreds of years and print with permanent pigment ink that will last for centuries.
AI and One-Click Colorization
The latest versions of Adobe Photoshop utilize Neural Filters that use AI to analyze a black and white photo and colorize it in seconds. The Colorize button under Neural Filters looks at the image and compares it to millions of other images to decide what colors should be in the photo we have selected.
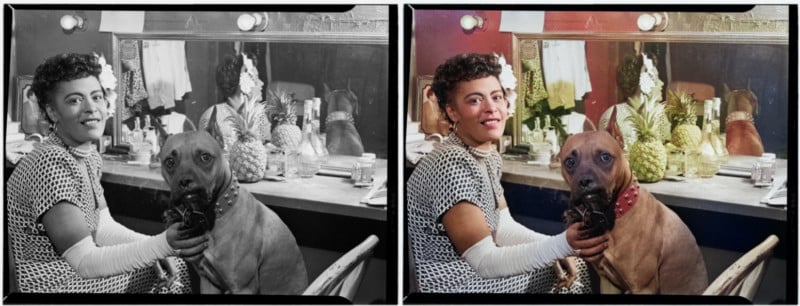
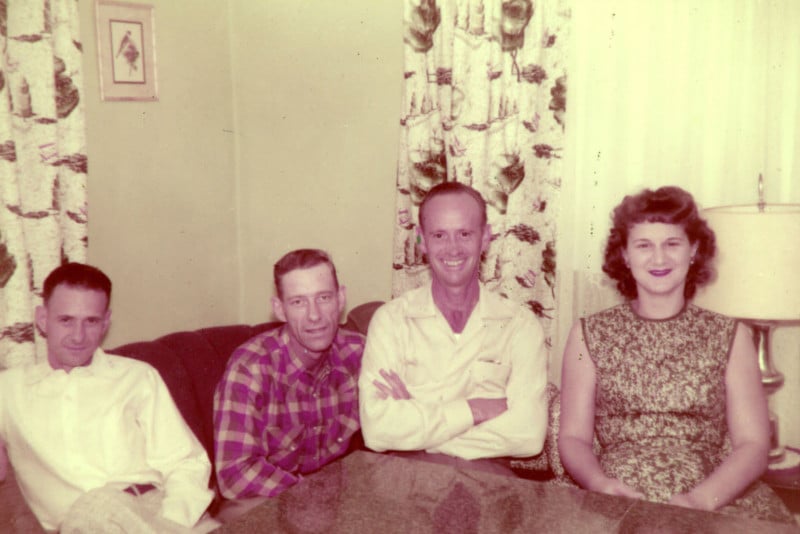
The Colorize feature does a good job of recognizing faces and applying good flesh tones as well as obvious skies, grass, and so forth. More complicated images with unusual subjects may not be so successful if we rely only on the Neural Filters.
We also can select areas of the image in the preview window and tell Photoshop what colors to use by using the Color Picker. The output can be either a new colorized layer or a color-only layer. Either way, additional work is usually needed. The AI Neural Filters are being improved quickly and each update of Photoshop gives better and faster Colorizing results.
The colorize feature in Photoshop gives perfect results about 10% of the time and totally useless results another 10% of the time. The other 80% of the colorized images are now ready for a little tweaking and finishing. The best practice is to continue by making a new layer for each color as before and adding or adjusting color as necessary.
My experience is that the Neural Colorize button dramatically reduces the time needed to colorize a black and white image, particularly portraits. For example, if a professional colorist would take two or three hours to hand color a photo with oil paint, the experienced pro using Photoshop and the brush tool might reduce the time to 45 minutes and with the Colorize feature, it could be completed in 15 minutes.
The Usefulness of AI Colorization
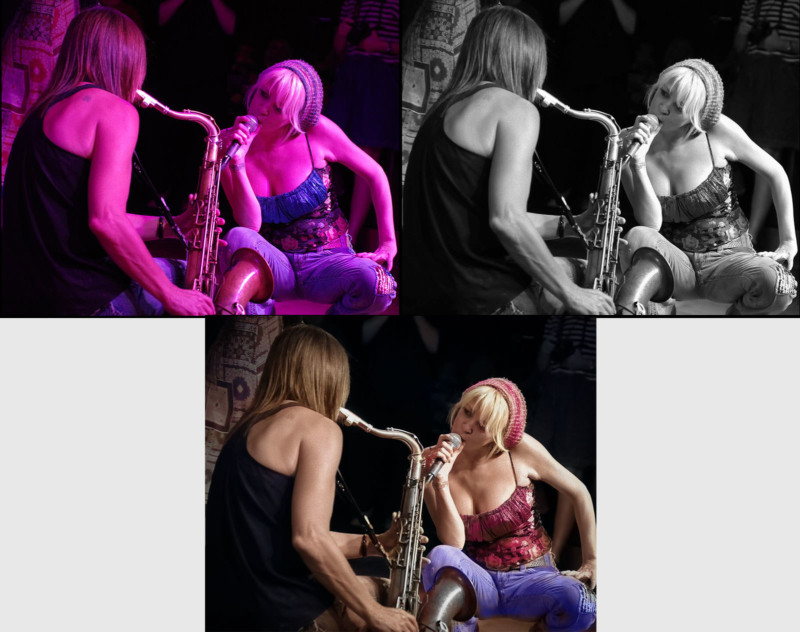
The Colorize feature in Photoshop can also be used for correcting faded or otherwise uncorrectable color images. The illustration below shows an original image of singer Bekka Bramlett and saxophonist Deanna Bogart. The photograph was made in club lighting which had only red and blue LEDs which could not be color corrected.
The first solution was to convert the image to monochrome using the Black and White adjustment layer. This made a perfectly useable photograph. Then I colorized it using the Colorize Neural Filter to get the results that I wanted.
This technique is also useful when the original image is so badly faded or stained that regular color correction techniques such as adjusting curves or color balance fail. Usually desaturating the image first is a good idea but is not always necessary.
Best Practices for Photoshop Colorizing
When restoring old faded, stained or damaged photographs, the best practice is to first neutralize any stains using a black and white adjustment. Tone range can be adjusted with levels, curves, or Camera Raw Filter. The Dehaze slider in the Camera Raw Filter or Lightroom works well for bringing back badly faded images.
Next, repair any damage using the Clone Stamp tool, Spot Healing Brush, or Content-Aware Fill tool for pieces that are missing. Once a clean image is obtained with good contrast and a wide tonal range, now is the time to try the Colorize button if the image is to be colored. Apply additional color layers to add color and saturation and color balance layers to get the results desired.
Not all black and white photos should be colorized for the same reasons that we love to make black and white photos; some subjects just look better in black and white. That is why there was “push-back” when movie studios started colorizing black and white movies from the 1930s and 40s.
Whether an image should be black and white, natural color, or a colorized version of black and white is a matter of choice and is where the artist’s imagination is required.
Image credits: Header photo by Jeff P and licensed under CC BY 2.0