How to Build a DIY ‘Pixelstick’ for About $22
![]()
You might have heard of the Pixelstick. “Nothing compares” is one of their tag lines. And this is true… at least price-wise. I have always wanted one to at least try out some light painting with it, but the Pixelstick retails for €400 here in Germany and $349 in the United States.
Still, $349 is a bit steep for a light-painting tool.
In this article, I will share how you can build a do-it-yourself Pixelstick for about $22. Note that you will need a solid grasp of electronics and programming for this tutorial.
Table of Contents
The Desired Features
I started out by simply deciding to build my own Pixelstick. As I had never handled the real thing, I didn’t know the exact laundry list of features it has, but I do know the exact features I would want in a device like this:
- USB powered
- SD Card Slot
- Display to select files
- Small
- Lightweight
- Custom values for:
- Brightness
- Speed
- Start delay
- Repeat times
Luckily, Michael Ross already built something like this called the Digital Light Wand, and it has some of the features that I want. Software-wise it runs an Arduino sketch. Hardware-wise I think it is a bit dated and way too big. I’m not a fan of the large Arduino MEGA and the LCD Display shield as it makes the device unnecessarily large, so I decided to swap some parts.
The List of Ingredients
I chose an Arduino MEGA 2560 Pro, a small OLED Display, a Micro-SD reader, and a digital joystick since the display does not come with buttons.
I sourced everything from AliExpress. Here are all the parts that I have used:
- 144 pixels/leds/m WS2812 Smart RGB Led Light Strip Black/ PCB
- MEGA 2560 PRO Embed CH340G/ATMEGA2560-16AU Chip
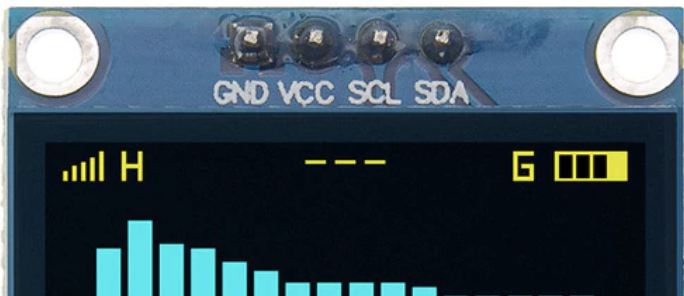
- 4pin 0.96″ White/Blue/Yellow blue 0.96 inch OLED 128X64
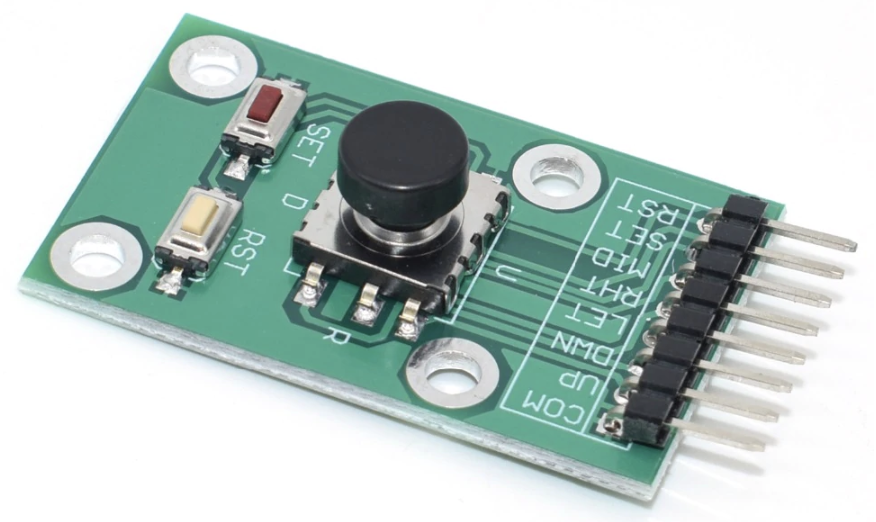
- Five Direction Navigation Button Module for MCU
- Micro SD card mini TF card reader module SPI interfaces
- MICRO USB To DIP Adapter 5pin Female Connector B Type
Total cost: €20.27 (almost 20x less then the Pixelstick), or about $22 at the time of my build.
You also need a Micro USB cable, some wire, a soldering iron, solder, electrical tape, and something on which to mount the LED strip. I chose a piece of wood. For the case, I used an old Bluetooth receiver that I have no use of anymore. To program your Arduino you need the Arduino IDE.
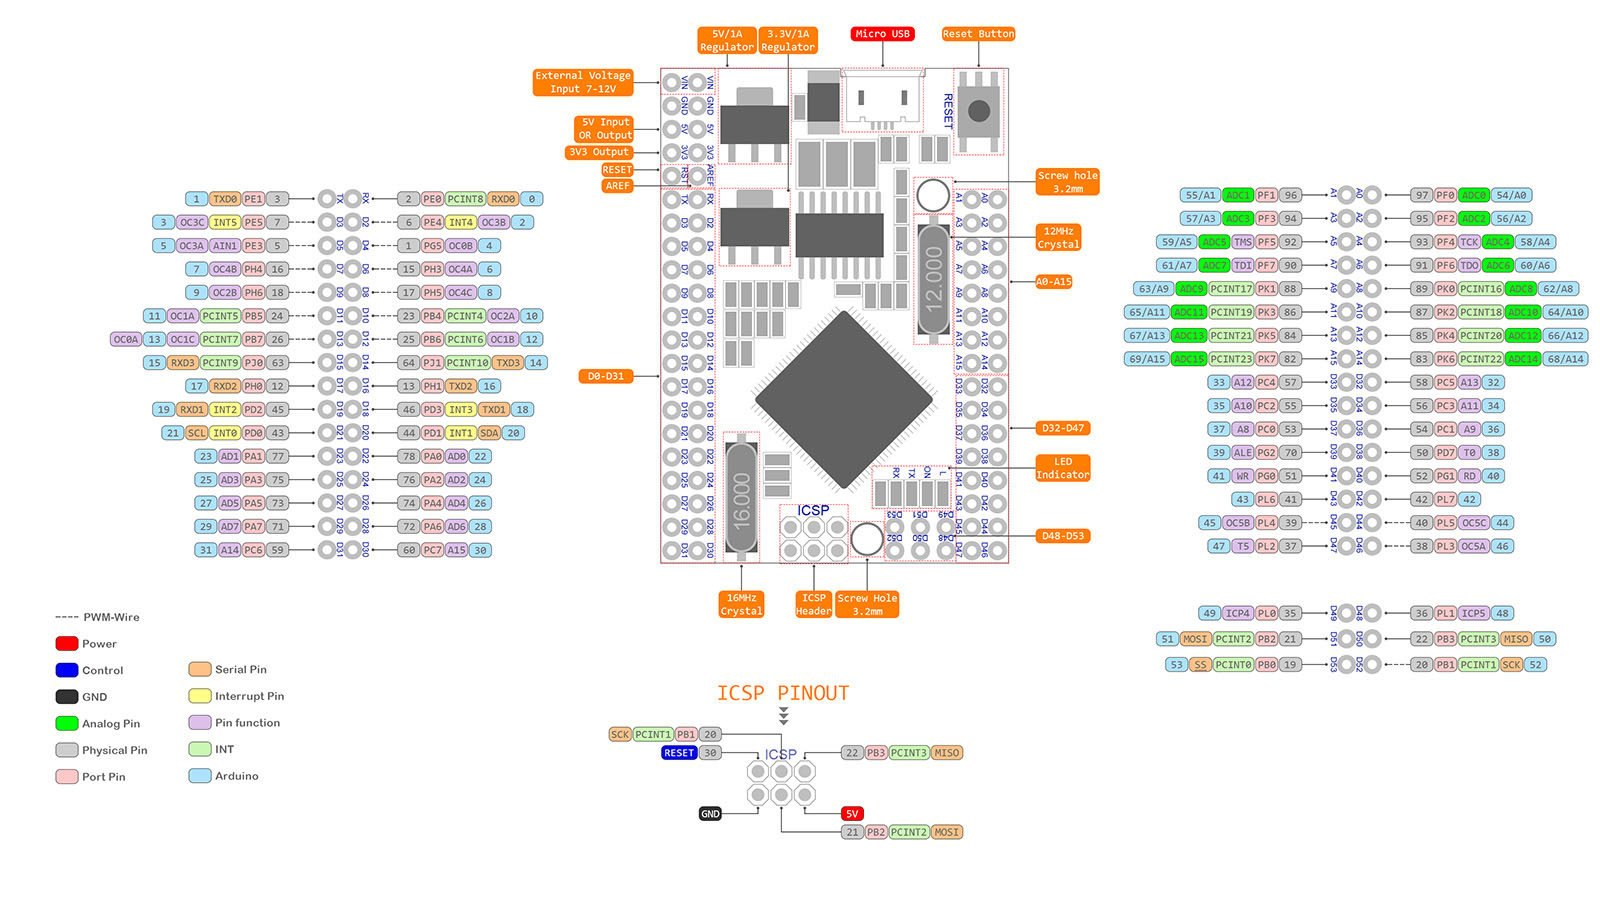
The Pinout on the Chip
Pinout on the Mega PRO is different, at least on the version that I bought. The LED strip only needs one connection besides power, as it gets controlled through the PWM chip that lives on the Arduino. On mine. pin 6 is a PWM pin. I power the LED strip directly from the Powerbank which is attached via Micro-USB.
Please make sure to connect the GND of the LED strip to the GND of the Arduino or your strip will display false LEDs because of signal noise.
Pins for the OLED display are easy to find. Besides GND and VCC, it needs SDA and SCL, pins 20 and 21, respectively.
The SD card reader needs some more ports, but all are grouped together. 50, 51, 52, 53

The buttons are wired to digital pins, using the internal pull-up resistor (activated in the Arduino sketch) I use pins 22, 23, 24, 25, 26
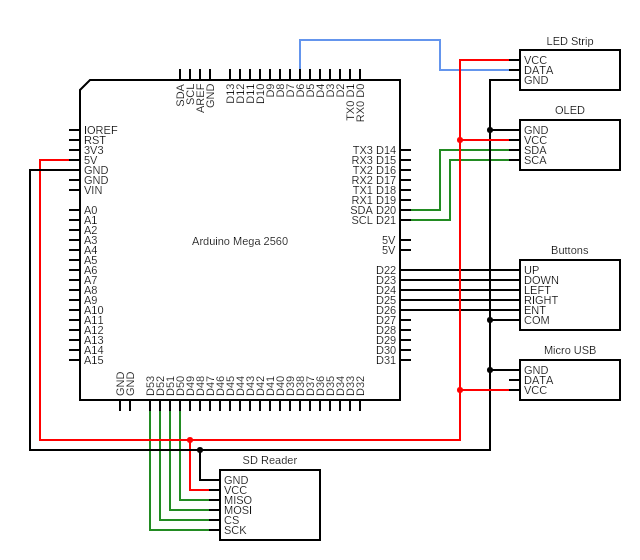
For reference, here is the complete circuit for the components I used.
Soldering and building the case only took a few hours, a Saturday well spent.
The Software Running the Show
I took the sketch from Michael and removed the libraries for the LCD Shield, which also handles button presses, rewrote the function that watches for keys, and rewrote the parts that would display text on the display. I also implemented EEPROM saving of the brightness setting, all the other values are fine from the start and seldom need tweaking.
Thanks to the great Arduino community, figuring out how to address the different modules was easy enough for me, even not being a very seasoned programmer. There is for sure room for improvement, but at the moment it does what I need and I can always come back to the code in case I need a new feature or find a bug.
Lighty: The Finished DIY Light Stick
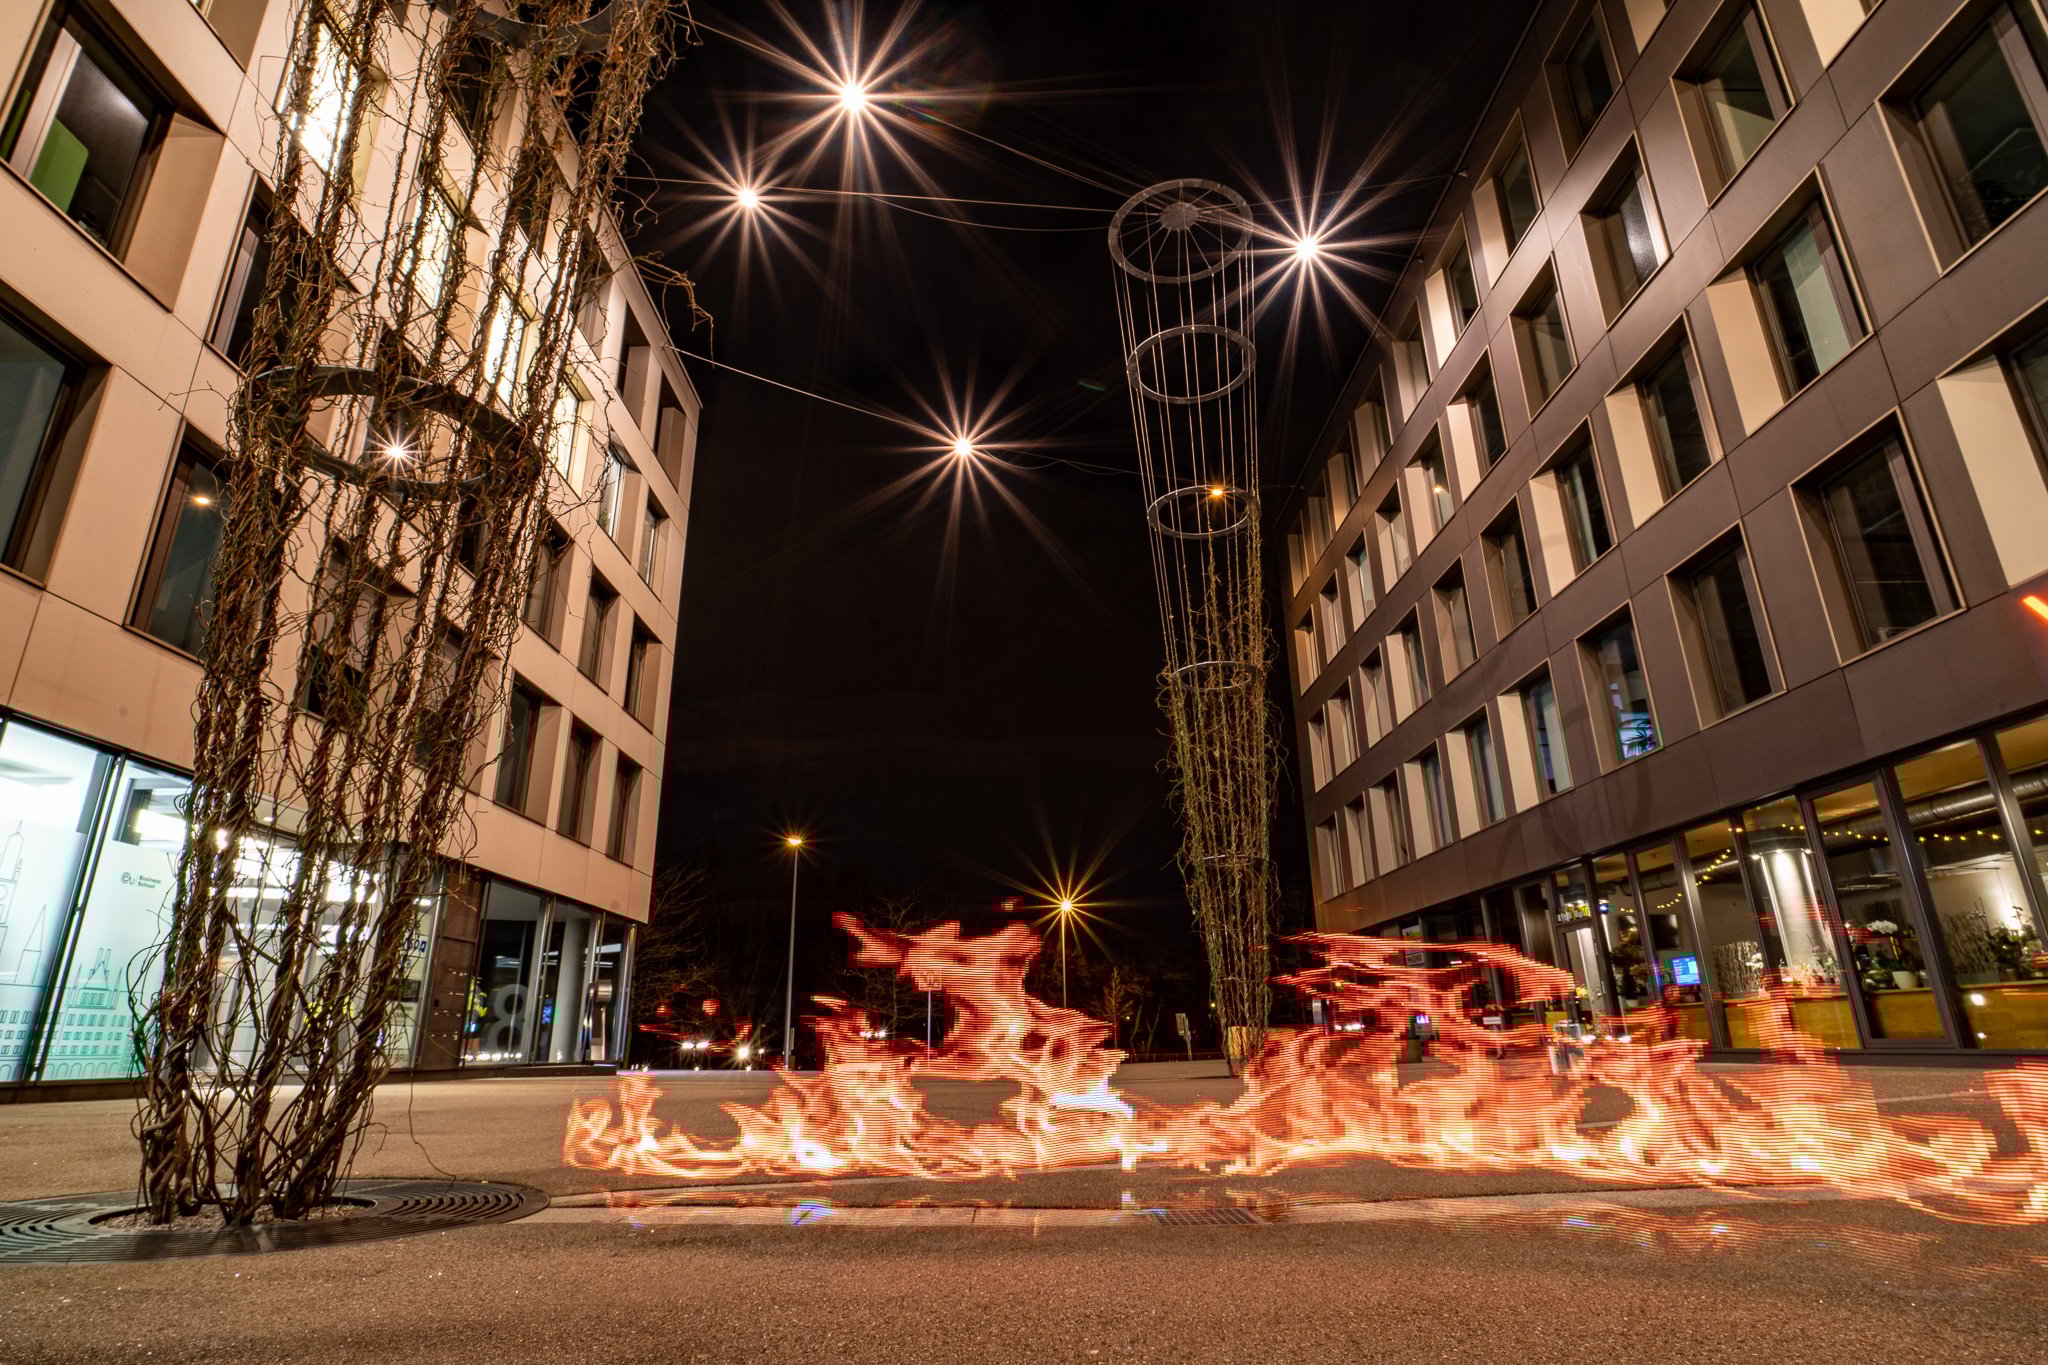
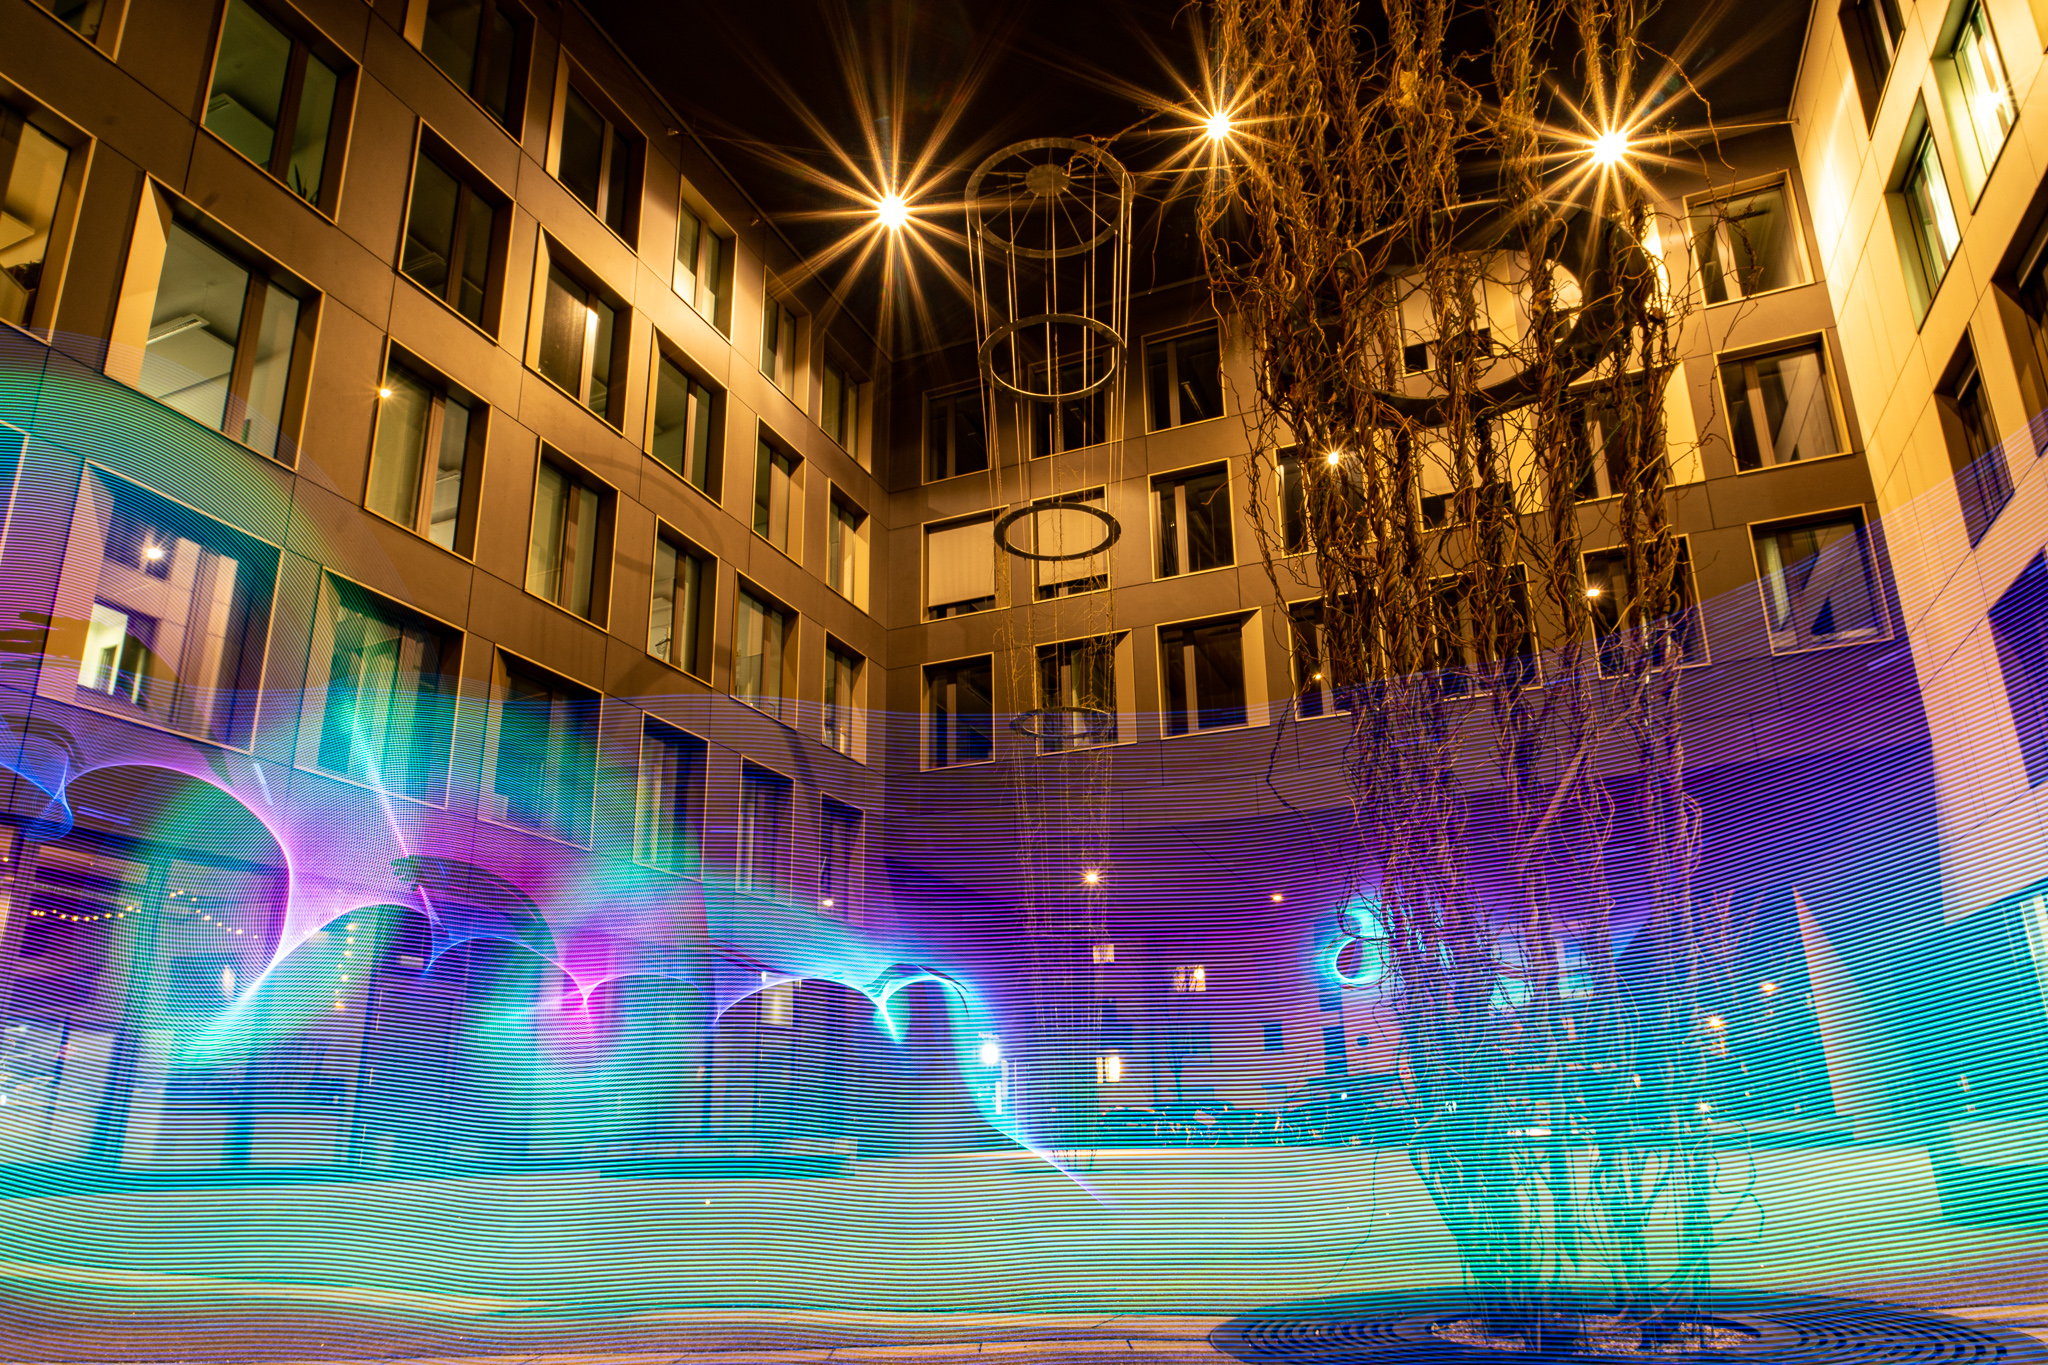
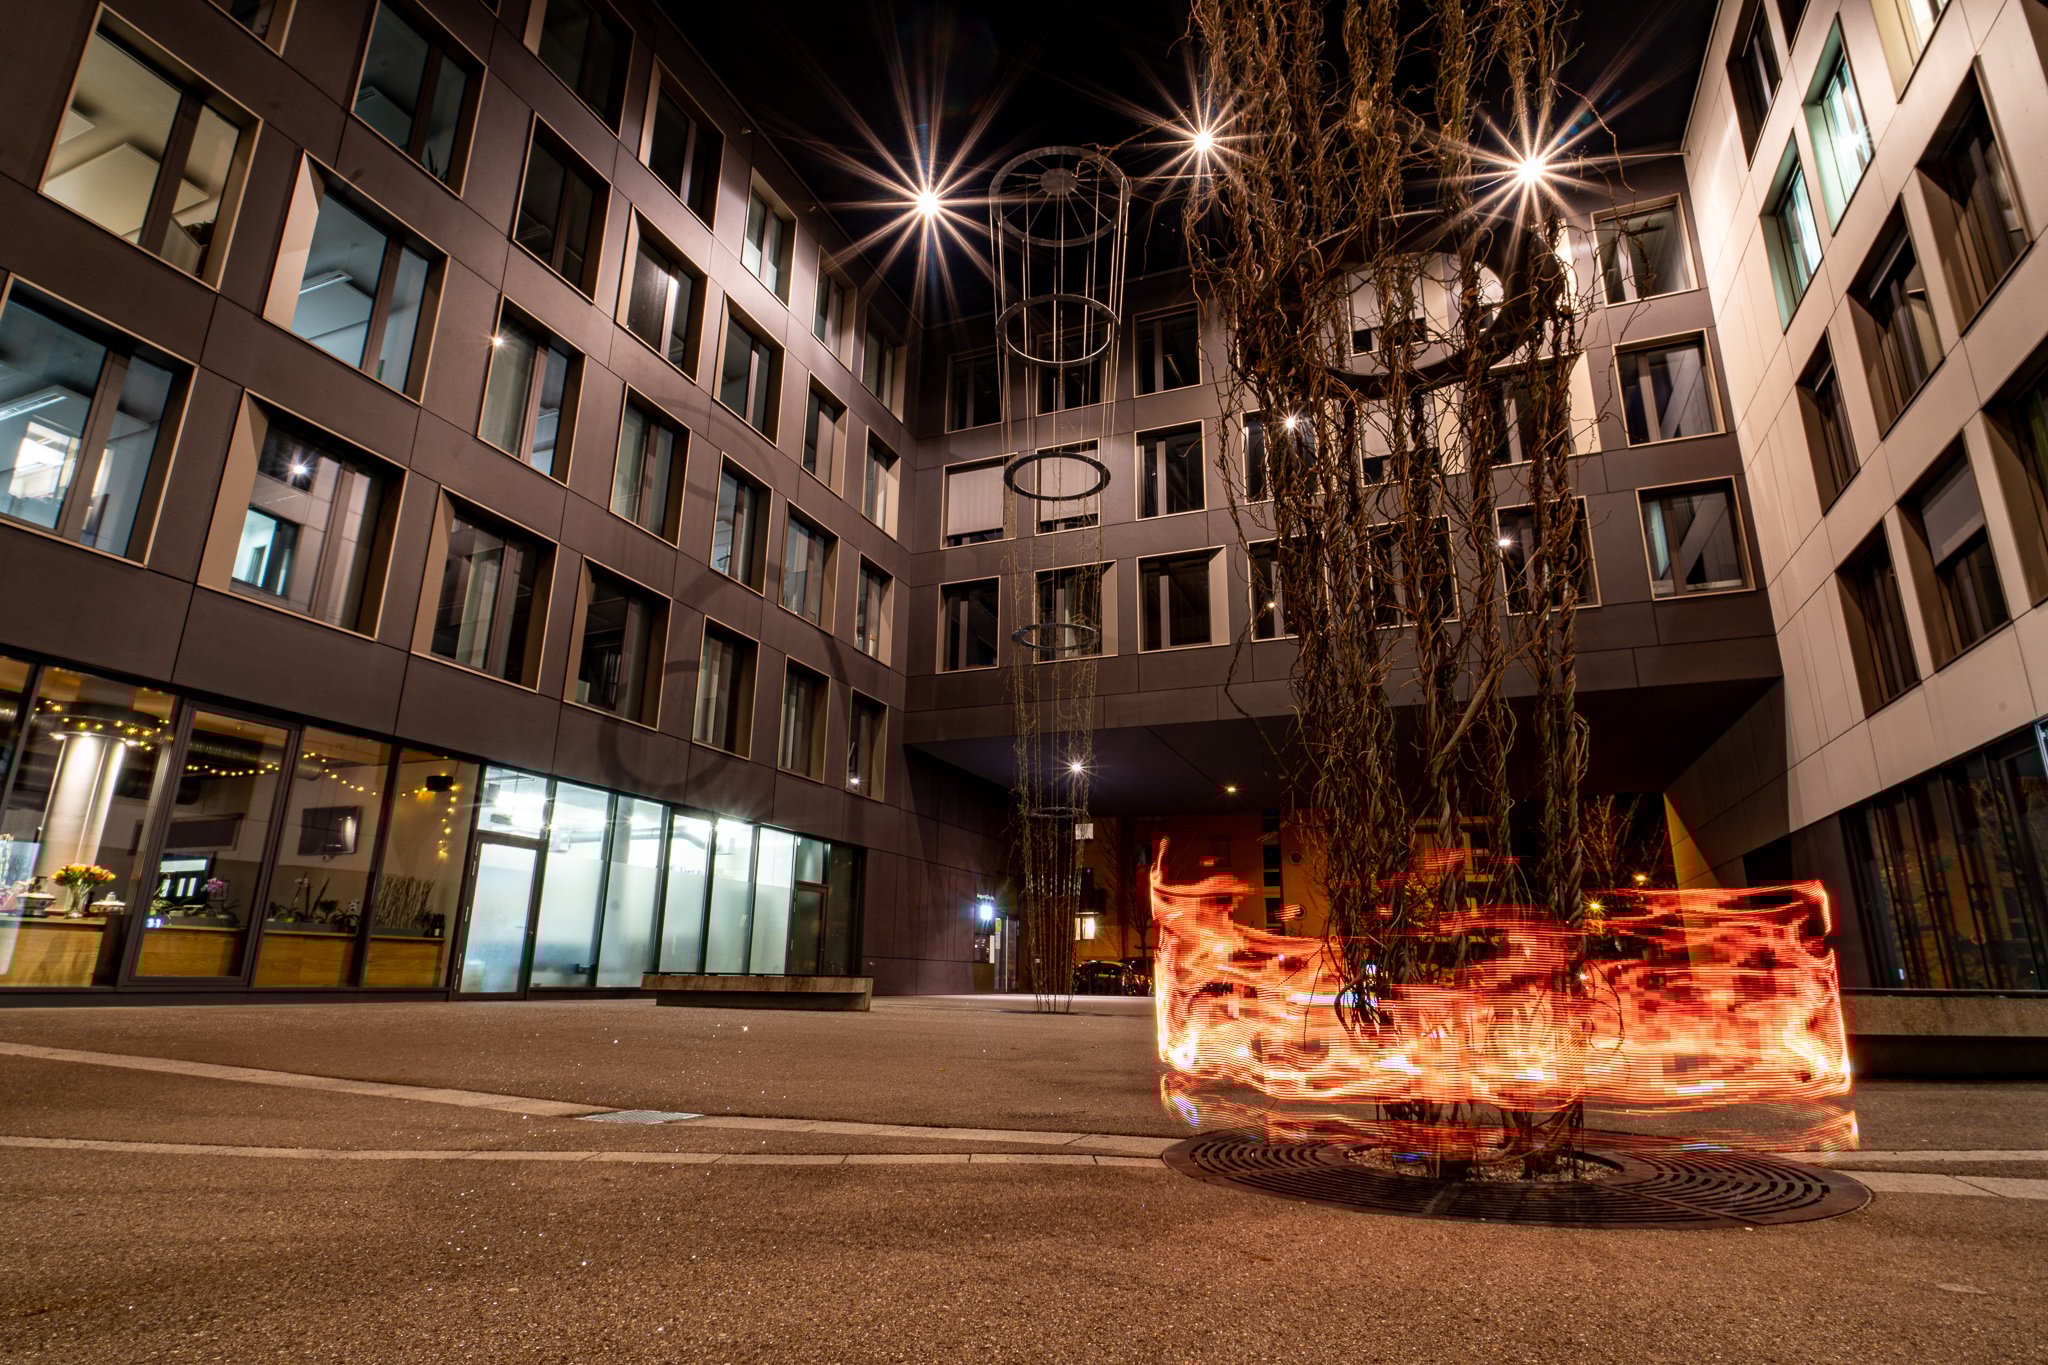
Here are some more pictures of “Lighty” and, of course, some results. Oh, and by the way, Lighty weighs only 8.47oz/240g (without battery).
I am really happy with how this turned out. The only thing missing is a diffusion panel in front of the LEDs, but even the “8-bit” look is fine with me for now… especially at this price tag.
![]()
![]()
![]()
![]()


About the author: Dirk Essl is an IT Solution Architect working for a German television network. He’s not a programmer, but he likes writing software if something that he needs is not available. He also runs the caffenol blog and the largest caffenol community about caffenol film development on the Web. You can see more of his work on his website, or by following him on Facebook and YouTube. This article was also published here.