How to Build a DIY Camera Trap for Amazing Wildlife Photography
As a wildlife photographer, I’m always looking for ways to capture stunning images of animals in their natural habitats. One technique I’ve found to be incredibly effective is using a custom-made, DIY, DSLR camera trap, which is a camera setup that is triggered by the movement of an animal.
Gear and Equipment
The first step in building a camera trap is gathering the necessary gear and equipment. It’s important to note here, you DO NOT need expensive gear, nor the latest and greatest because your scene will be lit by flashes.
Here’s what you’ll need:
- DSLR Camera. I used a 12-year-old Canon T3i for this project, but any DSLR will work.
- Lens. I used the 18-55mm kit lens that came with the Canon T3i, but again, any lens will work. (The wider the better in my opinion)
- Camera Case. I used a Pelican 1300 case, which is waterproof, crushproof, and dustproof.
- Flash Cases. I used cheaper Apache 1800 Cases for the flash units.
- Clear Acrylic. This is what I used as the windows for the flashes.
- Large UV Filter and Step-up Ring. This is used as the lens cover for the camera case.
- PIR Sensors/Triggers. I used the Camtraptions V3 PIR sensor for my setup. As well as their wireless transmitter and receivers.
- Batteries. I used a battery grip for the Canon T3i and rechargeable AA batteries – my entire setup runs off of 20 AA batteries. I have between 40 and 50 AA batteries either stored, on the charger, or in the field at all times.
- AA Battery Charger. I use this charger from Amazon that allows you to charge up to 16 batteries at a time. In the summertime, the AA will last up to if not over a month at a time – in the harsh Wisconsin winters, I get 5-7 days before they are dead.
- Flash. I used 2 Nikon SB-24 Flashes which can be picked up on eBay for pretty cheap. I used these flashes in particular because they stay in standby mode for long times and are super responsive to waking up and triggering right away.
- Ram Mounts. I used Ram Mounts in my build to easily mount the camera and flashes in any orientation possible.
- Ezhanger. The Ezhanger is a tool I use to screw in the sensor/trigger into a tree.
- Apple Airtags. Not mentioned in the video (whoops I forgot) but I did go out and buy Apple Airtags to place in each case hidden under the peel-and-pack foam just as a security measure if someone wanted to walk off with the setup, or part of the setup.
Once you have all of the necessary gear, it’s time to start building the camera trap & then eventually deploy it. Here’s how I did it:
Step 1: Cut a Hole in the Camera Case
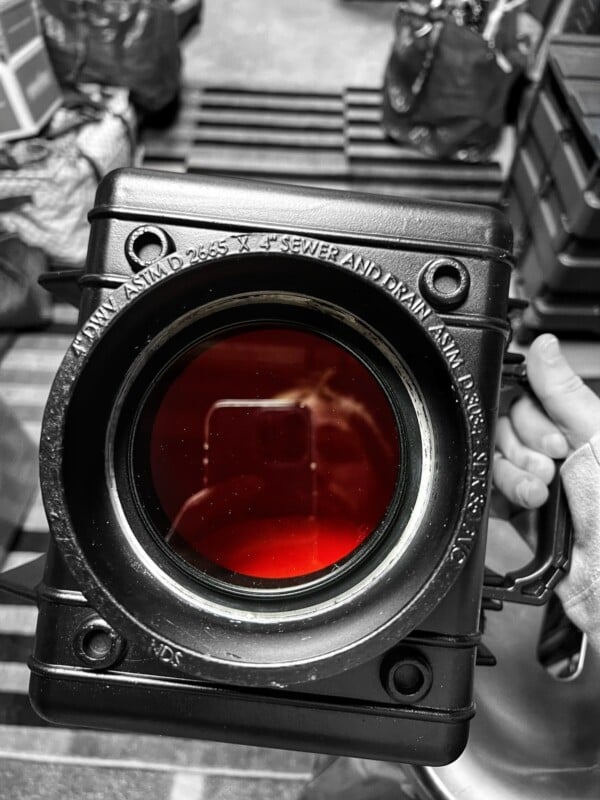
The first step is to cut a hole in the camera case for the lens to poke through. I used a hole saw to cut a hole in the lid of the Pelican case, making sure to leave enough space around the hole to allow for the lens to move.
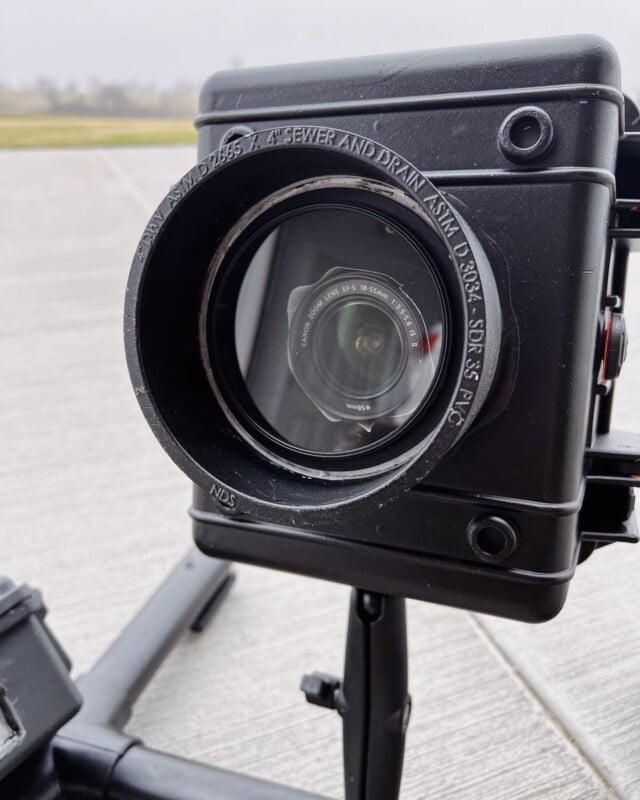
I then went to my local hardware store and picked up a PVC plumbing attachment to use as a makeshift lens hood. To close this hole off I used a large UV filter that I screwed into a step-down ring that I epoxied to the PVC plumbing attachment.
The reason why I did this is so that in the rare event that the filter gets broken or damaged, I could unscrew it and replace it more easily than if I were to epoxy the UV filter directly to the PVC attachment.
Step 2: Mounting Camera in the Case
Next, I mounted the camera inside the Pelican 1300 case using the peel-and-pack foam of the pelican case. This foam also acts as noise dampening. DSLRs are notoriously loud but packed tight into this foam, when the case is closed it’s completely silent.
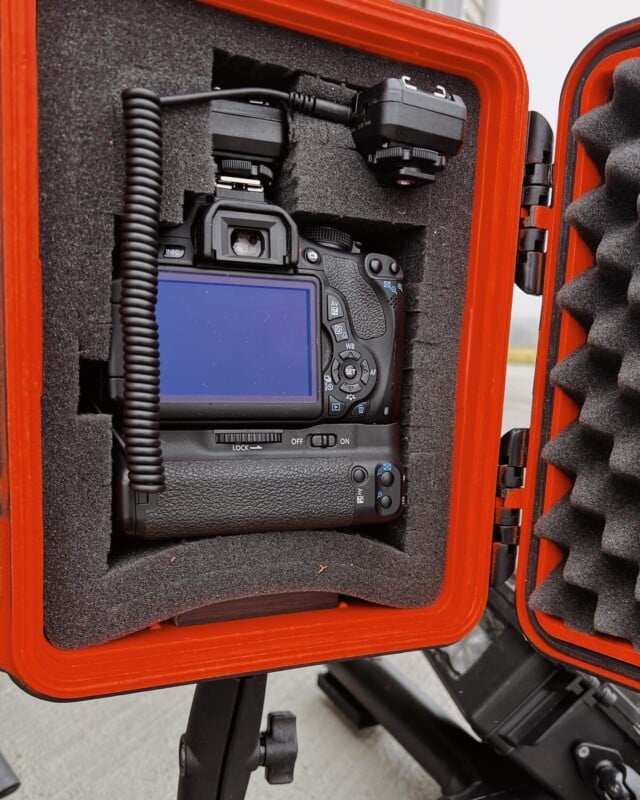
Next, using a scrap piece of wood on the inside of the case I was able to screw the ball head base of a Ram mount on the outside.
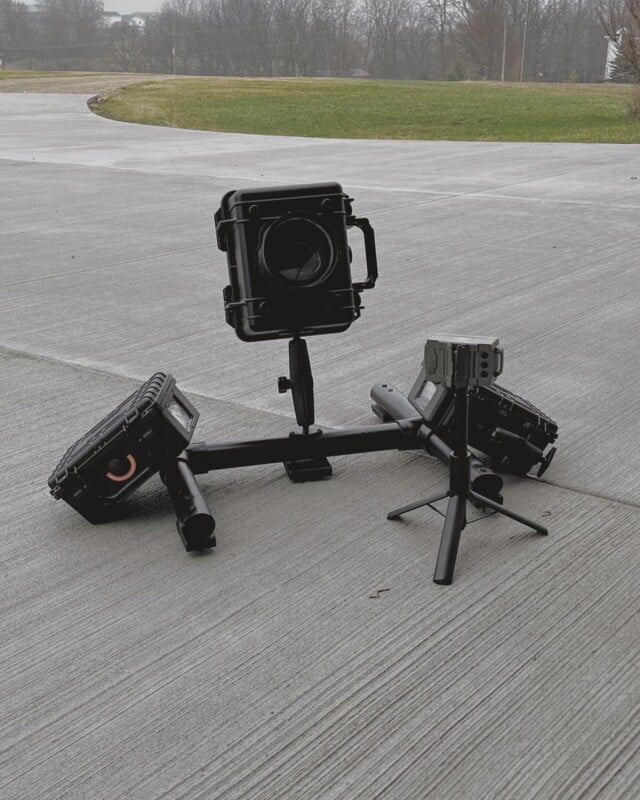
Step 3: Building the Base for the Camera
After I have the case all put together I needed to build a base for the camera. My first attempts were failures, so I settled on using just scrap 2x4s and a 2×6 screwed together and spray-painted black. I then attached a large Ram Mount (I think the largest one possible) to the base.
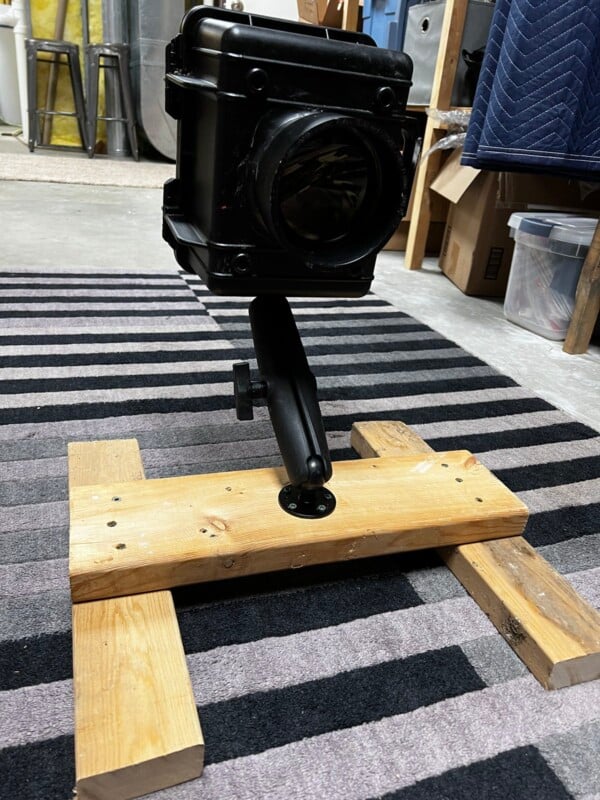
Once again, do your research and read what the compatible weight is for the Ram Mounts as my first attempts had failed.
Step 4: Mounting Flashes in the Cases
Next, I mounted the flashes inside the Apache 1800 cases using the peel-and-pack foam that came with the case. For the flash cases, I just cut a window in the top of the cases and epoxied in some clear acrylic I had laying around.
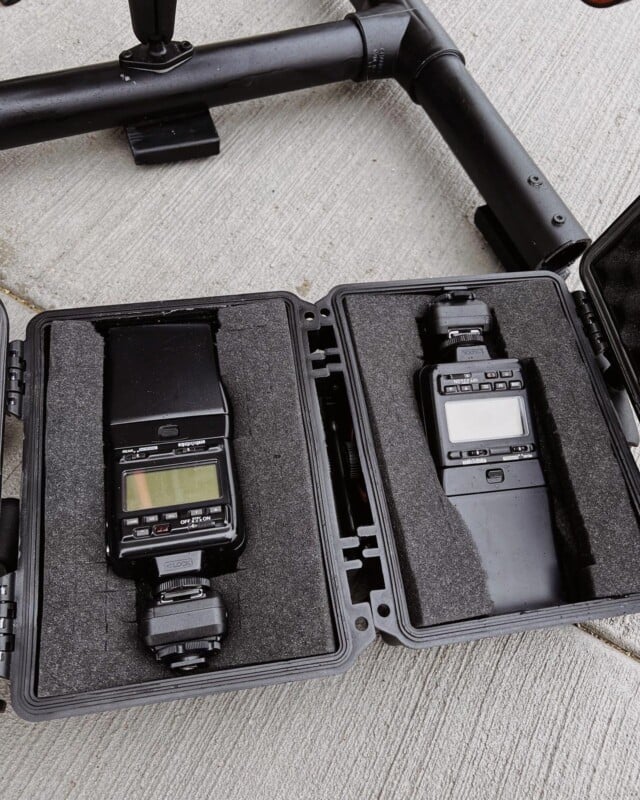
Once again, using a scrap piece of wood on the inside of the case I was able to screw the ball head base of a Ram mount on the outside.
Step 5: Figuring Out the Specialized Gear
Next, make sure you develop a thorough understanding of the Camtraptions PIR sensor and the trigger and receivers. How do I put this politely… read the manual front to back, do as many tests at home, then test it at your mom’s house, and then test it at a friend’s house.
I had the manual saved on my phone for the first 6 months of my DSLR adventure and I can not understate the importance of learning and understanding the PIR sensor inside and out. At first, it IS confusing, but trust me, once you read through everything and run multiple tests, once you have it dialed in you shouldn’t have to touch it again.
Step 6: Scouting
Another important part of successful camera trapping is scouting locations where wildlife is active. I’ve been very lucky in the sense that I know avid outdoorsmen that appreciate my work, so I am routinely tipped off to locations of wildlife.
Even with the tips, I will still scout and research the location on my own before deploying the DSLR camera trap. In the fox series, I tracked and scouted the foxes for 3 days before I found a suitable location/composition to deploy my camera trap.
Step 7: Deploying the DSLR Camera Trap and Camera Settings
Congrats! You are ready to deploy your DSLR camera trap…but how should you set it up and what should be your camera settings? It helps if you have a little experience with lighting a scene with strobes, but if you don’t have that experience, don’t worry.
Focus and Aperture
The first thing you should address with your setup is the focus. First, I use an aperture of at least f/8 sometimes up to f/11 because it gives me the greatest chance to have an animal in focus. After all, let’s be real, we have no control over where these critters are going to be in our scene. On top of that, I will manually focus my scene and then tape down all buttons/rings on my lens with gaffers tape once I have achieved the focus I desire.
Sync Speed
The next thing you have to understand is every camera has a ‘sync’ speed which is the fastest shutter speed that your camera can successfully process the flashes in your scene. If you exceed this sync speed your scene will not be lit properly and you will have dark areas in your compositions.
My Canon T3i has a sync of 1/250 (which I think is standard for most cameras). Because we are using flashes to light the scene, and because the animals will not be moving fast/causing motion blur I use shutter speeds between 1/100 to 1/160. It does depend on your scene/composition and if you want more ambient light to bleed into your images. The shorter the shutter speeds you use the more likely you get more of that ambient light in your scene.
ISO
Finally, I have my ISO set to auto, with the camera limiting it to not go past 3200. In terms of flash power, it depends on each scene and deployment. What I typically will do is trigger the setup with myself to test that everything is properly working and to check flash power. Usually between 1/4 and 1/8. The lower you can keep this, the less likely you will have to swap batteries.
As far as flash placement, I try to always have a key light and a backlight. It creates the most separation and has not failed me yet.
Step 8: Luck and Patience
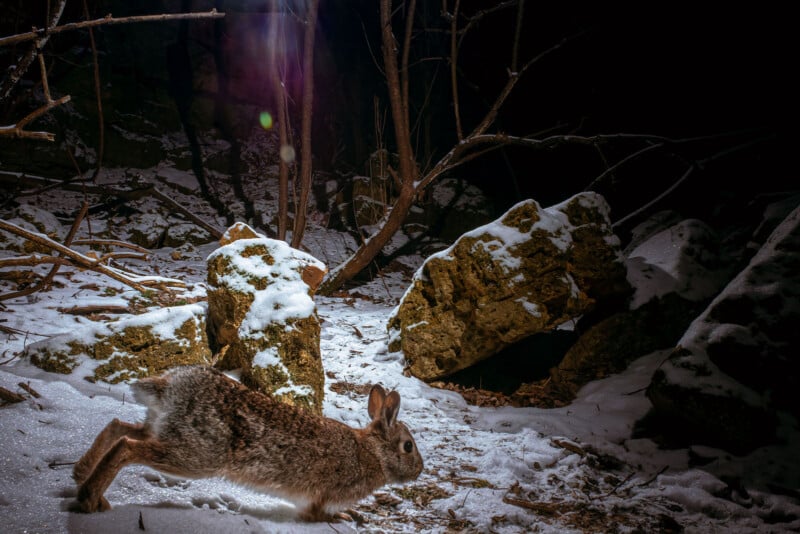
The one thing that is equal parts fun and frustration with camera trapping is the luck and patience part. You can do all the scouting and set up the perfect composition, but if the animals don’t come into your trap or they don’t frame up the way you wanted you are just plain out of luck.
I should create the coffee table book “Animal Butts” with the number of animal butts I’ve captured.
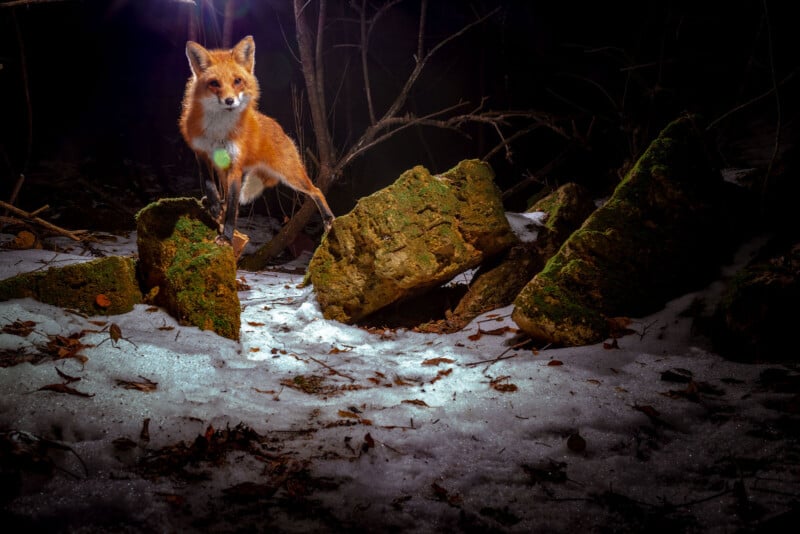
In the fox series, I took a look at the timestamps and the curious fox came into my trap only an hour after I deployed it, and then only came back once during the next month. Another piece of luck was how the fox posed. If you look at the whole series, you can see the fox was going to give me the classic butt shot, but the flashes must have grabbed its attention.
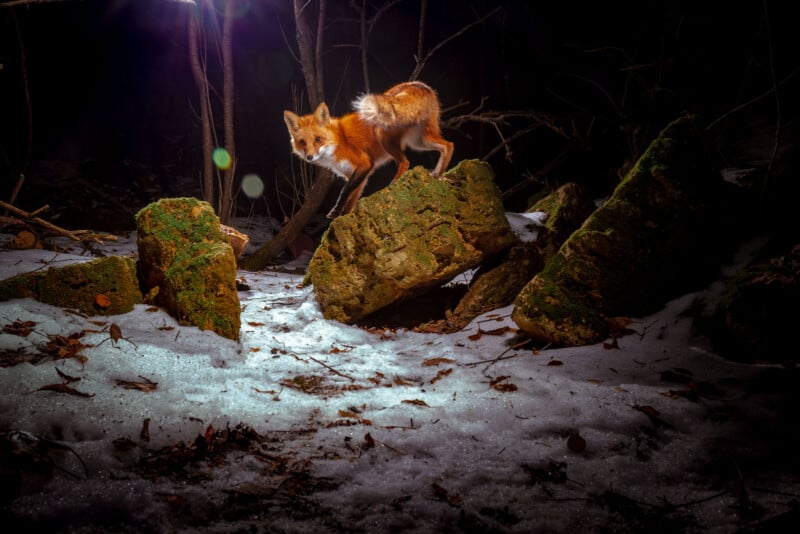
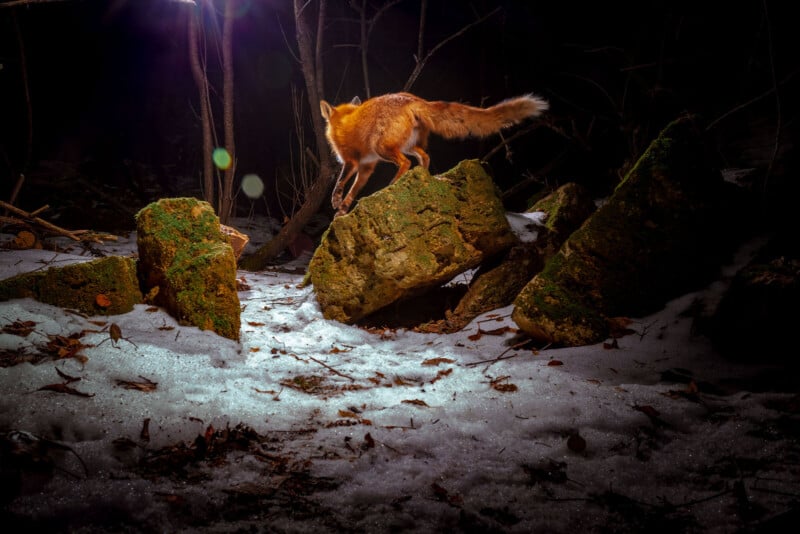
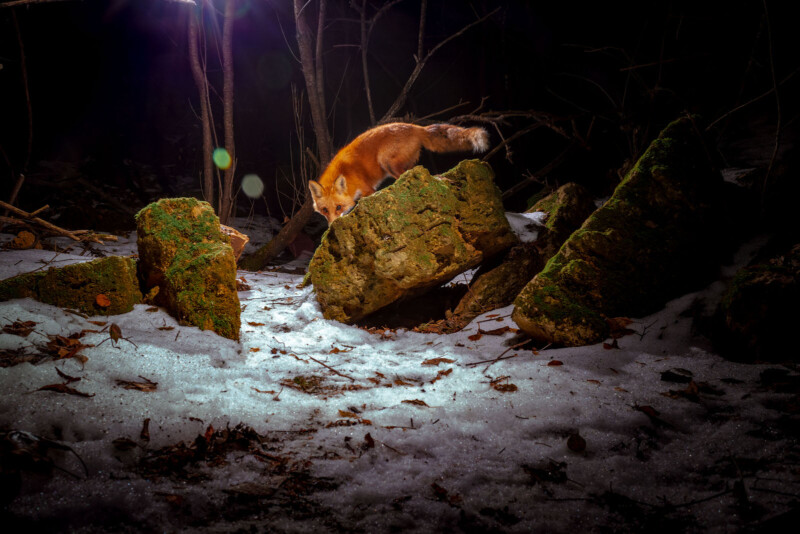
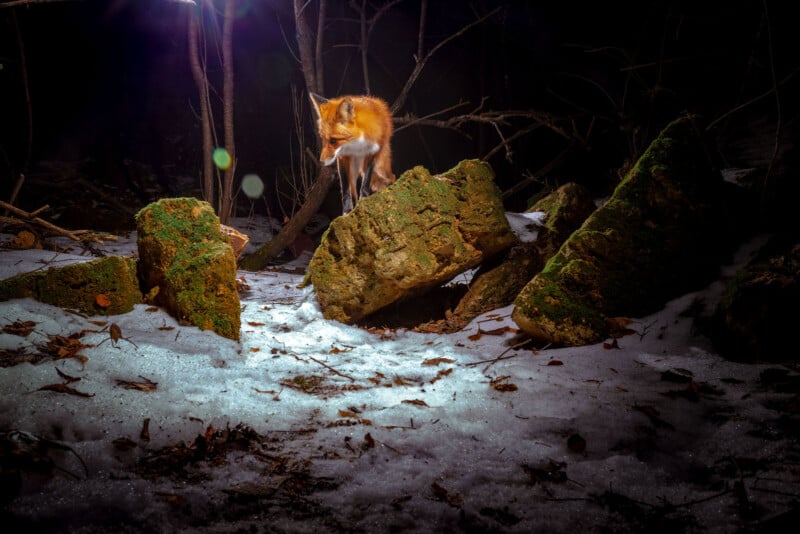
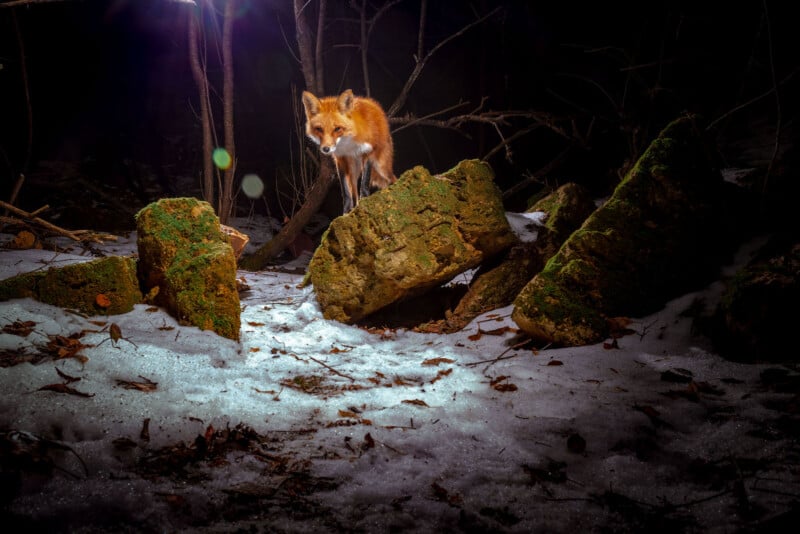
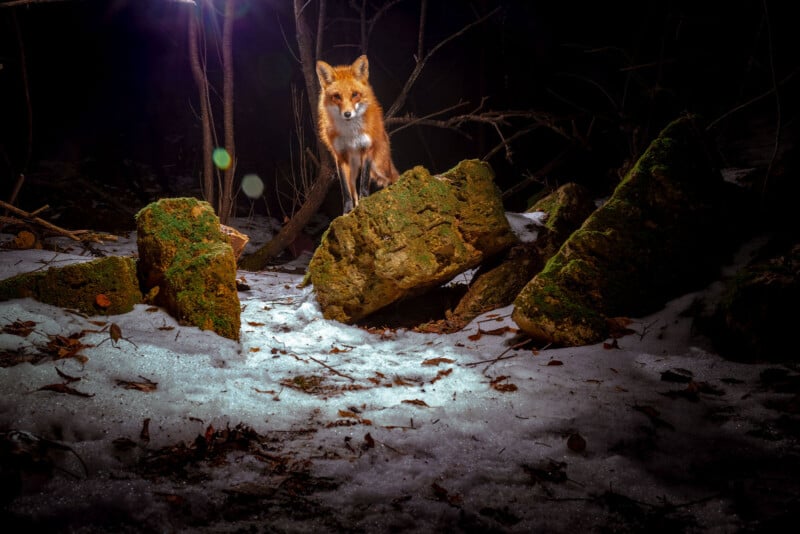
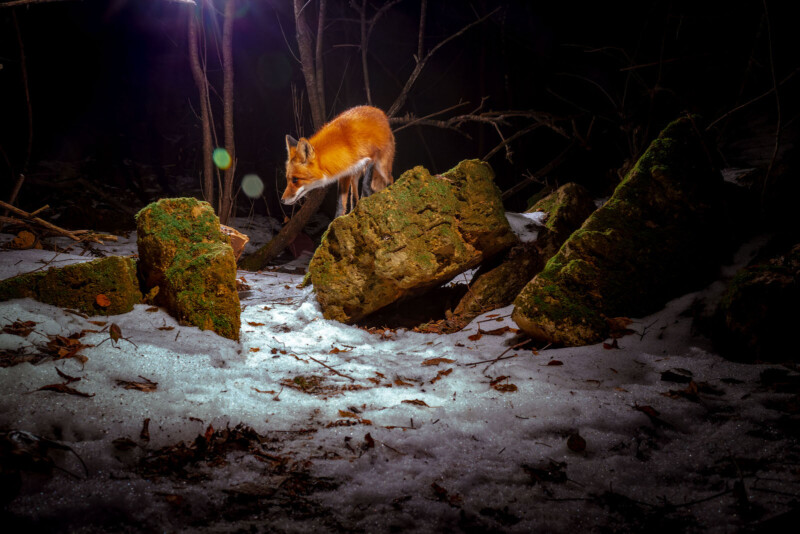
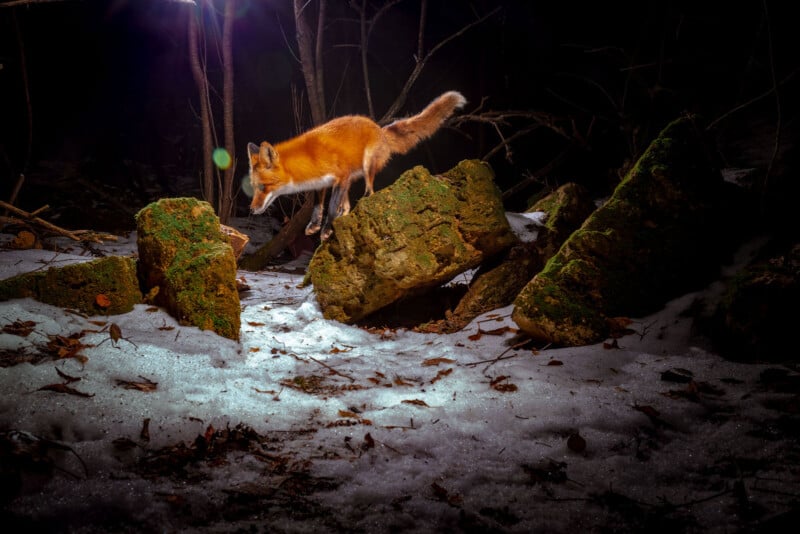
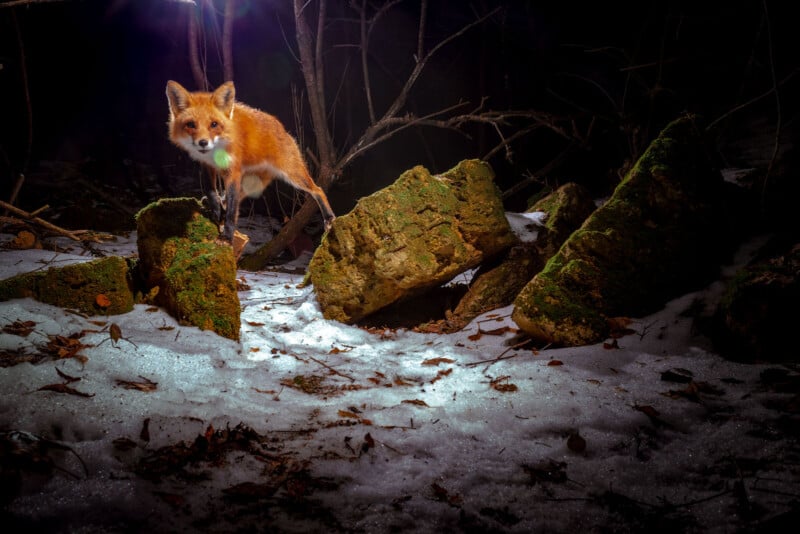
It was at this point the fox turned around and gave me the curious pose with a raised paw, gazing directly down the lens – I could not ask for a better pose or composition.
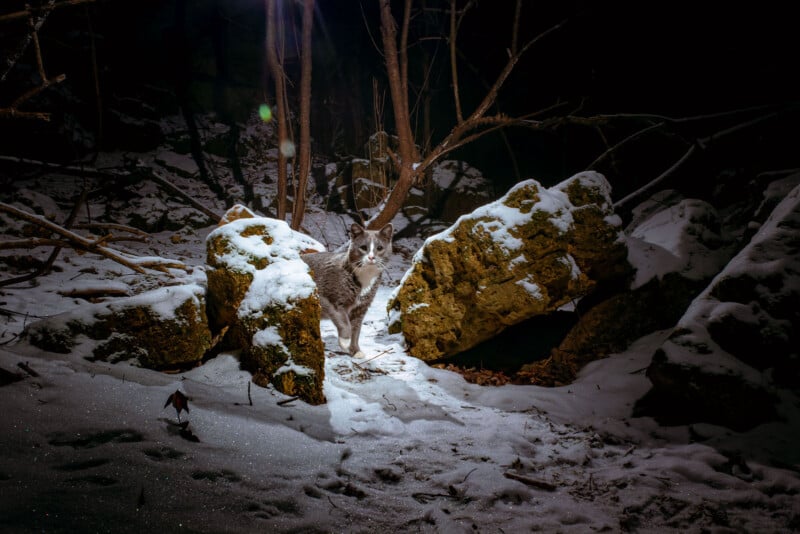
Finally, you do need to be patient…animals come and go as they please and it will take time. I built my camera trap over a year ago and deployed it 5-6 times before I got the winter fox series which a few other critters visited as well!
Good luck building your own camera trap and capturing great wildlife photographs!
About the author: Ross Harried is a photographer based in Wisconsin. You can find more of his work on his website, Facebook, Twitter, and Instagram.