How to Photograph the Geminid Meteor Shower
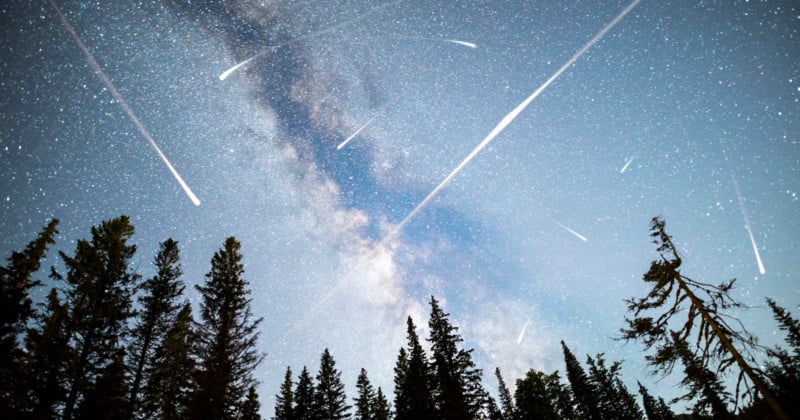
The Geminid meteor shower is set to be a one of the most consistent meteor displays of the year, so we will be taking you through the preparation, shooting, and editing tips you’ll need to capture the Geminid meteor shower from start to finish.
The Geminid meteor shower is an annual event that occurs near the middle of December each year. Interestingly, it’s thought that the Geminids are one of only two annual meteor showers that don’t originate from a comet.
Luckily for us photographers, the Geminids are also one of the most consistent meteor showers in the year, with up to 120 to 160 per hour, which makes it ripe for photographing. However, capturing a meteor shower can be extremely difficult. Not only do we have to capture well-exposed images of the night sky which introduces problems such as focusing and attaining sharp shots during long exposures, but then we have to make sure we are taking a photo while a meteor shoots overhead.
Fortunately, we’re here to help. We’ll be taking you through the best practices for finding the meteors, checking for good weather to maximize chances of seeing the Geminids, and going through a list of useful kit to bring and the best camera settings to ensure you get some shots. We will even take a quick look at how to create a composite of your best images in editing software afterward. But for now, let us get started by discovering which direction our camera should point.
How to Locate the Gemenid Meteor Shower
As the name suggests, the Geminids will appear most prominently around the constellation Gemini, though they’ll also be visible a few days on either side of it as well. Generally, Gemini will appear above the horizon roughly northeast across the globe this time of year. Should you want to get a more accurate direction though, turn to a night sky app on your smart device or computer. We recommend Stellarium for both desktop and mobile as it’s easy to navigate and simple to jump through time and dates and search for the constellation or meteor shower itself.
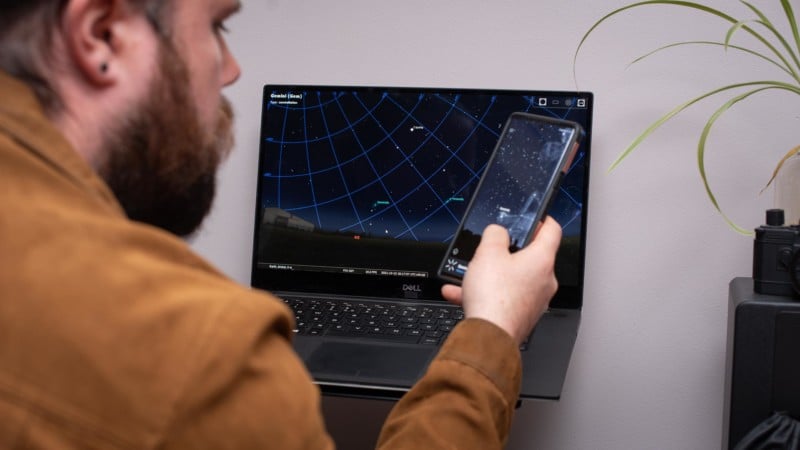
If you don’t like relying on too much tech, you can always navigate to Gemini using the stars. In the northern hemisphere, just look for Ursa Major (aka the big dipper) and draw a line from the two end stars, starting at Merak, heading up to Dubhe, and then continue up until you reach the next brightest star. That is called Polaris, or the north star, and forms the tail of Ursa Minor. From here you can find northeast pretty easily.
What Photography Equipment is Needed to Photograph the Gemenid Meteor Shower?
While it might be tempting to throw your camera around your neck and head into the great outdoors, it’s important to bear in mind that for the northern hemisphere, it’s winter and that means it’s cold and dark. As such, there are some essentials we need to pack before leaving.
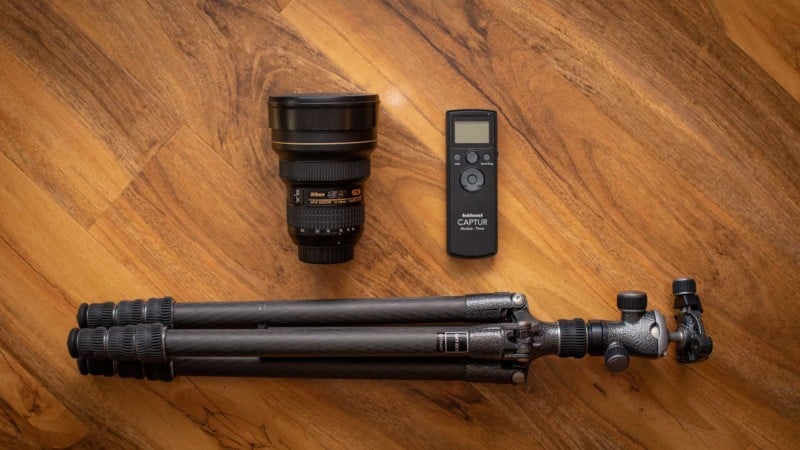
A tripod is a must to photograph the Geminids as we need to keep the camera steady during long exposures; my recommendation is to use one with a ball-head as it is ideal to enable a variety of shooting angles. Since the Geminids appear across the night sky, only with an emphasis on the direction of Gemini, a wide-angle lens of around 24mm or wider would be best. Try to choose a wide-angle lens that has a wide aperture too, such as f/2.8 or faster.
How to Photograph Meteors
Technique-wise, what we’re going to do is take loads of photos, one after the other, with the hopes of capturing some frames with meteors in them. The idea is to then composite the useful frames together in image editing software later to create a single photo with all the best photos together.
If your camera has an interval timer built-in, then a simple external shutter release is all you need to fire the camera without touching it. You can use the self-timer feature in a pinch if you don’t have a separate shutter release. The whole goal of this is to reduce vibrations and camera shake blur. However, if the camera doesn’t have a built-in intervalometer, then you should opt for an external intervalometer which will both trigger the camera remotely and take a series of images one after the other, without asking you to regularly press buttons on your camera through the capture process.
Keep an Eye on the Weather
It doesn’t matter which direction we look in if it’s cloudy as the meteors will be obscured from sight. Check the weather forecast ahead of time to avoid wasting the time it takes to travel to a suitable location, especially if going a long distance to, say, avoid light pollution.

Be aware though that weather forecasts are generally more regional than local, so they are not always super helpful for specific local spots. What that means is that if there is a chance you will have time to view and shoot without cloud cover, it might be worth heading out just in case.
Recommended Camera Settings for Photographing the Geminid Meteor Shower
Use manual mode for this shoot; other semi-automatic modes like shutter or aperture priority might change exposure settings during a long shoot based on cloud cover and light pollution, which makes it hard to composite photos together later in editing software. To keep things consistent, shoot entirely in manual mode.
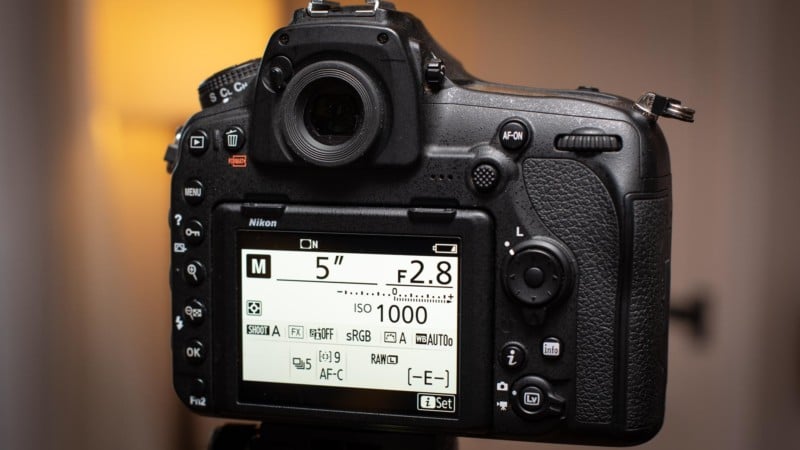
Camera settings depend on the darkness of the sky, any extraneous light pollution, and the maximum aperture value of the lens used. However, rough starting camera settings could be an aperture of f/2.8, 5-second shutter speed, and ISO1000 or greater. Make sure you turn off long exposure noise reduction. It might also be a good idea to lock your white balance to make sure the colors in all your photos are consistent. If light pollution is an issue where you’re shooting, opt for Tungsten or Fluorescent white balance to reduce the orange glow and make sure to shoot RAW.
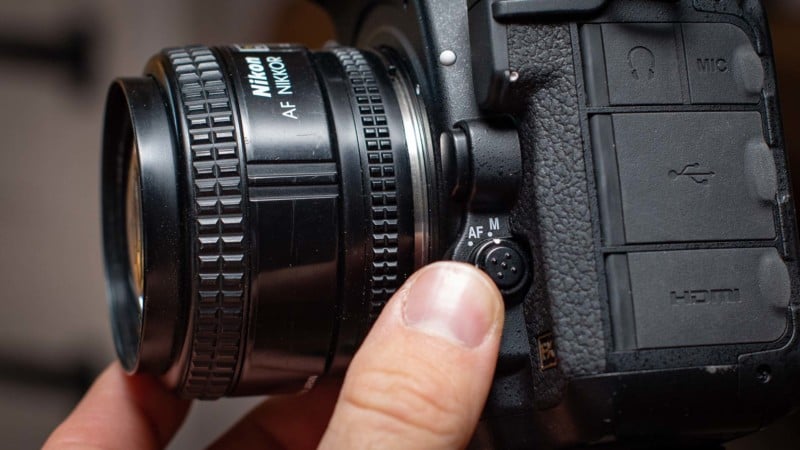
Get Focused
Autofocus notoriously doesn’t work well in low light, so focusing on the night sky will be nearly impossible. Instead, we’ll manually focus for the best results. Engage live view on the rear screen and aim at a bright star or very distant street light. Switch over to manual focus on the lens or camera body and zoom in on the star in the screen using the digital magnification feature found on most digital cameras. Manually adjust the focus ring until the star is as small and defined as possible.
How to Edit Photos of the Geminid Meteor Shower
You can do this in any layers-based image editing software, but we’ll show you how to do it in Adobe Photoshop. First, import your images to the computer and then open up Photoshop. Head to Fil e> Scripts > Load Files into Stack. Navigate to the successful images where meteors are clearly visible and click “OK.”
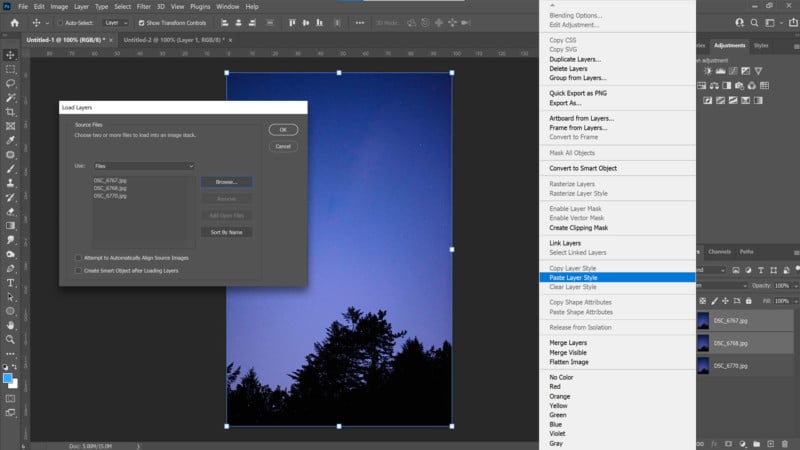
With the layers laid one atop the other, change the blending modes of all layers except the bottom-most layer to “Lighten.” To do this on multiple layers, quickly set one layer’s blending mode to Lighten then right-click on the layer and choose copy layer style. Then Shift + click on the others, right-click again and select paste layer style. If a good amount of time has elapsed between the frames chosen then the stars will have rotated and this might appear in the composite. In that case, add a layer mask to the layers affected and mask in only the meteor so that it’s visible to remove this problem.
Make any global adjustments required using new fill or adjustment layers to edit non-destructively and then save it as a Photoshop Document or JPEG for sharing online. It’s helpful to save it as a PSD as well so that you can come back to it at a later date and tweak the composite if needed, especially if you’re new to image editing or aren’t yet confident enough to edit an image you’re happy with.
Image credits: Header photo licensed via Depositphotos.