How to Pose for Pictures: The Ultimate Guide
![]()
Great portrait photography is so much more than just about knowing how to work a camera. You can memorize your camera’s entire manual and still not be confident in a portrait shoot because most portraits require posing. Luckily, this is the right place to learn how to pose and become a better portrait photographer.
Above Everything, Establish Communication
Before mentioning anything about angles or hand placement, the most important aspect of posing must be discussed. When working with someone on any project, it’s important to discuss who is doing what, provide constructive feedback, and focus on what works best. Think of a portrait shoot as a group project. Both the photographer and the model are working together to produce an end product that (ideally) everyone is happy with. However, everyone has a different idea of what they want the end product to look like, and the only way to break this boundary is to communicate effectively.
As the photographer, your job isn’t necessarily to tell your model exactly what you want them to do with every part of their body. If you do that, chances are good you’ll get a fairly unnatural-looking shot after lots of tedious adjustments. Instead, it’s important to learn how to give general directions to your subject, ask them how it feels and looks after you take your shots, and make adjustments from there. Portrait photography is a dynamic process made possible by communication. Try something, give feedback to your model, get feedback from your model, and adjust from there.
While it might seem intuitive, a quick and easy tip to start establishing communication from the beginning of your shoot is to be honest with your model. Before you take your first shots, tell them how you envision the process working, and then practice that with the first shots. Then, they’ll be prepared to respond to your direction or give feedback so that you can both improve for the next few shots. The process will only get more natural as the shoot progresses.
Beginning Your Shoot: Ask!
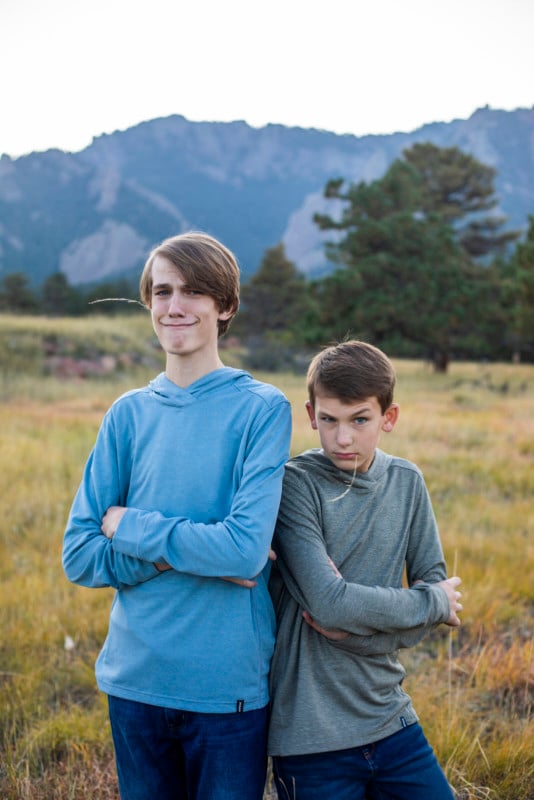
Whether you’re working with your best friend or a complete stranger, the beginning of your shoot will be the most difficult. You’re both at least slightly unsure how the shoot is going to go, and there is still some comfort and communication that needs to be established. One good way to start off a portrait shoot is to give your model a few options for how they would like to begin. It could be as simple as, “Would you like to start by standing or sitting? Which do you think would be more comfortable?”
This gives your model a chance to tell you if they have a certain pose in mind or a certain body position where they think they look most natural. Sometimes, people think they are most relaxed when they’re sitting, and starting the shoot by sitting will help you establish some communication when they’re in their most relaxed position. It also helps you establish some communication by asking your model what they would like to do, and you can direct them from there. If they have no preference, then you can do what you are most comfortable with or whatever’s convenient for your location.
Inspiration
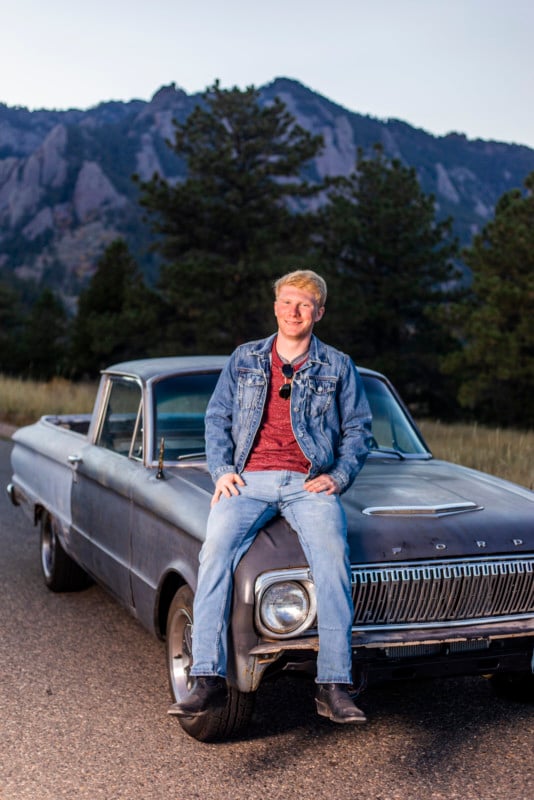
Especially for larger groups, it’s a good idea to look for some posing examples and inspiration before you go to your shoot. If nothing else, it’ll give you a few poses to keep in the back of your head for future shoots. Simply searching the internet for examples of however many people you’ll be photographing is good enough, or you can save inspiration to an album or collection.
Tips and Guidelines for Posing During a Shoot
It’s important to have a good balance between thinking about too many details and not thinking about the details enough. A photographer who nitpicks every little detail will probably be hard for the model to work with, and you ultimately won’t end up with a good variety of shots or poses to choose from after lots of time adjusting.
On the other hand, a photographer who has no attention to detail will leave the model wishing for more direction and you might notice mistakes after the shoot. Here are a few general tips to keep in mind when posing people. These aren’t definite rules, but these are good places to start.
Tip #1. Angle Slightly Away from the Camera
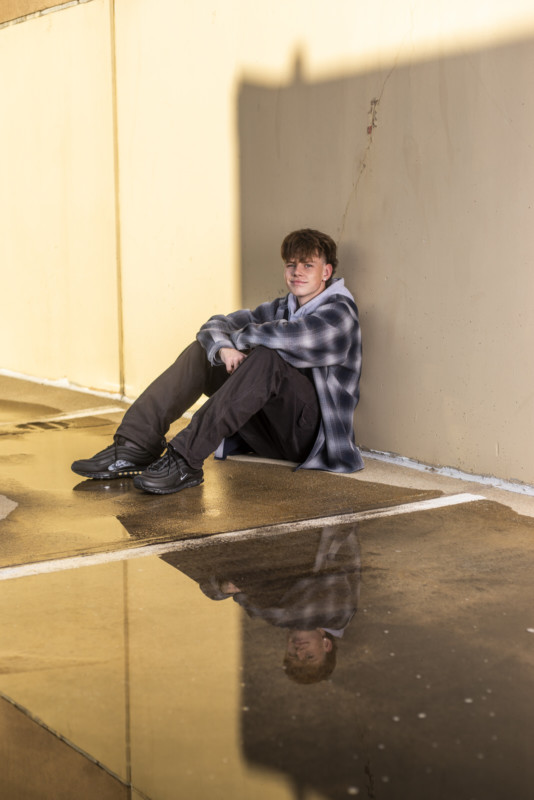
For standing shots, have people point their toes and torso at least slightly away from the camera. A “straight-on” look is usually boring and unflattering for most types of photography, and most people look best at a slight angle. For most sitting shots, you’ll want to avoid people’s knees pointing directly at the camera. Turning your model’s knees to one side or the other will look much better and provide an opportunity for more natural hand placement.
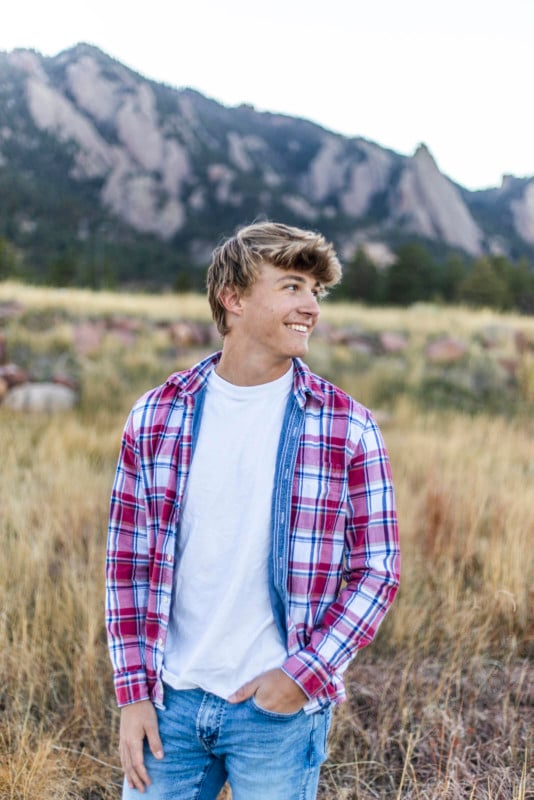
On a similar note, your model doesn’t always have to be looking directly at the camera. Especially after lots of shots looking at the camera, try a few with your model looking somewhere else. It seems simple, but it’s easy to forget that you can try lots of different ideas.
Tip #2. Use the Environment
Especially for outdoor shoots, find things for your model to lean against, sit on, and interact with. This could be as simple as your model putting their foot up on a rock or log. This will help your model feel more comfortable and less rigid, by doing something rather than just standing and smiling.
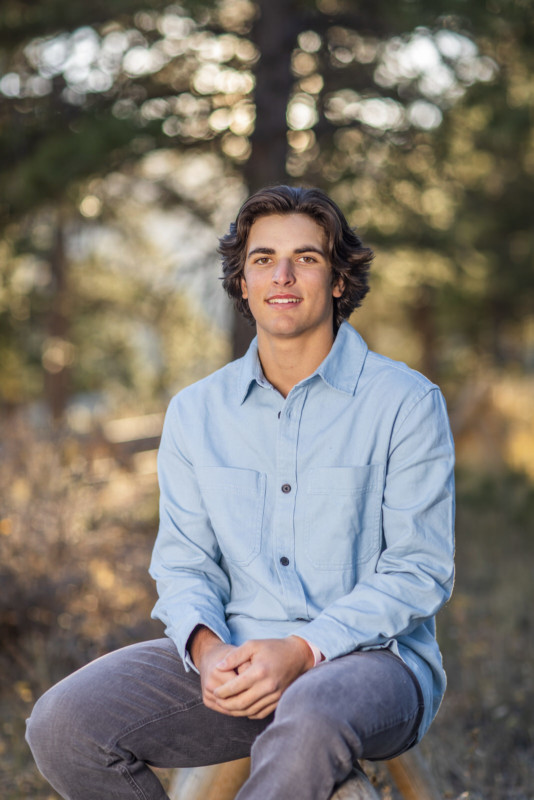
Be careful to pay attention to the background in your photos and how secondary elements interact with your subject. You may not notice a tree branch emerging out of your subject’s head while shooting the photo, but it can look obvious and distracting to viewers in the resulting portrait. If you pay attention to this, you can avoid weird subject-background conflicts by repositioning the subject, moving yourself, or both.
Tip #3. Pay Attention to Hands
Lots of people will list hands as their greatest worry when posing, both from the photographer’s and model’s perspective. For standing shots, a good place to start is to have people do something they’d naturally do with their hands when standing. This might be a hand on a hip, arms crossed (only works for some types of shoots, such as senior portraits), a hand in a pocket (also dependent on the shoot), or holding some sort of prop if the shoot allows. For sitting shots, people can use their hands to support their sitting pose, cross them in their lap, and put both hands on one knee.
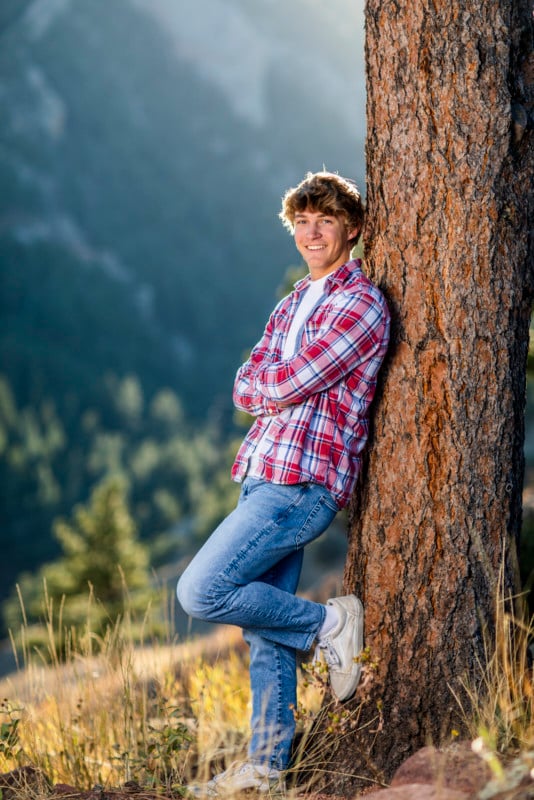
Unless it’s the look you’re going for, avoid hands being closed into fists or fingers being bunched up. These are tense positions that look unnatural most of the time. Also, be aware of where your model’s hands are in the photograph. Hands are some of the easiest things to accidentally cut off in a photograph, and it’s usually best to avoid that.
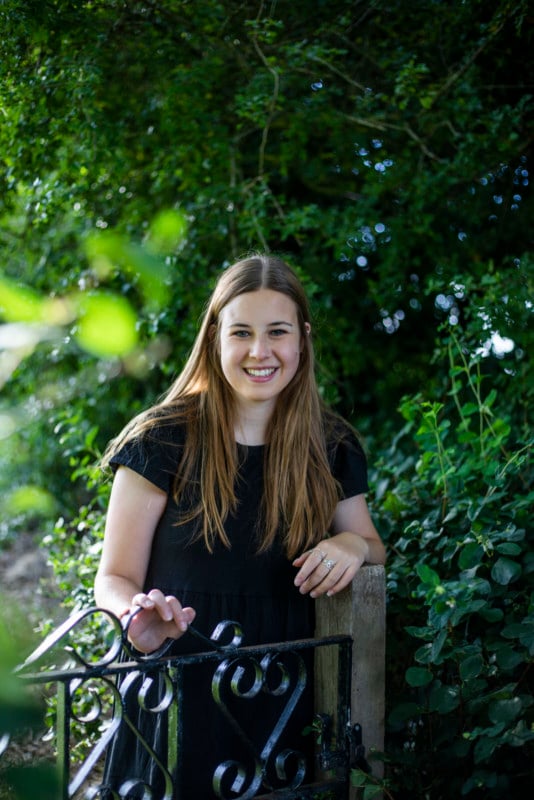
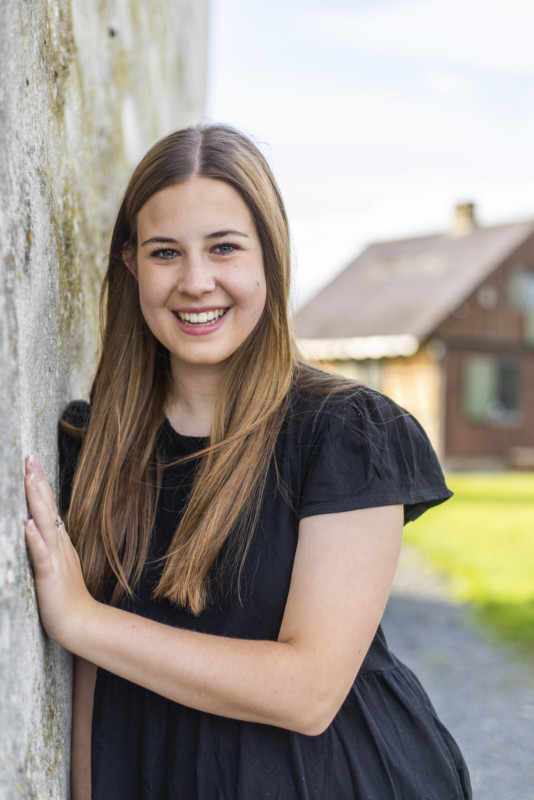
If you’re feeling comfortable with your model or you need something a little more fun, try having your model do something active with their hands. This could be something with their hair, talking with their hands, pointing (this can be a shot just for fun to loosen things up), or whatever else you can think of. Another creative shot can involve your model throwing something up in the air, such as snow or another prop if the environment allows it. This won’t work for all shoots, but it’s an idea that might be fun to experiment with.
Beware, though: if you do have your model do something active with their hands, make sure the result doesn’t look awkward (e.g. like they are picking something out of their hair). A good tip is to let them decide what to do with their hands and then adjust from there, rather than dictating an action they wouldn’t ordinarily think to do.
In general, the more natural the better.
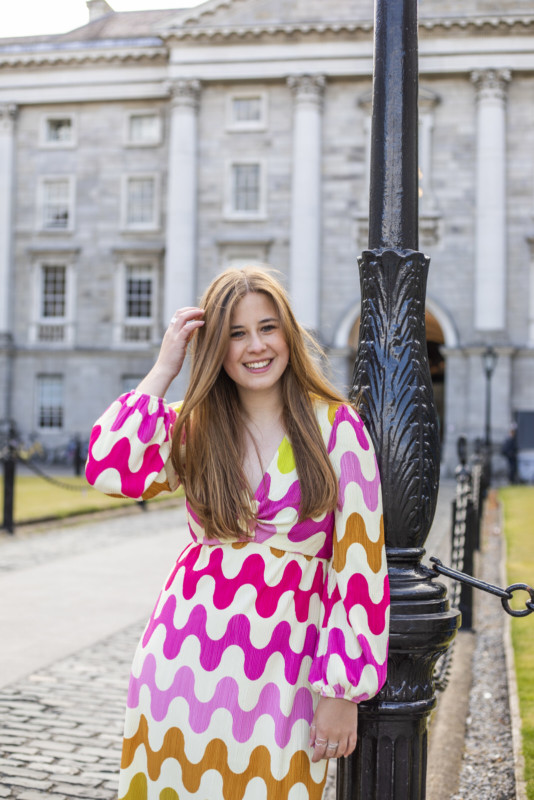
Finally, if you’re photographing a group, such as a family, try to avoid hands that are placed on shoulders where it’s unclear who the hand belongs to. Lots of people tend to place their hands on top of other people’s shoulders in such a way that it’s unclear where that hand is coming from. Direct your models to be aware of this and let them know if you notice it.
Tip #4. Have a Good Posture (No Slouching!)
No matter how many times you tell someone to sit up straight during a shoot, most people unintentionally slouch when they are sitting (and even standing). This is easy to forget about if it’s subtle, but having someone correct their posture can be a game changer in your shoot as a whole. If you’re looking for something to say other than “sit up straight,” try having someone imagine that their head is attached to a piece of string and someone’s pulling the string up toward the sky.
Tip #5. Subjects Know Their Own Hair
More often than not, your model knows what they want their hair to look like. This is where, again, communication is key. Show shots to your model while you take them so that they can look at themselves. Some photographers like to bring a mirror so that their model can fix their hair easily. Another option is to use your (or your model’s) phone’s front camera. Let them know that they should fix their hair as much as they want to.
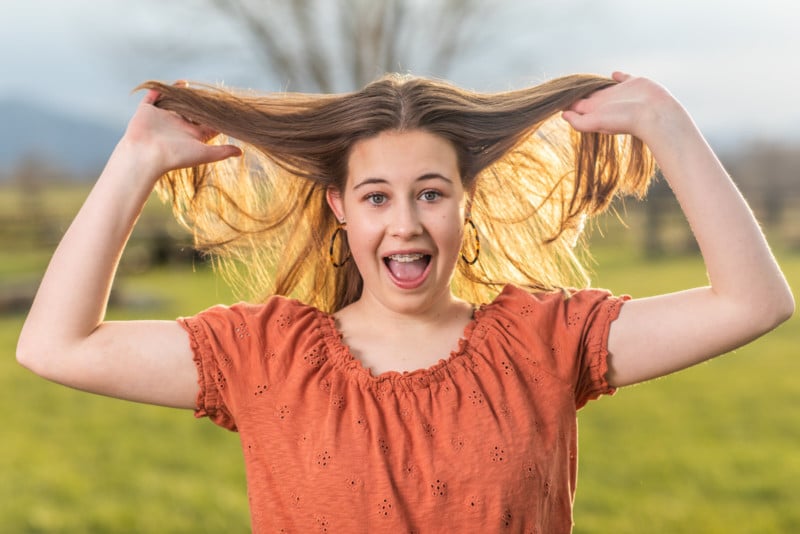
Additionally, pay attention to little things, like hair sticking up and how hair sits on your model’s shoulder. If in doubt, ask your model if they’d like their hair to do whatever it’s doing. If they don’t like it, they can fix it and they probably didn’t realize it in the first place.
Tip #6. Focus on the Chin and Jawline
Most people don’t require too much direction with their chin, but it’s an important thing to keep in mind. A chin that’s too high or low will be unflattering. Most people tend to keep their chin a bit too low, and bringing it up a bit will help them look their best. However, everyone’s different, so communication is key.
One thing to pay attention to is the subject’s jawline. Posing in certain ways can create double chins and an unflattering appearance in the area between the head and neck. By asking your subject to tilt their head and move their head forward a bit, you can achieve a sharp jawline that leads to more attractive portraits.
Tip #7. Shake it Out: Take Posing Breaks
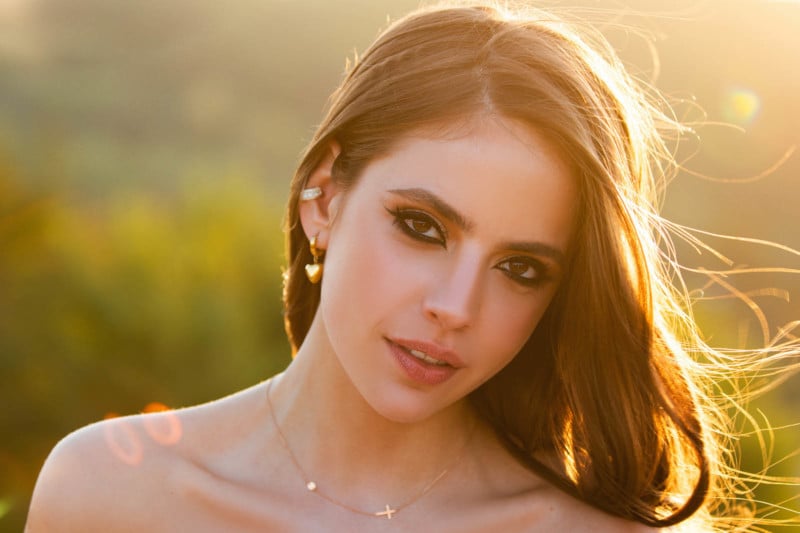
Everyone gets tired of smiling over and over again. Tell your model to “shake it out” if they’d like to, whatever that means for them. For some, that might mean getting up and moving around a bit before doing more shots. For others, that’ll just be relaxing their face and loosening up a bit. During a shoot, you don’t always have to be “on task.” You can take a break and talk to your model about something else for a bit. Then, when they seem a bit more relaxed, you can ease back into the posing.
Tip #8. Add Movement
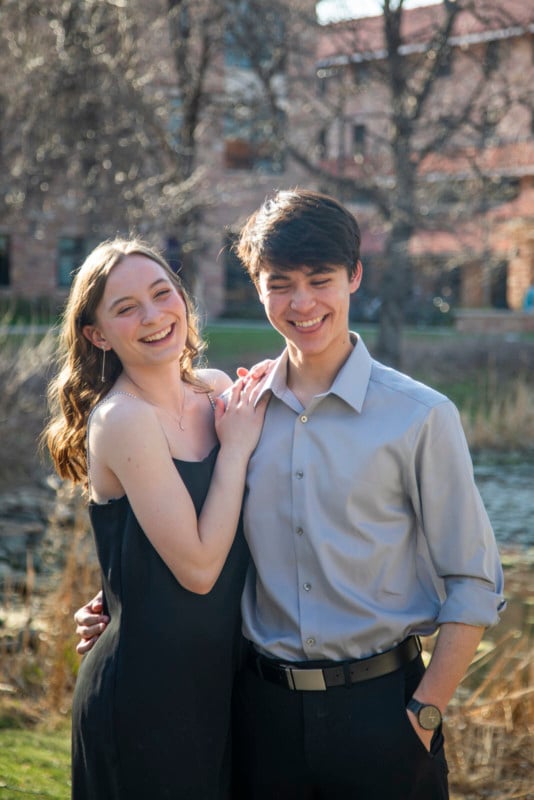
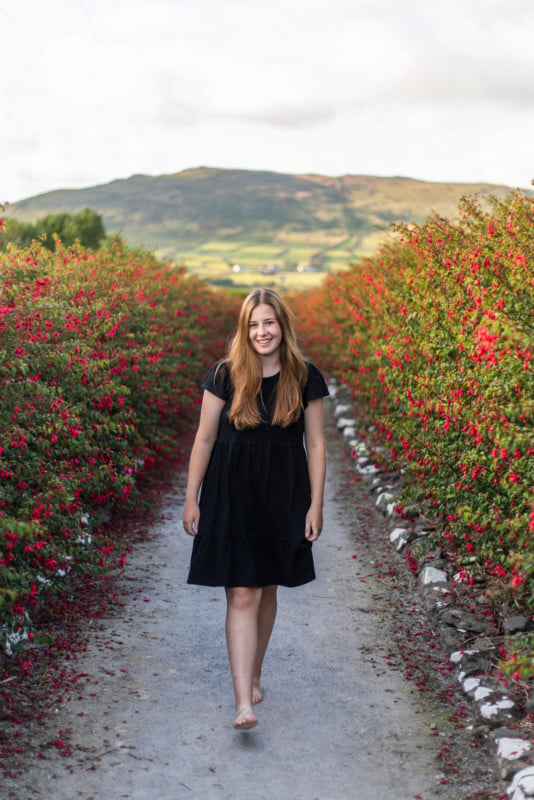
Poses don’t have to be fully static. You can direct your model to pose by walking toward the camera, walking and then leaning, or any other combination of movements. The movements can be part of the shot itself or they can lead up to the shot so that your model is more relaxed when you press the shutter button.
Again, feel free to ask your model what they think about a less static pose. Some people will love the idea, some will prefer to be stationary. Use this as a break from the more traditional posed shots, and then the following more traditional posed shots will look more relaxed.
If you do choose to have your model walk toward you, it may be a good idea to time your shot so that the front foot is on the ground, rather than in the air, in the resulting photo. If you look closely at fashion photos of models on runways, you’ll see that their front feet are almost always on the ground in each image — it’s less attractive to show viewers the bottom of a person’s foot.
Tip #9. Act Out a Scene
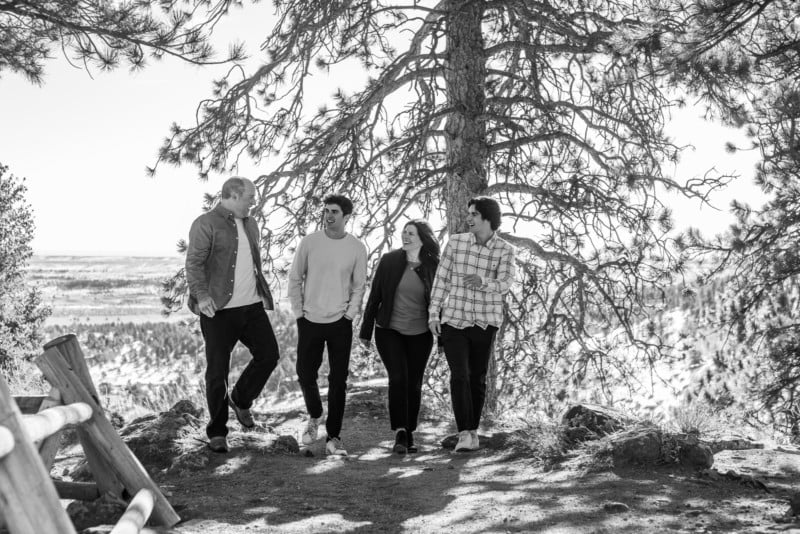
It’s not for every photographer or model, but some people like to pose by asking people to act. For example, some people like to use similes to convey emotions: “Walk toward me and smile like you just saw the cutest dog ever,” etc. This can be useful for families and couples when it’s easier to give a general direction than to tell each individual what to do. The simile will help people be a little more natural and hopefully genuine with your idea, and it can even give groups something to naturally laugh or talk about.
After the Shoot
If you’re just getting started posing people, start by working with someone familiar to get practice. After each one of your shoots, review your images and reflect. What worked and what didn’t? It’s important to remember that every shoot will be a little different, and some people will respond better to your strategies than others.
You will have some shoots that end up being really fun and easy to pose, and others will be difficult. Over time, you’ll build up strategies for gauging how the shoot is going and making adjustments if you think anything could be better. This is why it’s important to do some reflection after each shoot, even if it’s just a quick consideration.
Conclusion
Posing is one of those things that is hard to learn by only reading an article. Use this article as good information to keep in mind when you practice posing, and then practice a lot. You’ll get better by trying different things, seeing what works and what doesn’t, and then doing it again. If you practice good communication and find the right balance of attention to detail, the rest will come with repetition and you’ll become a better portrait photographer.