
The Best Free RAW Photo Editing Programs in 2023
One of the most exciting advancements in digital photography over the last several years has been the rapid increase in the ability to shoot and edit RAW photos.
One of the most exciting advancements in digital photography over the last several years has been the rapid increase in the ability to shoot and edit RAW photos.
We are all likely familiar with Adobe Lightroom or Photoshop as far as editing applications go and a lot of people love these apps for their versatility and powerful suite of features. But they do come with a price, and paying a fee isn't always what every photographer is looking for.
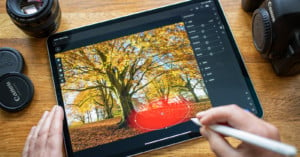
Although Adobe Photoshop has become known as the industry's leading post-processing software with its powerful non-destructive editing tools, it is by far not the only option available out there.

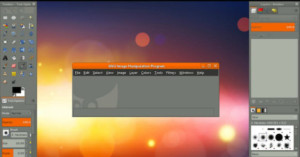
If you're a Photoshop user who's considering switching to the free and open-source image-editing program GIMP, PhotoGIMP is a patch designed to smooth out the transition for you.
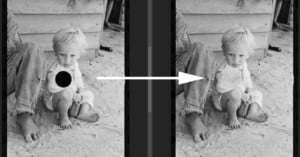
The visual record left behind by the United States Farm Security Administration (FSA) photographers has, according to New York Times critic Charles Hagen, come to “represent one of the most ambitious attempts ever made to depict a society in photographs (Hagen, 1985).”

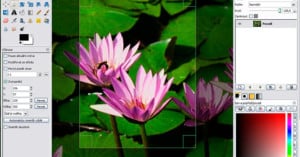
One of the most popular free alternatives to Photoshop out there is GIMP, an open source graphics editor that packs a lot of punch. But if you want GIMP to really improve—adding features like high bit depth and CMYK support—the folks behind it are asking that you support one of their most prolific developers.

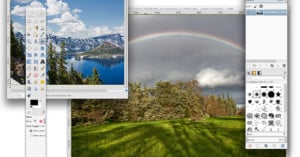
GIMP has announced version 2.9.2 of its popular free and open source image editing software. Included in the research is 16-bit and 32-bit per color channel processing and a number of other features and upgrades.
If you've downloaded a copy of GIMP for Windows from SourceForge in recent days, you may want to double check to make sure you didn't get other programs installed as well. Some copies of the "open source Photoshop" were apparently being offered with for-profit adware bundled with the installer.
GIMP, the image editing program that's a popular open-source alternative to Photoshop, is now easier than ever for Mac users to start using. Though it was completely free, installing it has long required that X11 also be installed -- a major pain in the butt. That changes with the latest version of GIMP: the app is now a self-contained native app that's a breeze to install. It's as simple as dragging and dropping.
The GNU Image Manipulation Project, more popularly known as GIMP, has just released version 2.8; the first complete GIMP overhaul since 2008. For those who don't know (and there probably aren't many) GIMP is famous for being a slightly more complicated (and a lot more free) alternative to Photoshop with fewer features. And it seems that, right on cue with the Adobe CS6 release, GIMP is trying to close the gap between the two products that's been widening these last 4 years.

An earlier post here on PetaPixel showcased a wonderful image of a flock of cell phones and the method used to create it. In a rather snarky comment, I said to get back to me when they started tossing babies, and linked to my daughter merrily jumping in her crib with her toys. Mike was kind enough to approach me about writing up a small walk-through on how I created my image, and who can honestly turn down a chance to show off their baby daughter looking so cute?
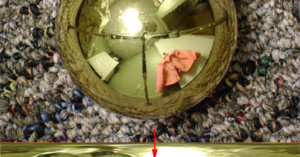
Ryan Burnside recently set out to find a cheap way to shoot 360-degree panoramas of scenes, and discovered that shooting a Christmas ornament (or any other spherical reflection) captures all the information needed -- all that's needed is a way to "unravel" the spherical image. Burnside found that the free image editor GIMP can do the trick.
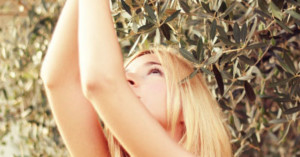
I took this shot with my Canon EOS 450D, and a Canon 50mm f1.8 -- my favourite lens in the case of portraits especially.
I chose to make the shooting session about a hour and half before sunset when there's still a lot of light, but with a warm, lovely quality to the light. I prefer warm tones, and to emphasize these tones and balance the cool colours of my model dress and tree leaves I set White Balancing to "cloudy". You can see in the picture that the sun was on the right side of model, so she didn't have too much direct light on her face. The white wall behind acted as a discrete reflecting panel, resulting in light that's quite uniform.