What is a Contact Sheet and How Do You Make One?
Film set the photographic standard in more ways than one. The contact sheet, for example, once an essential aspect of the film process, has survived the transition to digital. Although it serves a slightly different purpose these days, the contact sheet can help you see the results of a shoot and make your best photos easier to share.
Table of Contents
What is a Contact Sheet?
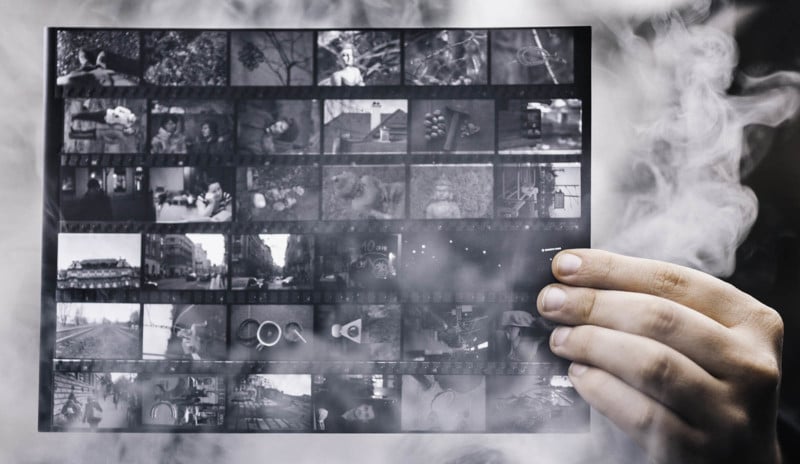
In film photography, contact sheets allow a photographer to view all the frames from a roll of film in print. Contact sheets get their name from the way they’re made: by placing negative strips directly onto a piece of photographic paper and making a print. This allows for a simple review of the results from a roll of film.
Using a magnifying loupe, the photographer can examine and assess each shot, selecting which frames to possibly print. Because it’s really just an 8-by-10 photo, the contact sheet allows the photographer to cross out the bad shots, circle the good and mark them up for any required dodging and burning.
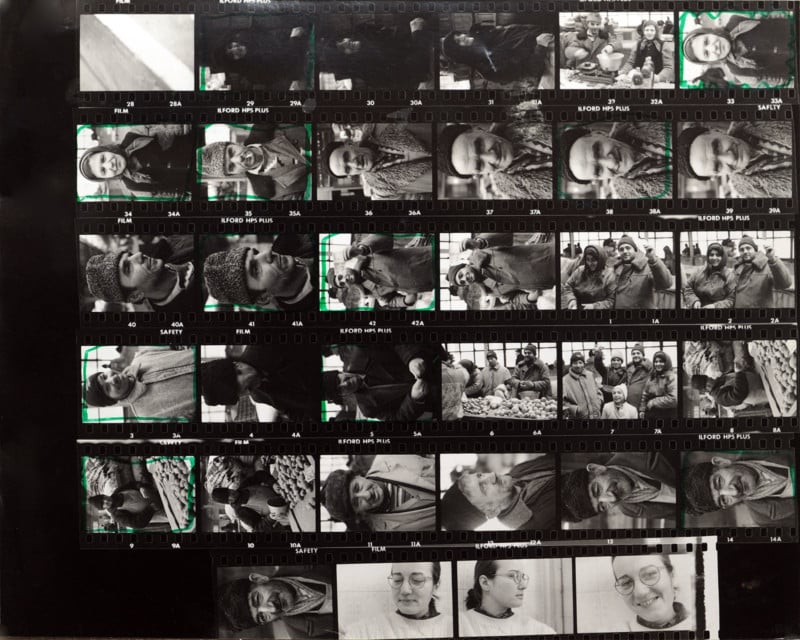
The contact sheet also provides an overview of a shoot, a succession of photos from frame to frame. This helps inform photographers (and other viewers) of the creative process and provides perspective on the craft.
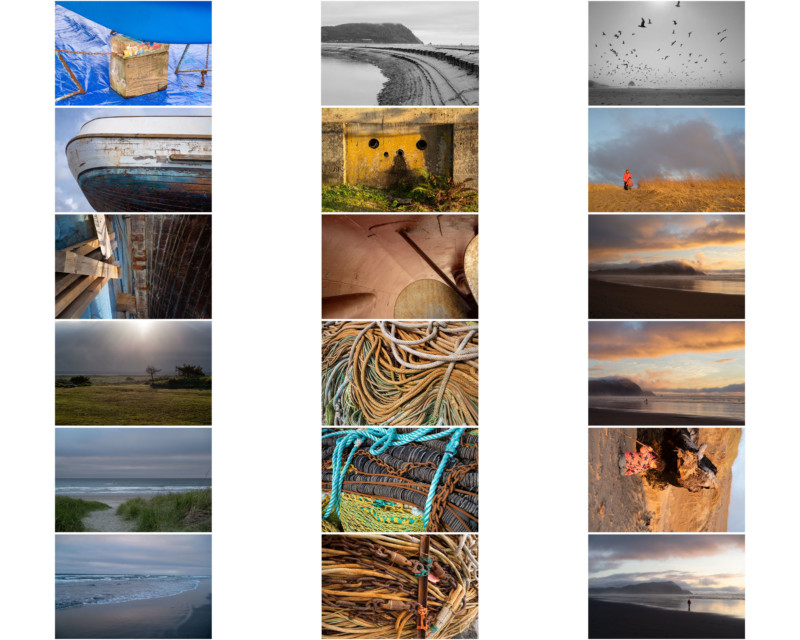
In the digital world, a contact sheet is like a photo gallery, but the photos are arranged in the same standard grid format rather than something like a carousel. Think of it as a page of thumbnails that presents a selection of shots on the screen, no scrolling necessary. Zooming is still possible, as is ranking, sorting and deleting. Sharing a digital contact sheet can be as simple as creating one and hitting print or saving as a PDF.
Why Make a Contact Sheet?
Both professional and amateur photographers will benefit from making contact sheets. There really is no better tool for comparing and presenting a collection of images. Reasons for making contact sheets include sorting, quality control, testing printer paper, and providing clients with a gallery of shots from which to choose.
In digital photography, contact sheets also offer other important benefits. Consider how many photos result from a day of digital shooting. Lots. Only by culling the poor and mediocre shots can a photographer see what he or she has really got. Scrolling through hundreds of images doesn’t allow for easy comparison. But examining all of the good shots together, without distracting throwaways in between, lets the photographer decide on which are best. The classic grid format of a contact sheet presents the photos in an easily digestible manner.
Another reward of making contact sheets is the thumbnail view itself. With high-powered sensors and computer screens, it’s easy not to see the forest for the trees. Pixel peeping is all too tempting, and many screens are far larger than a 4-by-6 or even an 8-by-10 print, so the details become all too visible.
Contact sheets present photos in a tiny format, and this facilitates a view of the bigger picture in each photo. Reducing a photo to a thumbnail permits you to consider the composition and lines, and to judge whether a photo is compelling or not.
How to Make a Contact Sheet
There are different processes for creating a contact sheet depending on if you’re working in a darkroom with analog photos or on a computer with digital photos.
Darkroom
- Cut developed 35mm film into strips of 5 or 6 frames. For medium format, use 3 or 4 frames.
- Turn off the lights in the darkroom and turn on the safelight.
- Lay the film strips, emulsion side down, onto a piece of photographic paper, typically an 8-by-10. Some photographers use contact printing frames to hold the film strips, and others set a sheet of glass over the negatives to keep them flat on the paper.
- Set the enlarger to the aperture you’ll use for printing. Position it to cover the entire sheet of paper.
- Make a test print by covering the whole with a black card and exposing one frame, then fix and rinse.
- When you’ve found the right exposure, do an exposure of the entire set of film strips. This will result in a contact sheet you can file with the negatives.
Photoshop
- The first step to making a digital contact sheet is to select the photos you want to include. It’s helpful to put them in a folder first.
- In Photoshop, go to the File tab up top, select Automate, then select Contact Sheet II.
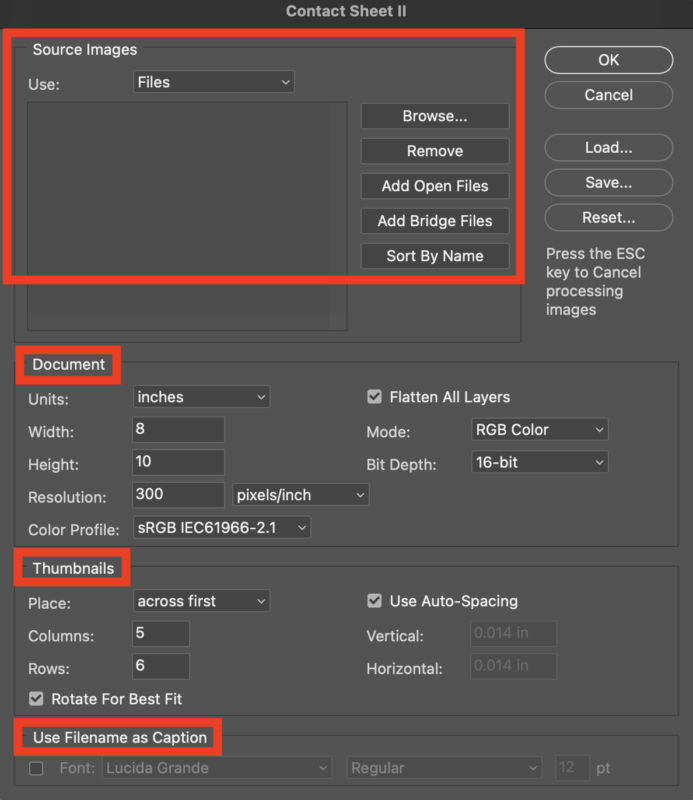
- In the Contact Sheet II dialog box, go to Source Images > Use, then click the drop-down arrow to choose the desired files. (Note: If choosing files from Bridge, make sure only the desired files are selected in Bridge, or the contact sheet will include all of your files.)
- Customize your contact sheet via Document (dimensions and color data) or Thumbnails (order, number of columns and rows). In Thumbnails you can also deselect Use Auto Spacing to customize the layout further, and you can deselect Rotate for Best Fit to prevent images from being rotated. Deselect Use Filename as Caption to remove any captions.
- Click OK and Photoshop will generate the contact sheet. Photoshop will make multiple pages, if necessary.
- Print the contact sheet, or export it as a JPEG.
Lightroom
- Again, the first step is to create a Collection in Lightroom, then open it.
- Choose the Print module at the top-right. If not visible, toggle the triangle at the top of the Lightroom window.
- Page Setup allows you to choose the orientation (vertical or horizontal) of the contact sheet. In the Printer Settings (Properties in Windows) you can choose the paper source, output type and resolution.
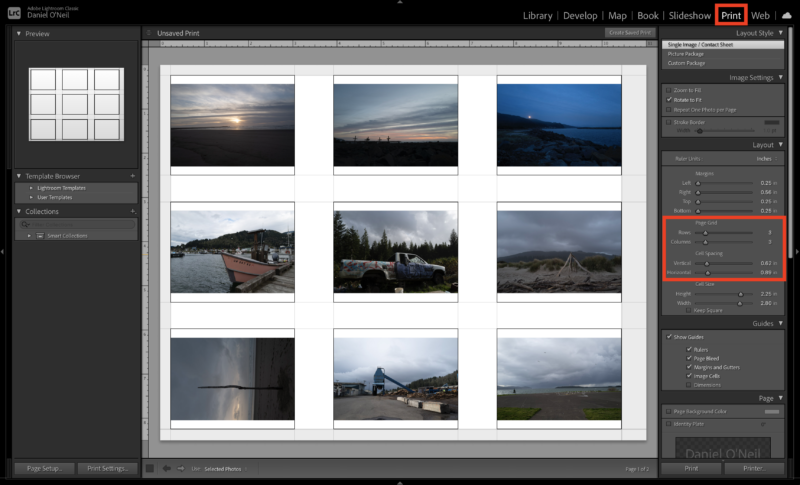
- In Layout Style (top right), make sure Single Image/Contact Sheet is selected.
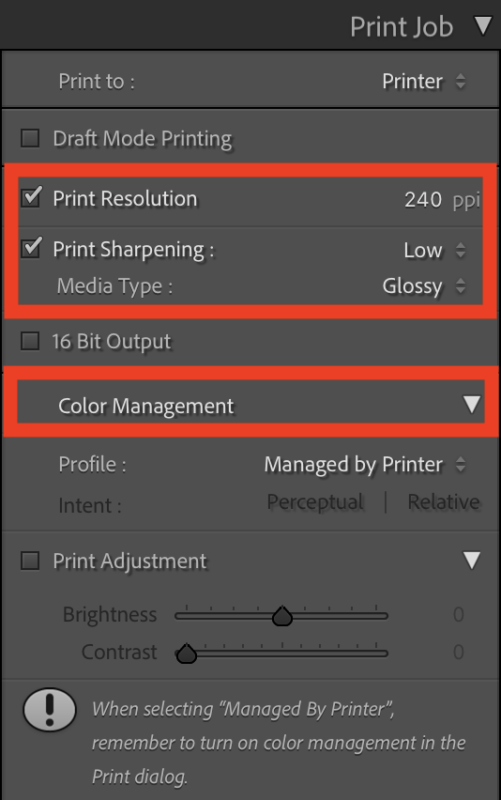
- In Layout, add rows and columns, then, if desired, space them horizontally and vertically. In Image Settings, you can rotate the images to make them all vertical or horizontal. In Page, you can add filenames or information, and page numbers. In Print Job, you can adjust the sharpening, choose matte or glossy paper and select the color management (profile for printer and media type).
- Click Select All, and Lightroom will add all of the images from the chosen Collection to the contact sheet. Lightroom will make multiple pages, if necessary.
- To save as a PDF, click Printer in the bottom left, then click the PDF drop-down arrow and select Save as PDF. To print, click Print on the main contact page window.
Other Software
Creating contact sheets in other post-processing software is just as simple. While providing instructions for each brand of software goes beyond the scope of this article, a quick internet search will yield instructions. Fortunately, popular software such as Capture One offers instructions online.
Conclusion
Contact sheets make comparison and presentation of a gallery or collection of images easy and aesthetic. Whether the contact sheet is for personal or professional use, multiple benefits await viewers. Whether printed or as a PDF, contact sheets provide the photographer (and clients) with a tidy, organized view of selected photos.
Try incorporating the contact sheet in your post-production workflow and see how it can best serve you.
Image credits: Header photo by Benjamin Balázs.