ND Filter: A Beginner’s Guide to Neutral-Density Lens Filters
The neutral-density filter, or ND filter, is a powerful lens filter photographers use to reduce the amount of light entering a camera lens in order to select exposure combinations that would otherwise result in overexposed images. This article is a basic guide to ND filters and how they are used.
Light, either natural or artificial, is by far the most crucial element when we photograph as it can transform both the scene and the mood of the image. And it’s very important for a photographer to know how to control it based on his needs. But how a photographer can control the available light in the scene?
This is the reason that photographic filters were invented along with the first cameras and lenses, as they provide the ability to control the available light based on the needs of the shooting.
What is an ND Filter?
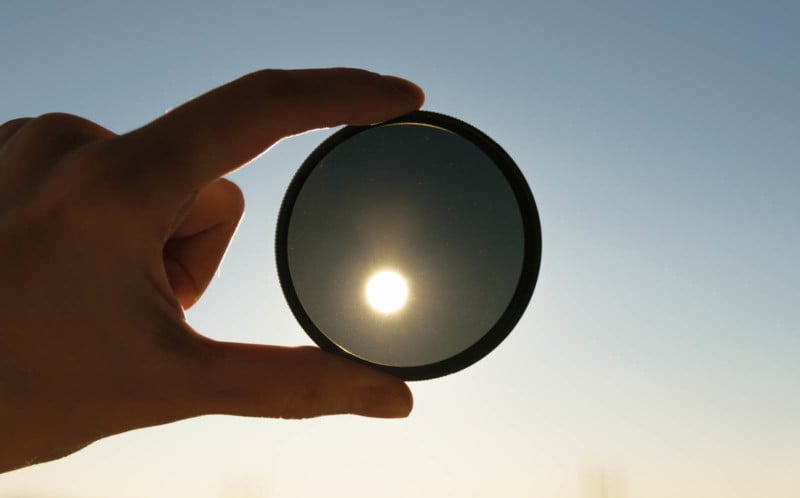
A neutral-density (ND) filter is a colorless piece of glass that decreases the intensity of the incoming light evenly in all wavelengths — meaning it aims to not affect the colors in a scene — allowing us to have precise control over the amount of light that will enter the camera sensor.
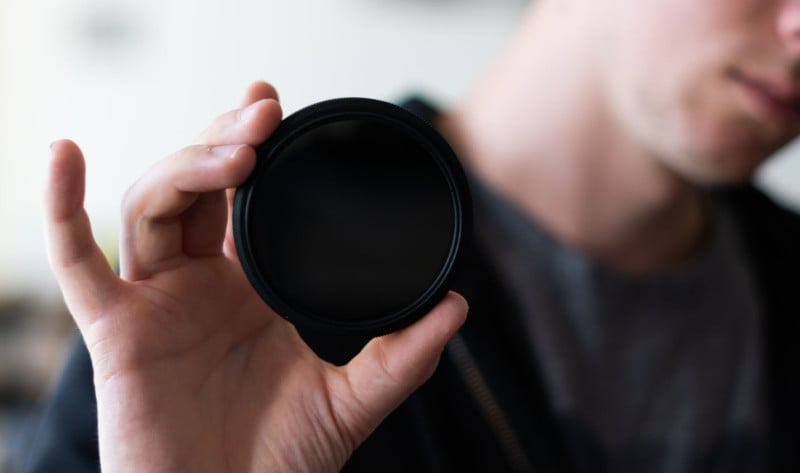
ND filters are available in circular and square types, and they are produced in all sizes so it is certain that you will find one suitable for your lens(es).
How Do Neutral-Density Filters Work?
The ND filter is placed in front of the lens and it basically blocks some of the incoming light.
A good analogy would be the sunglasses we wear during a bright sunny day, which allows our eyes to see better under the intense light.

If you wanted to look at the world with your eyes wide open (like using a larger aperture) in strong sunlight, you could wear some sunglasses to block some of that sunlight from reaching your eyes. Otherwise, you would need to squint (reducing the size of your aperture) in order to not hurt your eyes (like overexposing a photo).
ND filters are separated based on their blocking strength, which means that there are ND filters with less blocking strength that allow more light to pass, while others with more blocking strength allow minimal levels of light to pass.
When Would You Need an ND Filter?
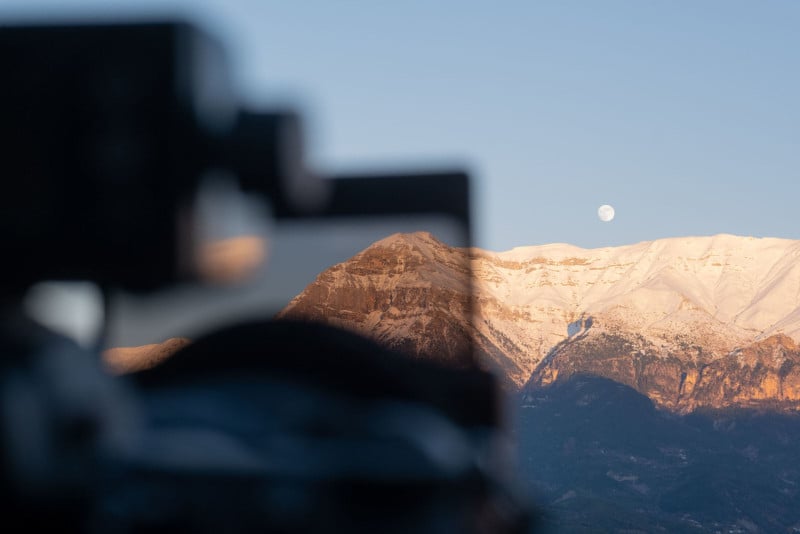
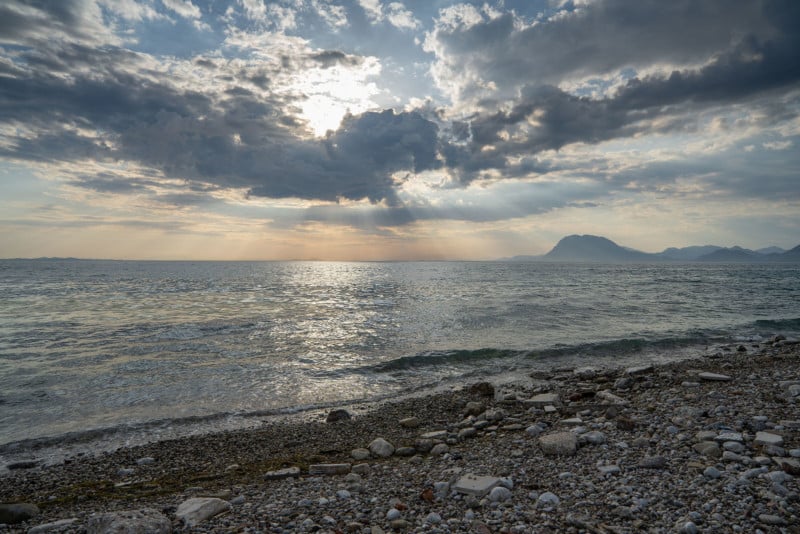
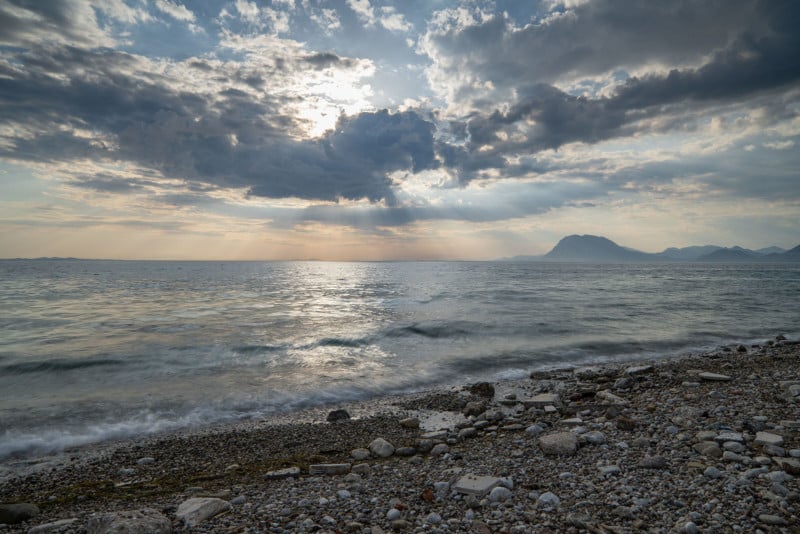
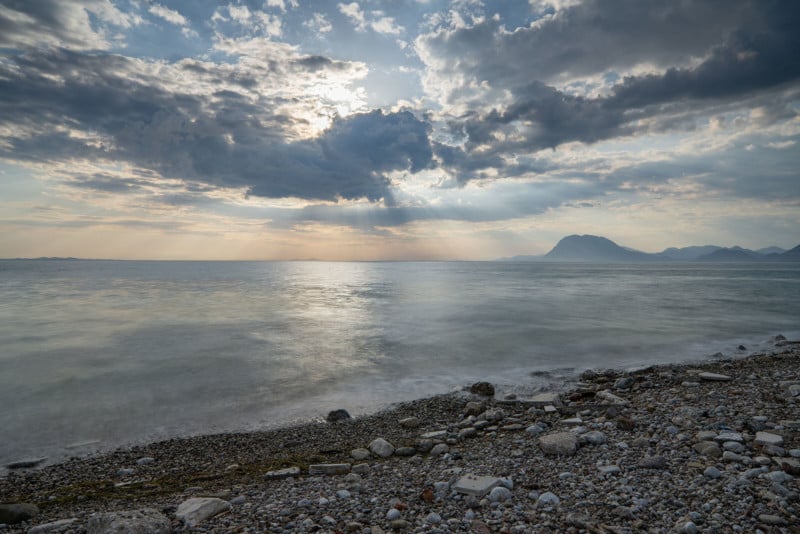
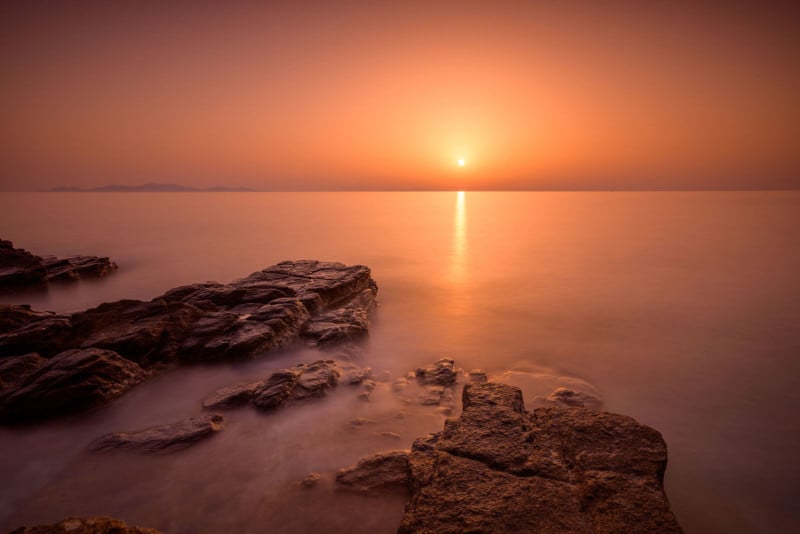
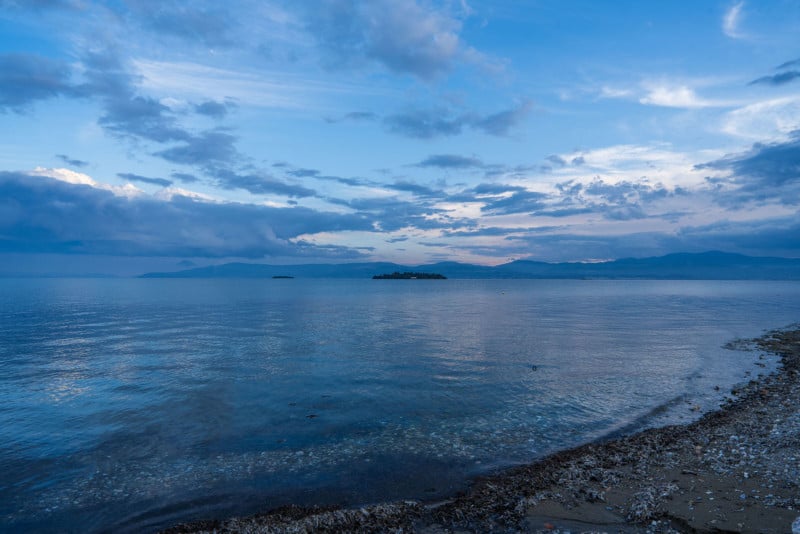
The most common situation when an ND filter is very useful is when the shutter speed needs to be extended during daytime; for example, to create a beautiful long exposure of running waters or those nice passing clouds over the mountain peak.
Even if a narrow aperture is used, such as f/11 or f/16, there is still a lot of light available and it is not possible to extend the shutter speed to more than 1 second.
An ND filter, depending on its blocking strength will allow us to extend the shutter speed to several seconds, as was done in the example below.
Another situation when an ND filter is useful is when a wide-open aperture (f/1.4, f/2) must be used under daylight but the shutter speed must remain constant; for example, for video shooting or when the light meter warns us of overexposure even if we reached the fastest shutter speed (i.e. 1/8000). Again, based on the ND blocking strength we can achieve those beautiful shallow depth of field shots as the filter lowers the overall amount of light.
Do Neutral-Density Filters Degrade Image Quality?
No matter how good and capable your camera sensor might be in retaining all details and having high resolution, you must keep in mind that light enters the camera through the lens as well as the filter, which is most often attached to its front.
Depending on the filter optical elements quality, the final image might have lower sharpness or other optical aberrations, for example flaring or even color shift (or color cast) that many times is rather difficult to fix in post.
Of course, this is something that applies to all filters and not only ND, but in the case of ND filters especially, color shift is a common issue. To avoid negatively impacting your image quality with your ND filter, you may want to purchase the highest-quality ND filter you can afford.
How to Know What Kind of ND Filter to Buy
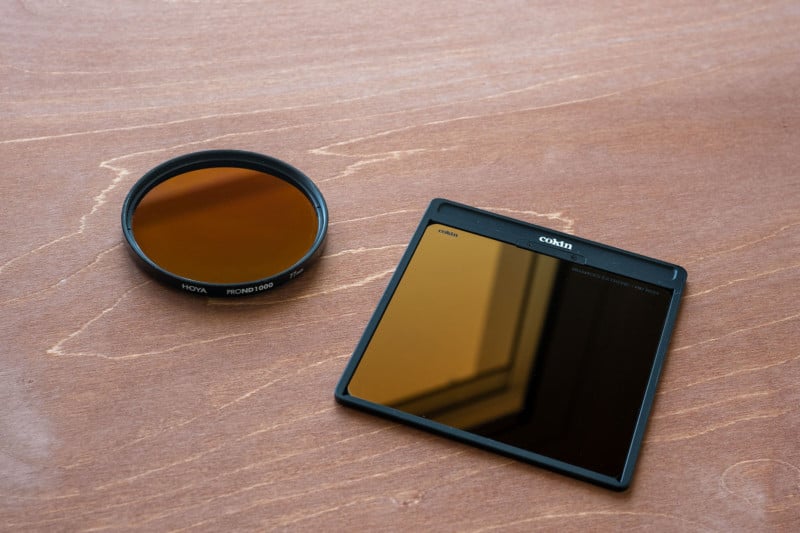
As we mentioned earlier, ND filters are available in both circular and square versions and in all sizes, so it is easy to find one for your lens. However, they are also separated based on their light-blocking strength, which is the most important factor when you are searching for an ND filter to buy.
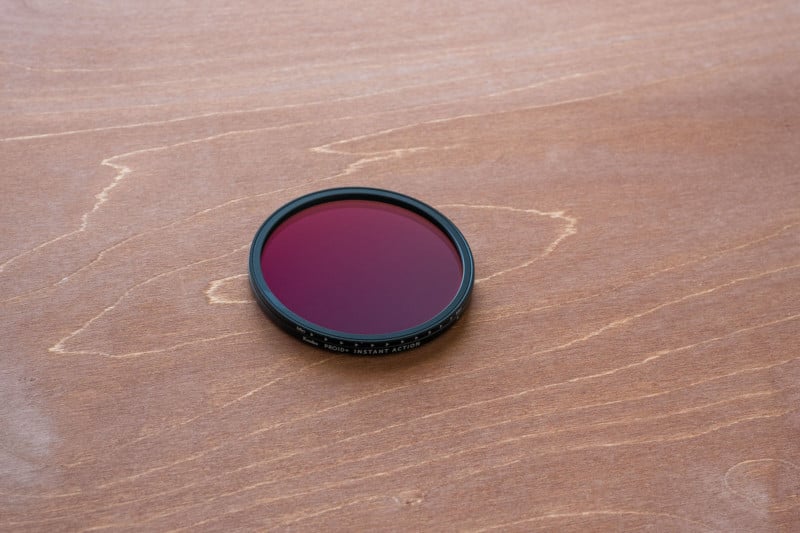
Aside from its brand name (i.e. Cokin, Hoya, Tiffen, etc), an ND filter often has some text and numbers on its product case that informs us of its strength. This text might be something like “ND1000” or “ND3.0” or just “10-stop ND.”
All these three names indeed refer to a 10-stop ND filter, but each of them refers to something specific.
ND1000 refers to the Filter Factor Number, which translates to how much light is reduced. In this case, it’s 1/1024.
ND3.0 refers to Optical Density Number, which is the amount of energy blocked by the filter.
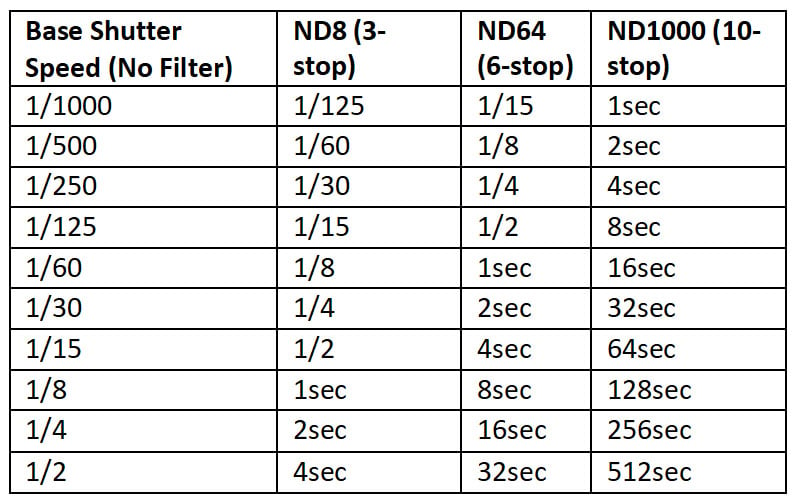
Below is a table of the most common ND filters that might be useful.
![]()
But how can this be translated to real-life shooting scenarios so that we can better understand what ND we should choose?
Here is another table containing some practical data, with shutter speed examples.
There is of course the option of stacking two separate ND filters together — a 5-stop ND and a 10-stop ND to have a 15-stop ND filter, for example — but keep in mind that in most cases and no matter the quality of the filters, many optical aberrations might be visible, as also there is a big possibility of vignetting being introduced into your photo.
How to Use a Neutral-Density Filter
After we reach our shooting location, we start by fixing and finalizing our composition, and then we take some test shots to check the light levels and if the image is exposed properly according to our creative vision.
We also check if the image is focused properly as even with the most recent cameras, it can be very difficult to achieve proper autofocus with a 10-stop ND in front of the lens.
After everything is checked and finalized, we attach the filter.
Note: Before we attach the ND filter to the lens, we must be sure it is clean with no visible dust or oil spots that might be visible on the final image.
Depending on the blocking strength of the ND filter we selected, we have to make the necessary changes to the exposure settings based on our initial tests.
So for example, if our initial base exposure test (without a filter) was aperture: f/8, shutter speed: 1/400, and ISO: 64 and we selected a 10-stop ND, then the exposure settings should be aperture: f/8, shutter speed: 2.5sec, and ISO: 64 so to have the same amount of light as the initial shot.
When capturing photos with longer exposure times, we also have to make sure that the camera is on a sturdy tripod and also that we will use either a remote control or the camera’s self-timer option to avoid any micro-movements that will ruin our shot.
Are There Any Other Types of ND Filters?
Aside from the common ND filter, there are also other types of ND that are available in the market.
Variable ND Filters
This is an ND filter that has adjustable variable density strength, such as ND3-400, which means that the blocking strength is not constant, but it can be adjusted by the user depending on the shooting needs by turning the front of the filter.
These filters are very handy when you don’t want to carry many different ND filters in your camera bag and are extremely helpful for video shooting as the user can adjust the density on the fly. For example, they can be used when filming for a wedding and there is a scene in which the couple is outside in daylight and then they walk into a much darker building.
Note that in addition to buying a variable ND filter, you can also create your own by stacking a linear polarizer (LP) filter with a circular polarizer (CP) filter. Mount the CP filter to your lens and then the LP filter to the CP filter. By rotating the LP filter, you change how much light is allowed through — when the polarization axes are lined up, the maximum amount of light is transmitted, and when they are crossed, a minimum amount can pass.
Graduated ND Filters
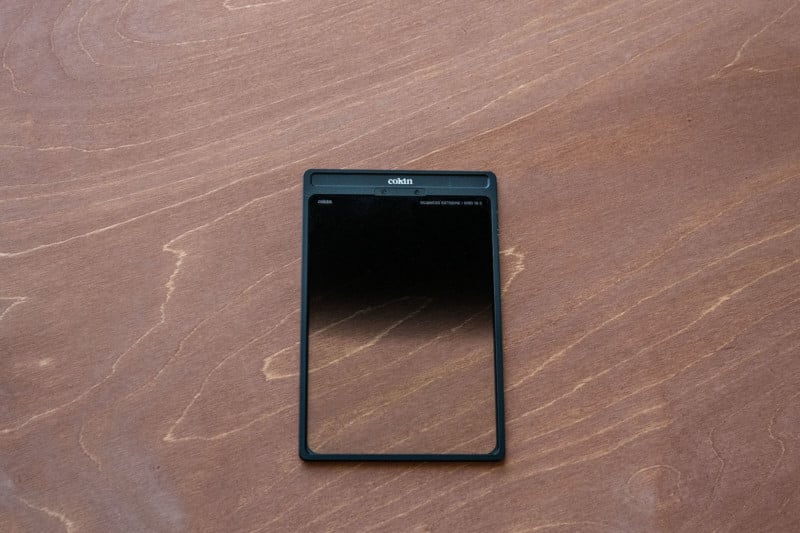
The graduated neutral density (GND) filter is a type of ND filter that’s a must-have for landscape photographers as they can balance the exposure between the bright sky and the foreground, providing a smooth transition of the light of the scene. These filters are mostly available in rectangular form, although there is a blender type (circular) available as well.
These filters have a clear bottom part which is designed to allow foreground light to pass unimpeded, while the ND part is located on the upper portion to block some of the light from the brighter sky.
Recommended ND Filter Strengths
If you are in landscape photography, then a 10-stop ND as also a Graduated ND are must-haves to cover most shooting scenarios out in the field.
If you are into urban photography (travel, portrait, architectural) then a 5-stop ND is probably more suitable for your needs. Or you may want to consider a combination of 3-stop and 6-stop ND filters that can also be stacked.
If you are a video shooter, then a Variable ND is probably ideal, giving the ability to easily and quickly change the blocking strength on-the-fly.
Conclusion
We hope this introductory guide on neutral-density filters was helpful to you in your journey as a photographer. ND filters are powerful tools, particularly in landscape photography, and knowing when and how to use them effectively can expand your creative toolkit and take your photography to the next level.
Want a recommendation for which ND filter you should buy? Here are our picks for the best ND filters on the market today.
Image credits: Header photo from Depositphotos. All other photos, unless otherwise noted, by Christophe Anagnostopoulos