How to Get Started in Photography
Photography is full of baffling jargon and complex numbers to the uninitiated, and it can be daunting for beginning photographers. If you are just starting out, here is an introductory guide for fundamental things you need to have and know before you jump into the wonderful world of photography.
So let’s step through everything you will need to get started in photography.
Table of Contents
Cameras and Lenses
The most important part of the photography process, the camera is arguably the most important piece of hardware you can own. Without a camera body to record the light and shadow of scenes we can’t make images. For the purposes of this article, we’ll be focusing on digital cameras, but digital cameras come in so many shapes and sizes — where do you start?
The most common types of digital cameras are smartphones, compacts, bridge cameras, DSLRs, and mirrorless. Differences between devices come in size, shape, component quality, and price.
Read also: The Best Cameras for Beginners
Smartphones
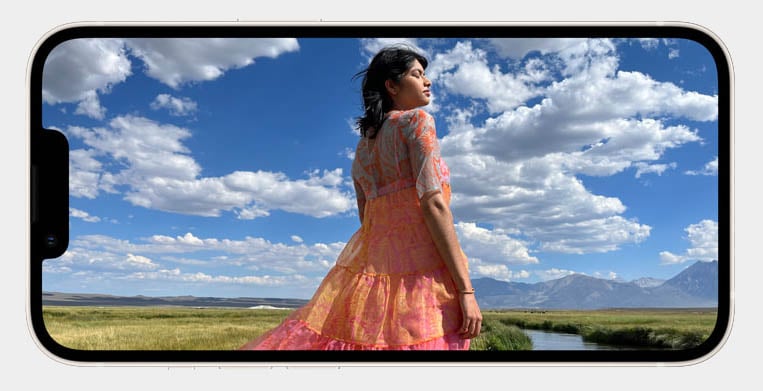
The introduction of the camera-equipped smartphone has led to an explosion of photography — virtually everyone now has a capable digital camera with them at all times, making photography a ubiquitous part of our everyday lives.
While smartphones were considerably worse than dedicated cameras in the earlier days, advancements in software and hardware have allowed smartphone photography these days to meet or exceed the quality and capabilities of low-end digital cameras. Computational photography, in particular, has used AI technologies to open the door to features such as ultra-low-light photos and portraits with simulated background blur that compact cameras generally do not offer.
Another advantage of smartphone photography is the sprawling ecosystem of camera and editing apps for iPhone and Android, both paid and free, that can help you take your photos to the next level.
Assuming you already have a smartphone with a built-in camera, there is no need to upgrade to a new smartphone or buy a dedicated camera if you would like to simply dip your toes in photography to fall in love with the art. As is often said: the best camera is the one you have with you.
Compact Cameras
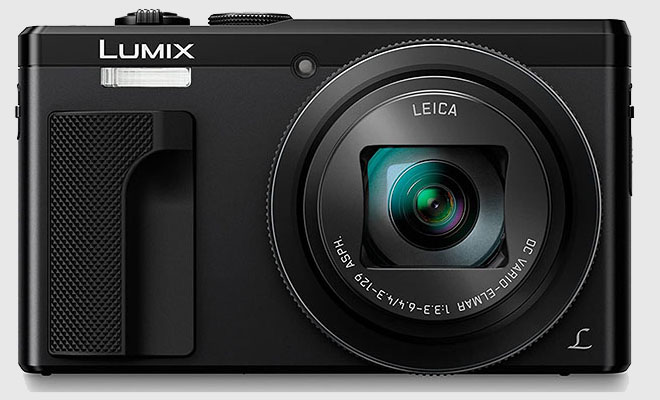
If you would like to go beyond smartphones and into the world of dedicated cameras, compact cameras (also called point-and-shoot cameras) are generally the cheapest option, are small (hence their name), and an all-in-one unit with a fixed zoom lens that cannot be swapped out. They offer good value for money but tend to have smaller image sensors with poorer dynamic range and restricted settings such as aperture and shutter speed, some may be automatic altogether.
A good starter compact camera is the Sony ZV-1. It has a 1-inch image sensor capable of capturing 20.1MP stills and recording 4K UHD 30p video, and a flip-round screen which makes it ideal for those who wish to record vlogs or take photographs.
Bridge Cameras
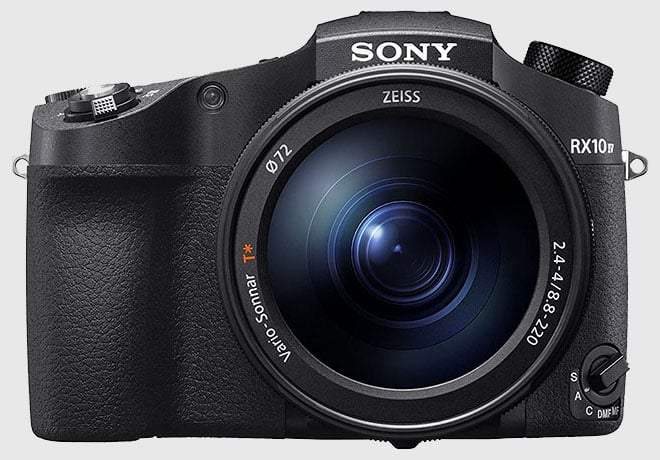
Bridge cameras are intended to “bridge the gap” between compacts and DSLRs and are larger in size, with a similar shape to a traditional DSLR. They often have superior lens optics and superior zoom range compared with compact cameras. Bridge cameras also give greater manual control over camera settings. Possibly the most impressive bridge camera available right now is the Nikon COOLPIX P1000 which has an astonishing 125X optical zoom that’ll get you in close even to the craters on the moon.
DSLR Cameras
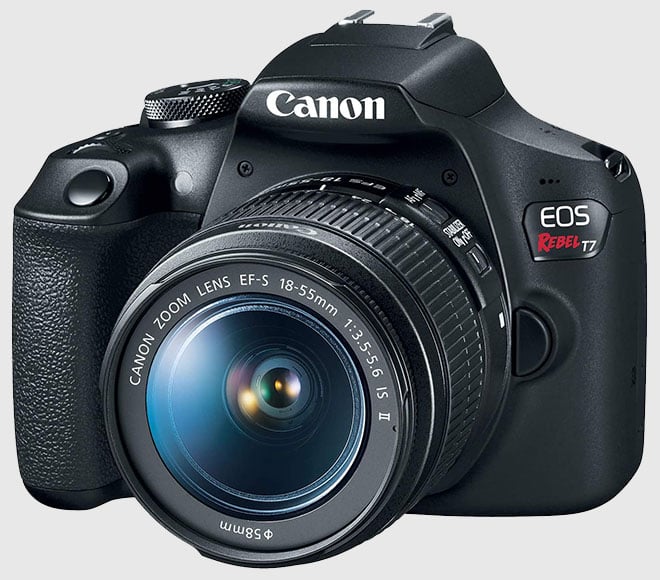
DSLRs (short for Digital Single Lens Reflex) have, for around two decades, been one of the most popular types of digital cameras in the world. There’s a range of DSLRs from entry-level models up to fully-fledged professional bodies that combine the ultimate in robustness and blistering speed. Despite the range in features and price, they all have interchangeable lenses, are fully customizable in terms of settings and menu options, and higher-end models are industry standard for professionals.
One of our favorite entry-level DSLRs is the Nikon D7500 which has a premium feel without costing the earth. For high-end performance have a look at the Canon 5D Mark IV, its rugged build, weather sealing, and flexible 30.4MP full-frame image sensor is great for professionals and invested enthusiasts alike.
Read also: The Best DSLR Cameras
Mirrorless Cameras
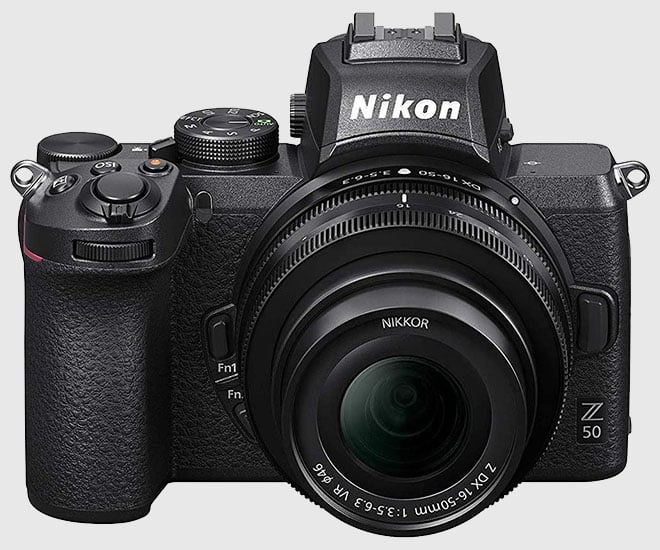
Mirrorless cameras are fast becoming the new standard in the digital camera market. They perform as well as, or better than DSLRs, but feature new, slimmer bodies which make them much more portable. In-body image stabilization is common in mirrorless bodies and improved hybrid shooting means they’re ideal for content creators that want strong stills and video capture. In order to create a smaller form factor, manufacturers have removed the optical viewfinders as seen in DSLRs and replaced them with a small screen (called an electronic viewfinder) that takes a feed directly from the image sensor.
For the ultimate in mirrorless performance, take a look at the Sony Alpha a7R IV, a camera creeping into the medium format market in terms of image resolution with 61MP stills. Alternatively, the Sony Alpha a7R III is a great option, though a few years old it’s packed with intelligent tools and features that provide more than enough punch for any photographer.
Read also: The Best Mirrorless Cameras
Of course, the above is a rough guide to camera types and readers should be aware that there is a blend between them with some compacts having large image sensors or interchangeable lenses which vary from model to model.
Other things to bear in mind when choosing a camera are whether you need weather sealing to protect the camera’s sensor and interior component from water and dust, and connectivity. Some cameras can connect to smart devices using Bluetooth or Wi-Fi and can even transfer images and video in this way, too.
Once you do choose a camera type and model, here is a step-by-step guide to setting that camera up for the first time.
Interchangeable Lenses
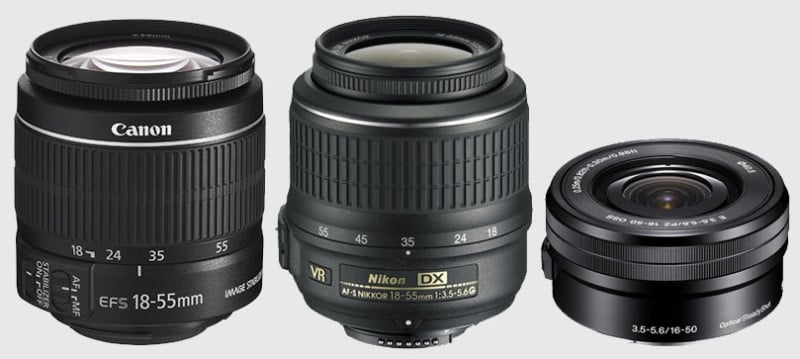
If you’ve decided to opt for a DSLR or mirrorless camera then chances are you’ll want to upgrade or swap lenses at some point. Kit lenses (lenses that usually ship with the camera body in a bundle) are a great way to get started using a new camera and are usually zoom lenses designed to be useful for everyday shooting with both wide-angle and telephoto reach. However, prime lenses, although restricted to just one focal length, are known for their faster apertures which help to shoot in low light conditions or produce a shallower depth of field like f/1.8 or wider.
Kit zoom lenses are good to get going quickly, but their inexpensive production often results in a lack of optical finesse and chromatic aberrations (color fringing) around contrasting edges. Therefore, superior zoom lenses, although costing more, often give better optical clarity. More expensive zoom lenses typically have wider maximum apertures and have been refined to reduce color fringing, contain better lens coatings to reduce flare and ghosting, and are weather-sealed to protect them from the elements.
Photo Editing Software
After taking a bunch of shots it’s tempting to leave it there, but there’s a second part to the image-taking process: editing. The process of developing our photos ready to be shared online or printed is a major part of the photography process.
Edits can be as simple as adding a filter preset to change the style of a photo, or it may be more involved to include fine-tuning hues, tones, and colors. More involved still is the process of layers-based editing where images can be retouched, cut out, or manipulated entirely to produce something completely different from the original.
Whatever your interest, some basic editing skills are good to accrue in order to make a photograph stand out from the crowd. But to do that, you’ll need good image editing software.
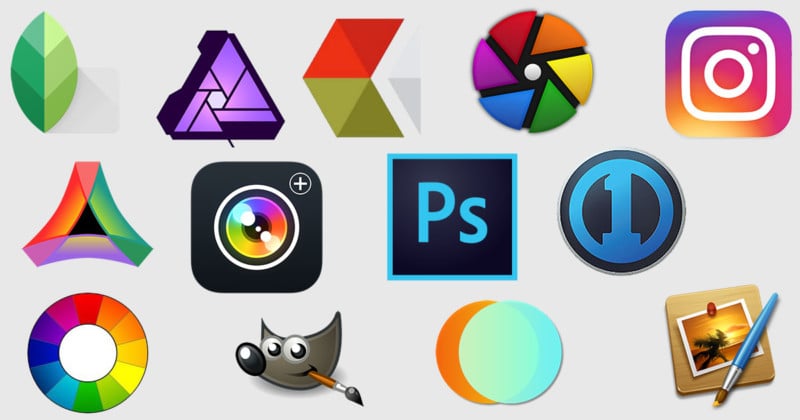
A range of editing software is available on both desktop and mobile platforms, but some of the most common include Skylum Luminar AI, Serif Affinity Photo, Adobe Photoshop, Adobe Lightroom (and Classic), and GIMP.
Adobe Photoshop and Lightroom
Probably the commonest image editors, Adobe Photoshop and Adobe Lightroom are industry-standard editors that are unique in that they are used both by professionals and those new to editing.
Photoshop is a layers-based image editor and can be used for all kinds of image manipulation, retouching, image composites, and even illustrations, digital painting, graphic design, or animation.

Lightroom, however, is a non-destructive image editor designed for use both on desktop and mobile platforms such as iPad and smartphones.
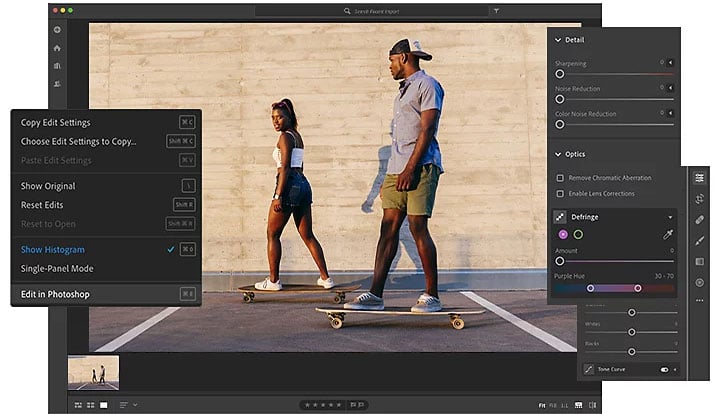
Lightroom Classic, it should be noted, is similar to Lightroom, except that it stores data locally on the hard disk (rather than Lightroom’s Cloud-based storage) and comes with more extensive editing tools.
Alternatives to Adobe
Adobe also has a Photography bundle plan at a reasonable monthly subscription cost which makes it easy to dip your toe in and out of. But some prefer to own their software outright, in which case Skylum Luminar AI and Serif Affinity Photo have much of the same editing tools but can be purchased standalone in one payment.
Read also: The Best Photoshop Alternatives
GIMP is a loved editor that is free to all and contains many of the same editing functions as Adobe Photoshop and it’s a good way to get started in photo editing if there aren’t two pennies to rub together after purchasing a camera and lens.
There are also a number of other popular photo editing apps that are completely free to use if you would rather not spend any money on the software side (though do keep in mind that paid tools cost money for a reason and are generally superior in features and functionality).
Basic Techniques
New photographers should, first and foremost, familiarize themselves with the exposure triangle. The link between aperture, shutter speed, and ISO is integral to all of photography, so learning this now will pay dividends in years to come. We won’t get into that in this article, but we will discuss some techniques that can be used by controlling the settings in the exposure triangle.
Isolating a Subject
Let’s take a common example of shooting a portrait outdoors in a busy location. There’s traffic, signs, scaffolding, and all manner of distracting elements in the frame, but you can’t move anywhere else to take the shot – what do you do? By widening the aperture we effectively make the depth of field shallower, meaning a thinner slice of the environment is in focus.

Take a portrait at f/11 and then at f/2.8 and you can see how this helps isolate the subject from a distracting background, putting emphasis on the main subject.
Shoot in Low Light
When day turns to night, or we walk inside on a bright day to continue shooting, there’s a noticeable difference in brightness. This change in light levels dramatically impacts the camera’s ability to render a well-exposed photograph.
It’s tempting to crank up the ISO sensitivity to make the camera more sensitive to the dimmer light or widen the aperture to let as much light into the image sensor as possible, but this can introduce both higher image noise and reduce the depth of field, respectively. If we want the image quality to stay the same then the only other option is to change shutter speed, and when this happens all kinds of creative effects become possible.

Go out and shoot traffic after dark and you’ll need a long shutter speed, several seconds long, to get an exposure bright enough to see clearly. Combine this with a narrower aperture and the passing vehicles’ lights turn into long trails that paint the roads as they move along during the exposure. The same is true for astrophotography — expose for long enough and the stars themselves twist into trails as the earth rotates.
Basic Composition
While some veteran photographers will groan at the mention of these basic compositional techniques, almost every photographer uses them on a daily basis, whether realizing it or not. Some you may have heard of before, but they’re worth repeating.
Rule of Thirds
The rule of thirds is a method of breaking up an image into nine equal parts. By drawing imaginary lines across the frame, placed at third intervals both horizontally and vertically, we now have areas in the frame to place subjects on. The four points where the lines intersect are particularly favored for placing subjects on as it still offers space around the subject within the frame.

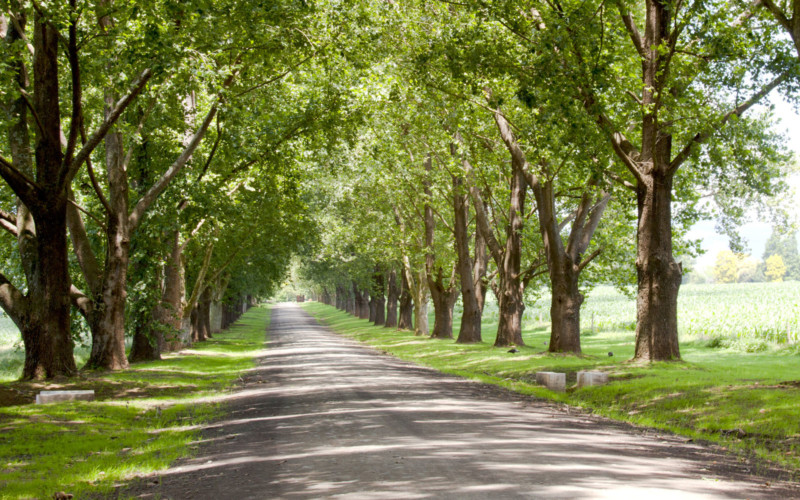
Leading Line
The rule of thirds can be used in conjunction with other methods, such as using a leading line. A leading line can be a metaphorical or visual representation of a line that wanders through the frame, potentially leading the eye to important aspects in the photo.
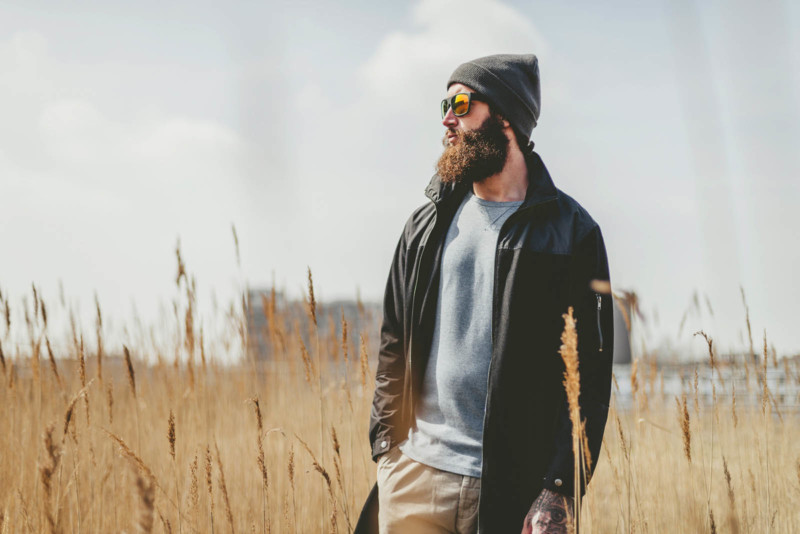
Rule of Space
The rule of space states that when shooting portraits, it’s good to bear in mind the importance of leaving space for a subject to look into. For example, if the subject is looking out of the frame at something, place them in the frame so that there’s more space in front of their face, in the direction of their gaze than behind their head.
Using the Internet to Grow
Once you have the basic gear and know-how for shooting photos, you can turn to the Internet as an endless trove of learning and inspiration.
Learning Photography
Web-based platforms like Lightroom Academy offer a modern method of learning fundamental photography techniques and are updated frequently. Other resources such as Lightroom Discover, Community Remix, and Lightroom Tutorials allow photographers to learn the editing process, get inspiration, and share ideas with fellow ‘togs.
For tips and tutorials on all kinds of photography genres and techniques, YouTube is teeming with experienced photographers you can subscribe to for a free education.
Get Inspired by Others
One of the best way to broaden your horizons and get your creative juices flowing is to look at the work of other more experienced and talented photographers. There are many platforms through which you can share and view photos, but some of the best photo sharing sites and services include Instagram, 500px, Behance, Flickr, and VSCO.
One thing you can try is finding a photograph you enjoy and trying to recreate it as closely as possible — just for your personal learning, of course, rather than for publishing on the Web as your own original idea. This can give you practice and insight into different ways to approach creating and editing photos, and once you are more familiar with those techniques, you can apply them to creating original work that you can proudly share with the world.
If you come across a photographer you admire, try reaching out — you could form a friendship through your common interest in photography, and you could possibly even find someone willing to serve as your mentor as you progress in your knowledge and skills.
Finally, perhaps the most important tip is this: it is easy to be enthusiastic about photography when you’re just starting out, only to burn out after you start running into doldrums and out of creative juices, so focus on persevering and bringing your camera with you even when you don’t particularly feel like doing photography.
Malcolm Gladwell’s famous “10,000-hour rule” popularized in his bestselling book Outliers says that it takes 10,000 hours of practice before someone is able to master a certain skill, and the same is true of photography. Keep shooting, don’t give up, and you will eventually become the photographer you are aiming to be.
So there you have it — a beginner’s guide to getting started in photography. Of course, the list we’ve put together here is but the very beginnings of getting started in photography and the world of photography is massive and ever-expanding. New techniques to learn, and a fresh kit to test and try out open up a new, exciting world of possibilities for even the veteran photographer. But everything outlined here is core to getting started in your photography journey and hopefully can steer you in the right direction.
Image credits: Photos licensed from Depositphotos