Xencelabs Pen Display 24 Review: Putting Wacom on Notice
At this point in the “Tablet Debate”, the argument about who makes the best tablets for photographers will shift back and forth between Xencelabs and Wacom depending on who you talk too and what deep-down preferences they have. While Wacom may have reigned supreme for a very long time, it’s hard to deny that with the launch of the $1,899 Pen Display 24 Studio Series, Xencelabs has officially given Wacom a reason to worry.
The new 24-inch Pen Display Tablet from Xencelabs has officially given users who need top-quality display resolution, customization, and control an alternative to Wacom’s Cintiq line, and while I recently reviewed the latest Cintiq and loved it, the Xencelabs may just be my favorite Pen Display to date thanks to a bevy of design decisions that make it easy for photographers to work the way they want too at a much more affordable price.
Yes, you saw that price correctly above. The 24″ display from Xencelabs costs just $1,899 (including the stand) which is less than half the price of the nearly $4,000 27 inch Cintiq Pro and its pricey adjustable stand. That is a huge difference in price, and there is quite a bit different between the two devices beyond the three inches of screen size that separates them.
First and foremost is the size and weight difference between the two systems, with the Xencelabs being smaller and lighter on all fronts, making it an easier system to find space for, work with, and travel with (should the need to do so arise). Second, is the lack of touch-controls on the Xencelabs display. This may be a dealbreaker for some artists, but for most photographers and retouchers that I’ve spoken with (and who this review is tailored for), touch control on a pen display is rarely used. Leaving this feature out means a lot of price savings. As for the rest of the differences, we’ll dive into those in the sections below.
Xencelabs Pen Display 24: What’s In The Box?
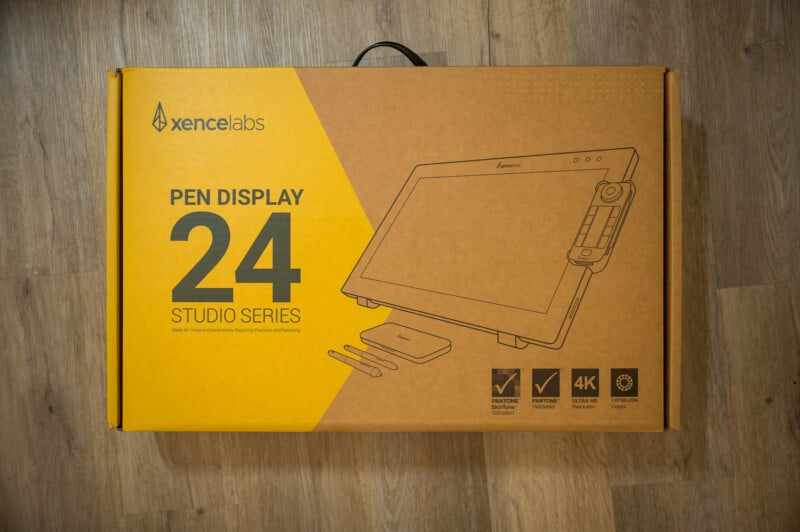
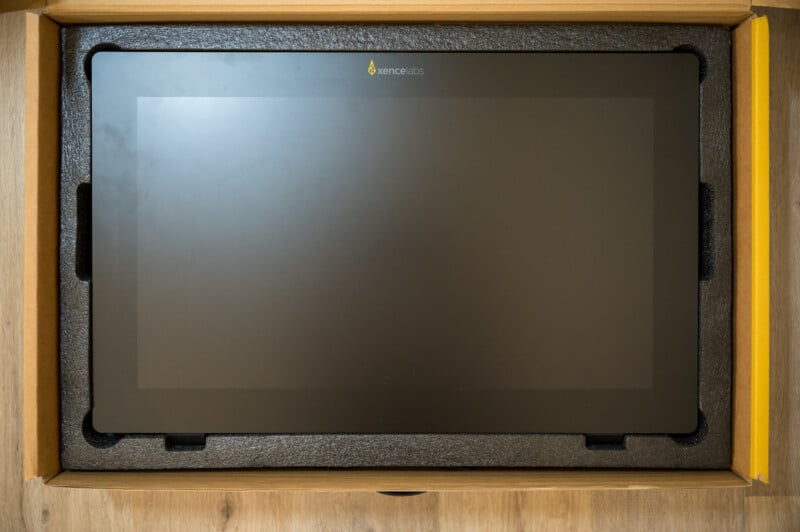
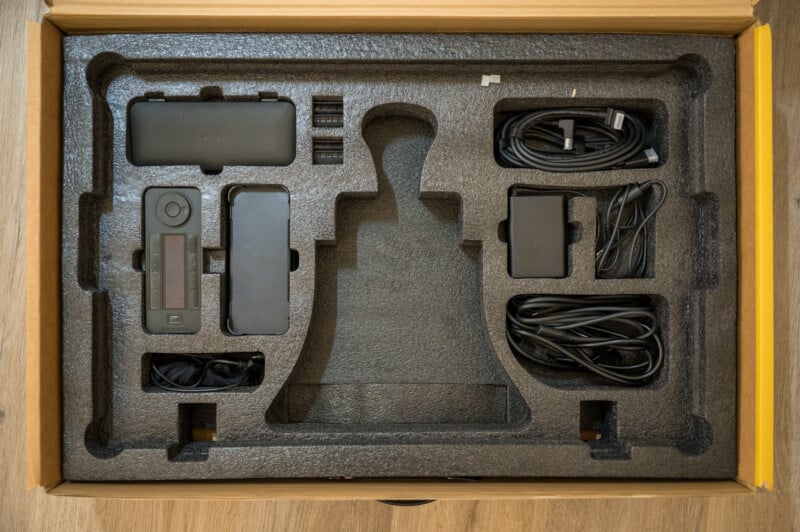
Getting started, the Xencelabs 24 inch Pen Display is incredibly well packaged, with everything you need to get started neatly placed in a single nicely designed box. Underneath multiple layers of protective foam, you’ll will find the display (and stand) on the top layer underneath a nice quick-start guide and thank-you sheet with instructions on how to download and update the driver(s) for the hardware and for setting up the quick-keys, pens, and registering the product as a whole.
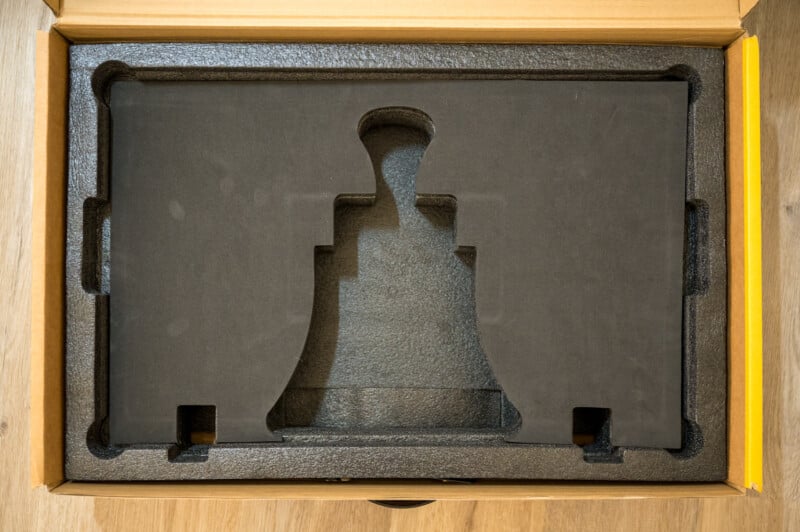
Underneath the screen, you’ll will find everything else you’ll need to get up and running with the system. This includes the Quick Keys Panel and holder (giving you the ability to attach the panel to the pen display in any position they want, or even just leave it on their workspace detached), the case for the pens which includes the “thick and thin” pens along with a selection of extra nibs, wireless and USB-C dongles, pen clips (for attaching the pens along the sides and top of the display), and the nib-removal tool. Additional accessories included with this package are the AC adapter, rubber feet for the bottom of the tablet (for extra workstation grip), the HDMI cable, Display Port Cable, and a selection of USB A and C cables to connect to your computer.

Xencelabs Pen Display 24: Design and Build Quality
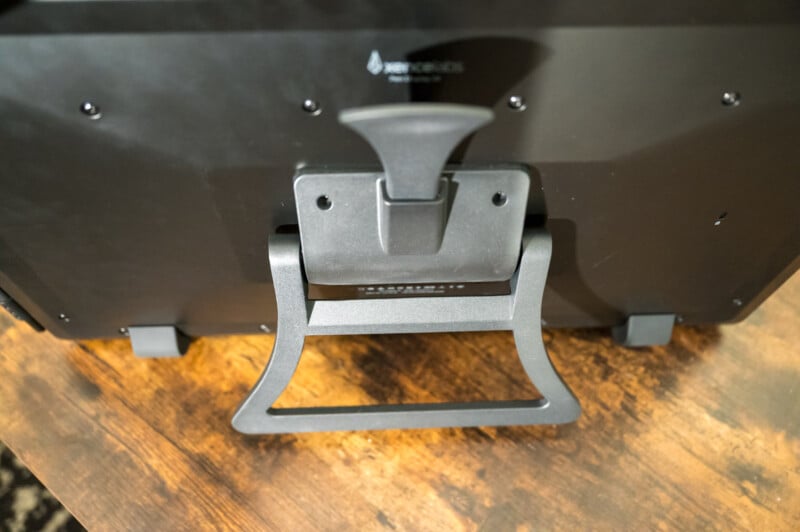
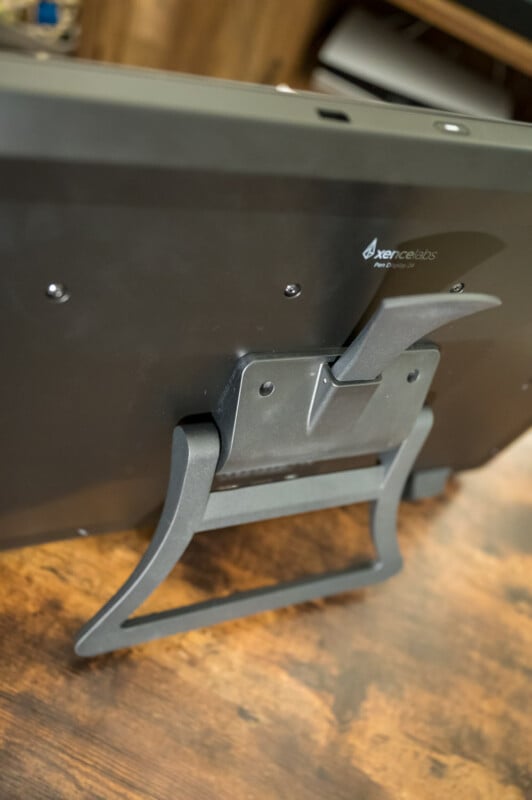
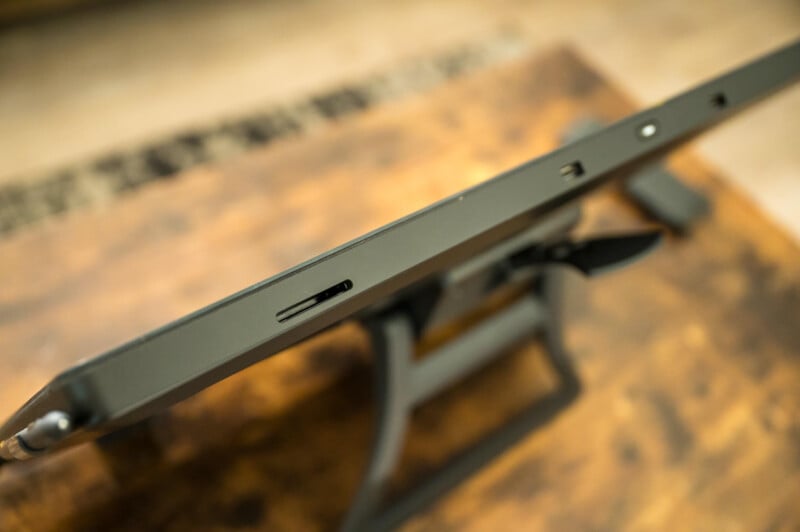
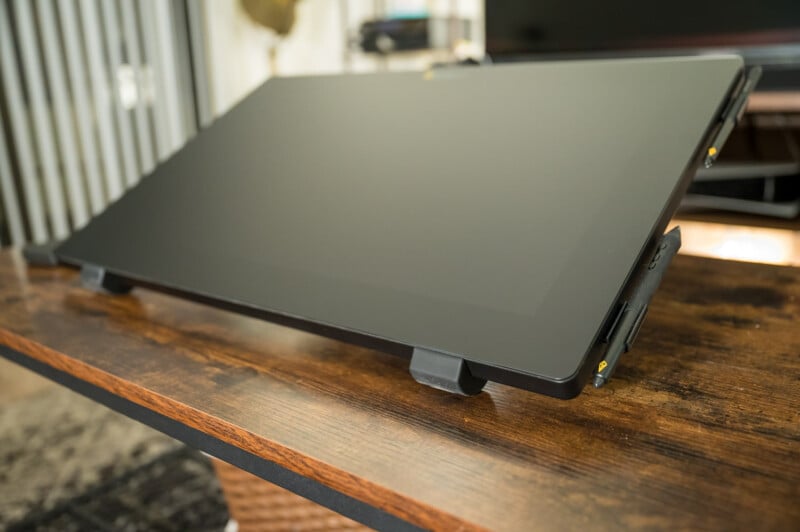
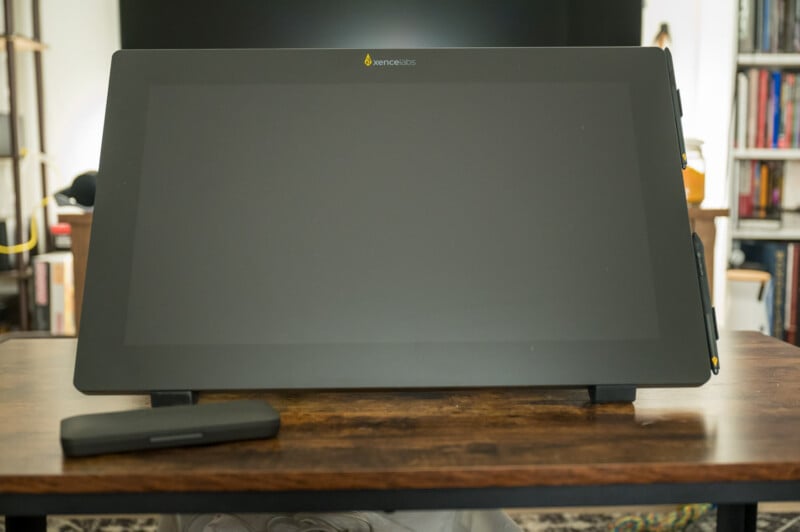
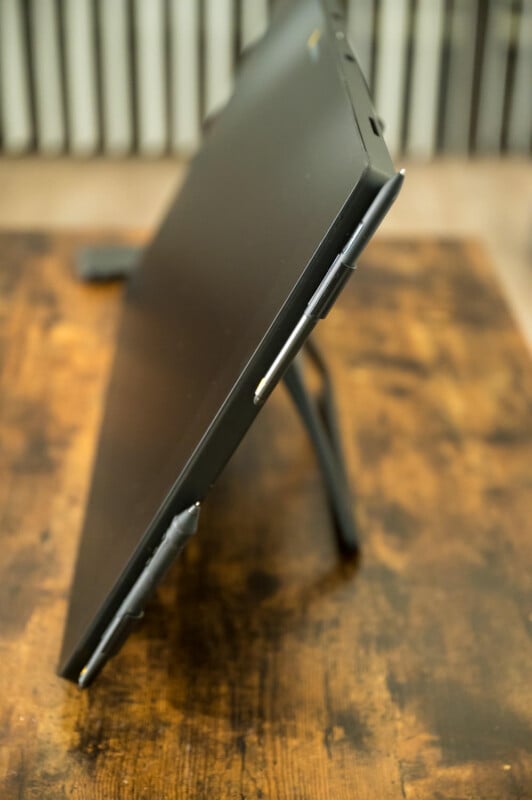
Out of the box, you’ll first notice that the stand is included and built into the display, which also acts as a handle for easy travel and movement around the workstation. The stand can tilt between 16 and 72 degrees, giving you the ability to use it in a variety of positions based on your preference and comfort.
Wacom’s Cintiq pro stand can rotate 90 degrees vertically, which the Xencelabs can’t do. While it’s by no means a deal-breaker for me, I do have to give points to Wacom here and it would be amazing to see Xencelabs develop some way to add rotation ability to its stand in a future generation.
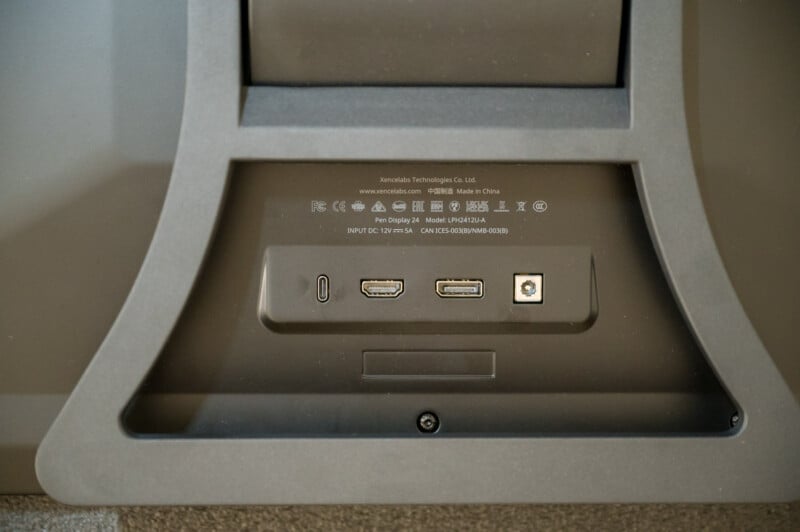
On the back of the device, you’ll find the connections for plugging the device into your computer including the AC-Power adapter, HDMI, Display Port, and USB-C connections. You’ll have to connect the display to your computer using the USB-C connection, and then choose HDMI or Display Port for your screen connection based on your system and preference.
Along the top of the tablet, you’ll find the power button for turning the display on and off, as well as two additional USB ports that can be used to plug in or charge the Quick Keys or any other additional USB device.
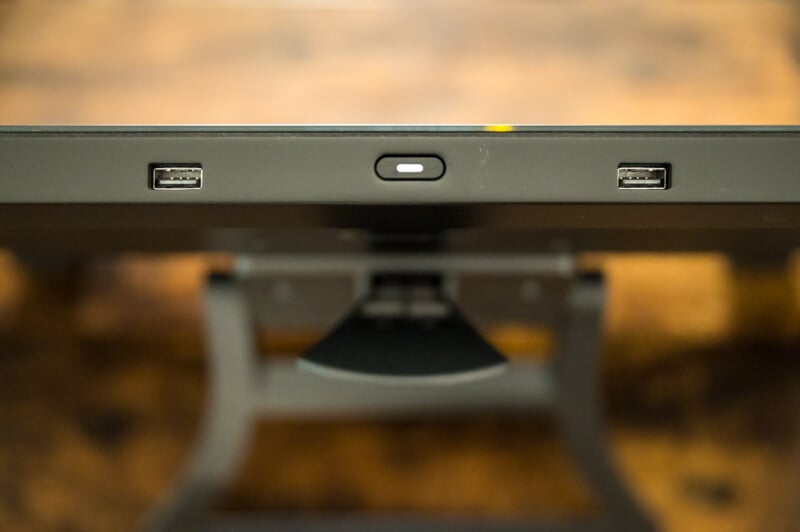
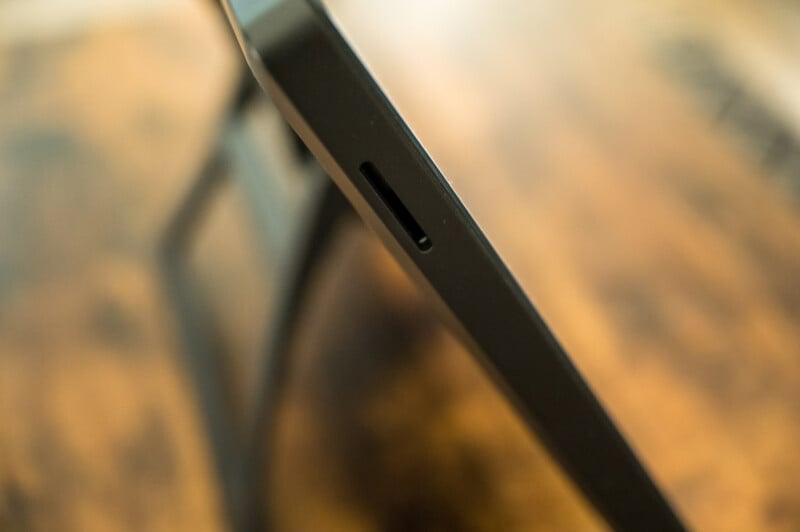
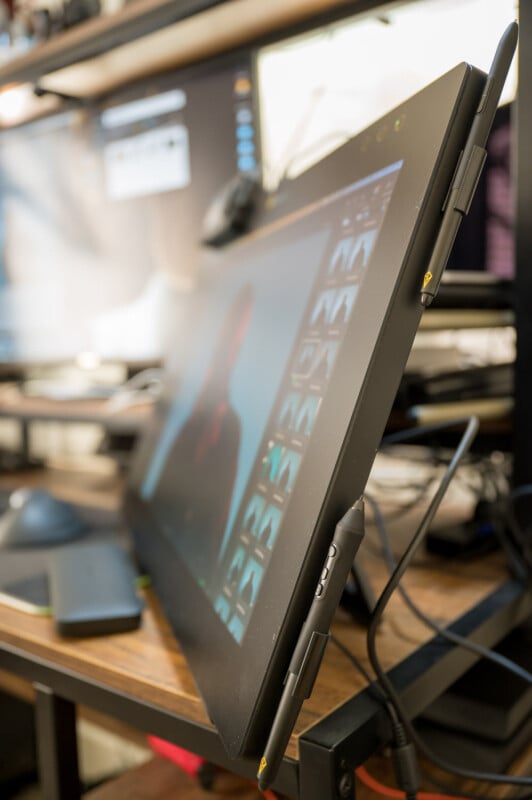
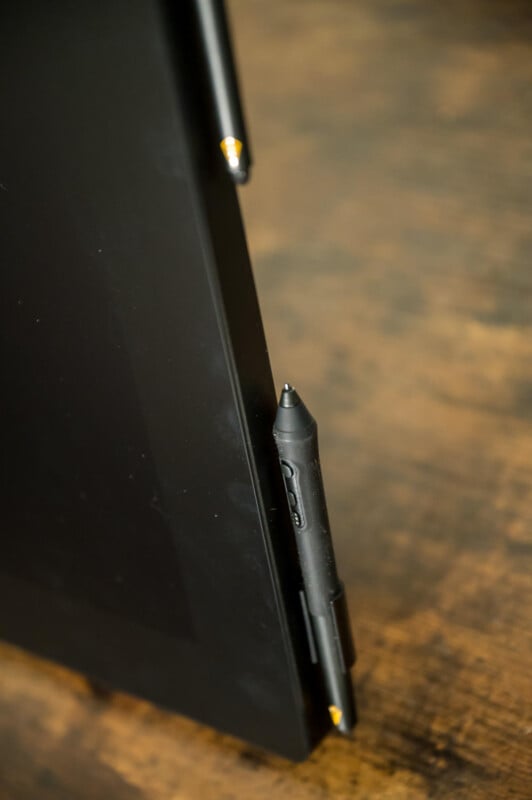
In addition to the USB ports, you’ll find a series of slots along the sides and top of the tablet where you can connect the “pen holders” or place the Quick Keys with its holder in a position that suits your workflow.
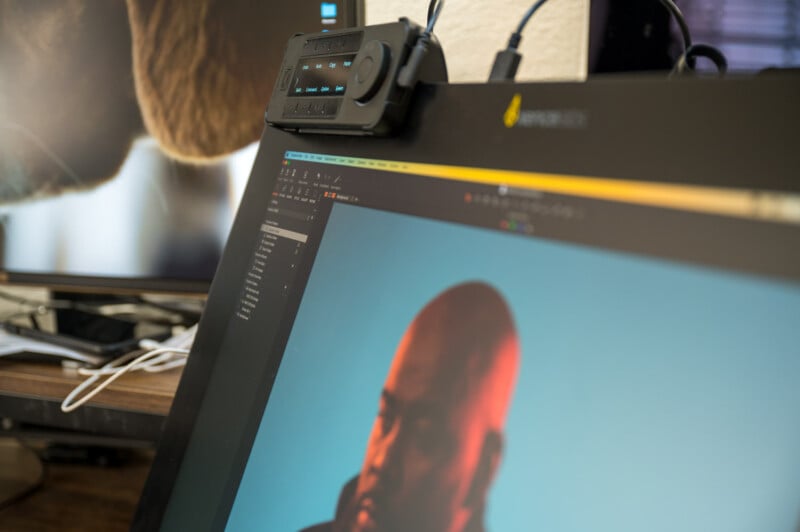
Since I’m right-handed myself, I chose to put the pens along the right-hand side of the display and connect the Quick Keys module to the top left corner of the tablet, since I’d often have my left hand gripping the top left corner of the screen while working anyway.
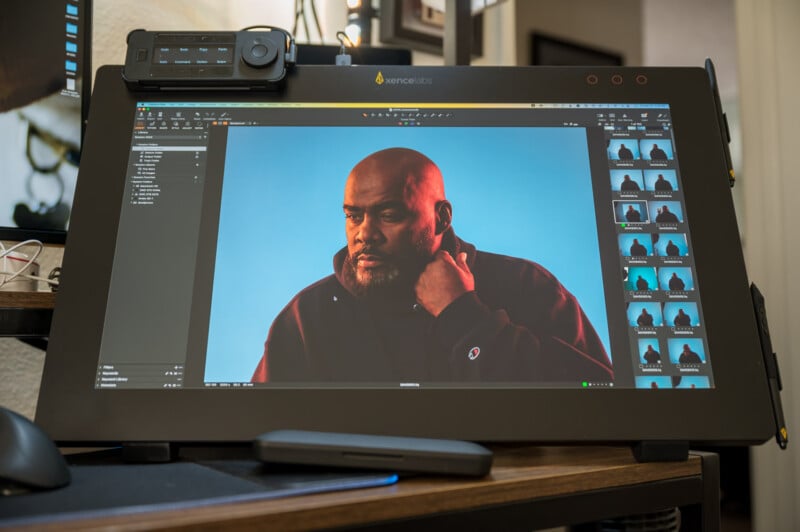
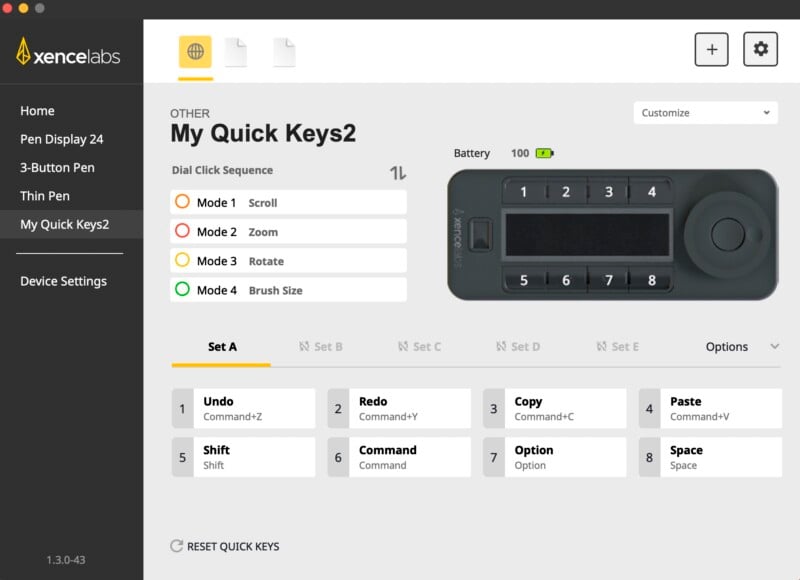
The Quick Keys module is pretty much identical to the previous generation of Xencelabs tablets that can operate connected via USB or wirelessly using the adapter. Just like every other version of the tablet, you can customize the controls for any orientation and set of commands you like for each of your applications, and the included mount makes it easy to position it anywhere along the device.
The screen itself is impressively vibrant as well as glare, fingerprint, and smudge-resistant with edge-to-edge drawing capabilities. That is placed inside a slightly larger bezel. The tablet does have a very thick bezel when comapred to Wacom’s newest Cintiq, but with good reason — according to the company, the wider frame was meant for artists to be able to continue their pen strokes off the edge of the screen for a more natural way of drawing, as well as acting as a “rest point” for your off-hand while accessing application menus while using the tablet. While lacking an actual grip like the Cintiq Pro 27, the Xencelabs 24’s larger bezel gives you a sturdy grip anywhere along the screen to let users get a more natural feel while using the display to work.
After using it for a while, I have to say that the Xencelabs 24″ Studio Pen Display Tablet is incredibly well-built and designed with creative users in mind. According to the Xencelabs team, the actual design of this first-generation display tablet has come to life after a series of alpha and beta designs that were changed quite significantly after feedback from professional users, leaving them with a system that just simply works the way a retoucher would want it too.
Something that might not get noticed but deserves more attention is how Xencelabs is offering the CAD files for the system for free so that more individual and third-party designers can create peripherals and accessories for it. I hope to see an explosion of 3D-printable options and accessories to hit the market as a result.
Xencelabs Pen Display 24: The Screen/Tablet
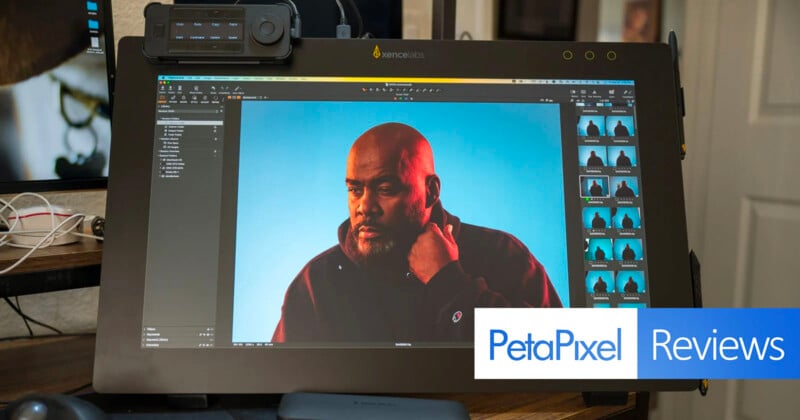
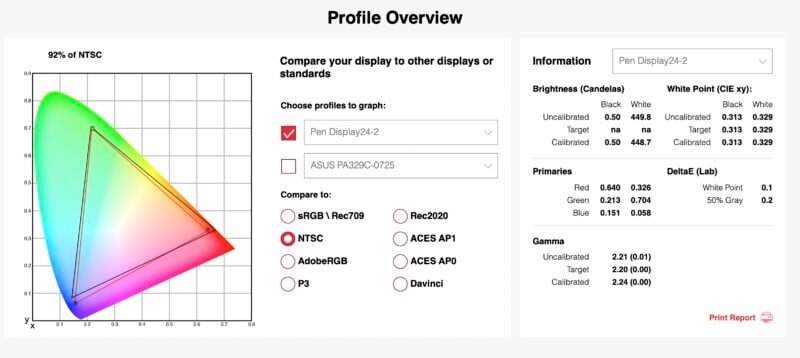
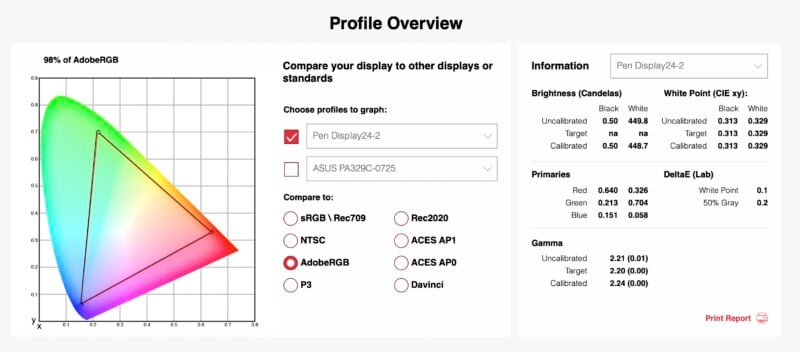
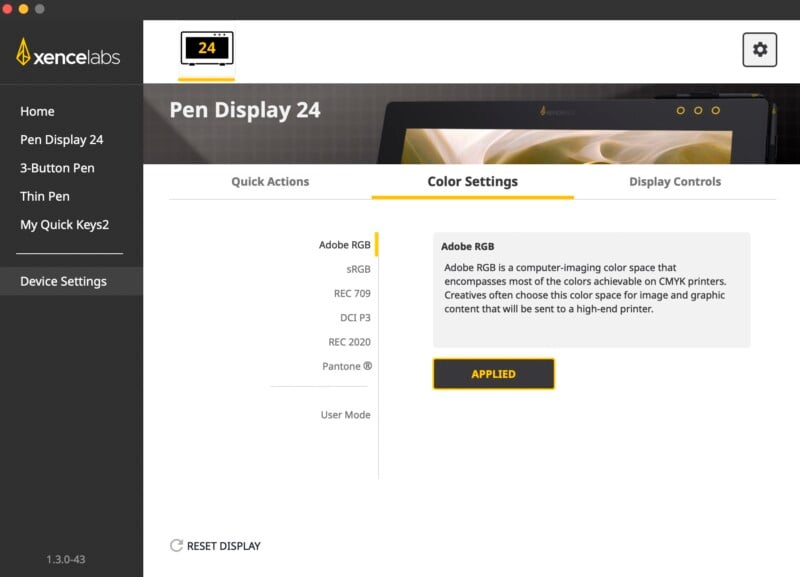
While it’s hard to convey in a photo, the display itself look fantastic. The 4K ultra-high definition resolution screen built into the Xencelabs 24-inch Studio Pen Display can display up to 1.07 billion colors (8-bit with FRC, but in a way the company says is better than typical 8-bit with FRC and is pretty close to true 10-bit) for very accurate color reproduction that can also be color calirated with whatever colorimeter you might have.
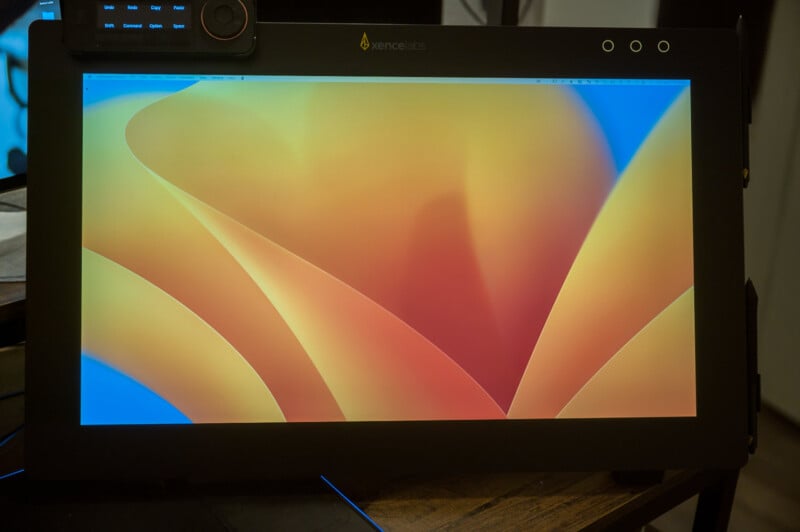
The screen itself is feels very vibrant and bright even with its anti-glare, which gives it even more attractiveness to me as a retoucher who is often faced with making precise color corrections that require extreme attention to detail. The 4K screen allows for zooming in and that does not result in losing any clarity or color accuracy, making it an ideal solution for photo and video editors, and, to top things off, it is Pantone Certified.
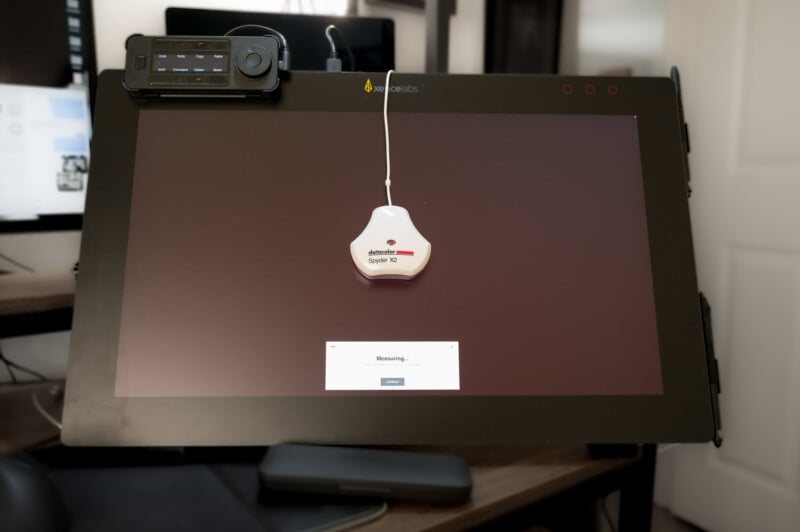
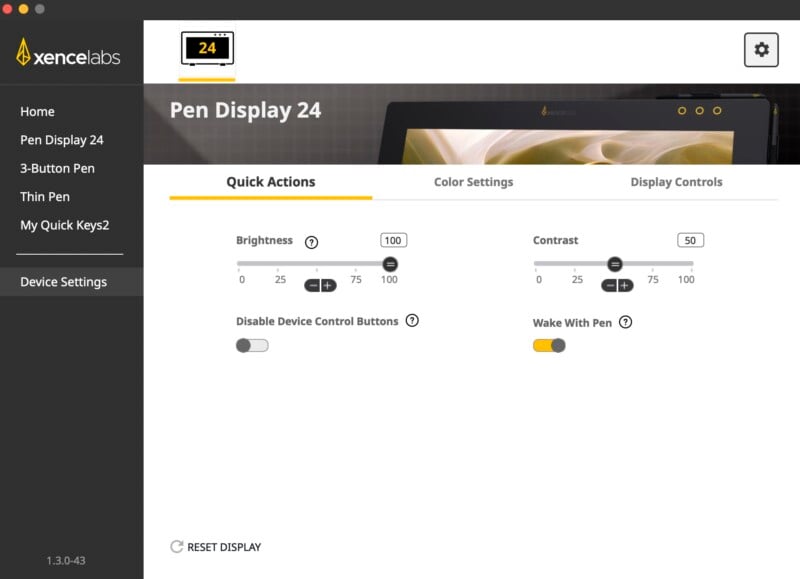
The system has several built-in color modes to let you operate on the mode best for you, but each one can be further calibrated for even more accuracy should the need arise. Either calibrated or straight out of the box, you won’t be disappointed by the brightness and color options the Xencelabs Pen Display can offer.

The tempered glass anti-glare screen was wildly impressive to me. Even after a week of use, there was surprisingly few smudge and fingerprints (when compared to other tablets especially), and I never had any issues worrying about overhead lights or sunlight causing a reflection on the screen while I was working.
Additionally, the entire unit has no fans, meaning it gives you a truly silent working situation and even supports a “Virtual Tablet Mode” that lets you connect multiple displays to the pen tablet and move files and images between them by drag and drop between the displays (that can be custom mapped using the Xencelabs software).
Xencelabs Pen Display 24: The Pen and Quick Keys Module
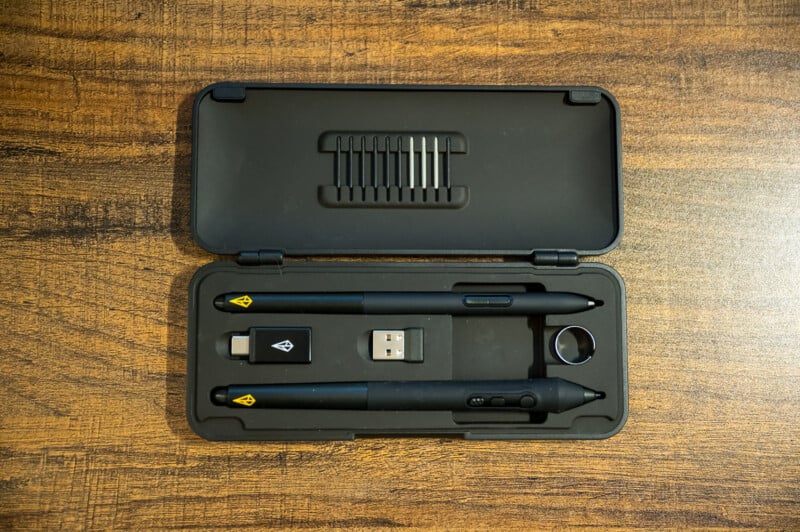
Something that has impressed me about Xencelabs and all its tablets is how the company includes two pens — a small pen with two buttons, and a large “traditional” pen with three. Both even have “erasers” on the end and are able to be fully customized in both what the buttons do, tilt, and sensitivity/pressure settings. I tested out both, but tended to stick with the “thick” pen. But I like that the choice was there from the get-go.
During my testing, I kept the pens mounted to the right-hand side of the screen using the included clips and pretty much kept the settings for the pens at their native default settings. But as we’ve seen in previous Xencelabs and other tablet reviews, the pens have a wide range of customization that can be configured for every individual’s unique preferences. Additionally, the provided pen case is an incredibly welcome addition and lets you help keep the pens safe and clean while traveling or if they are simply not in active use.
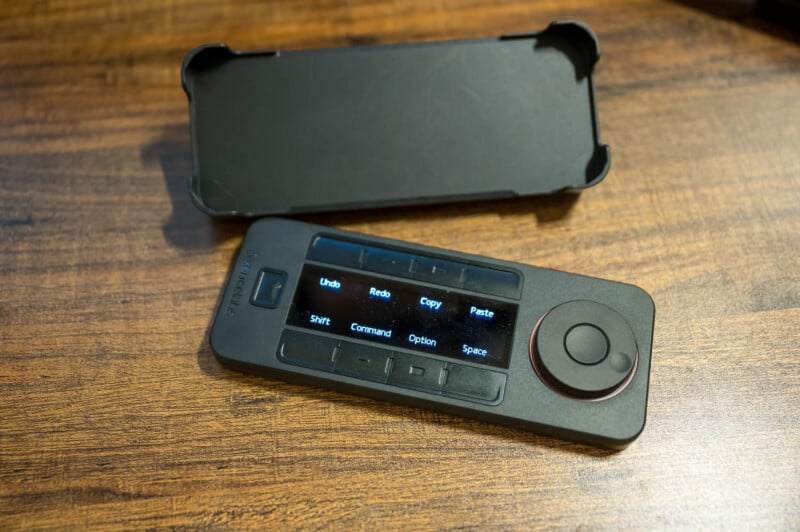
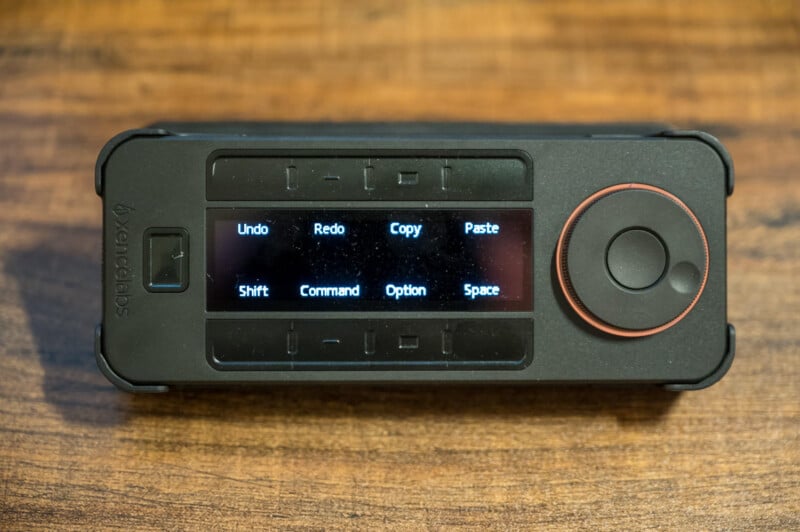
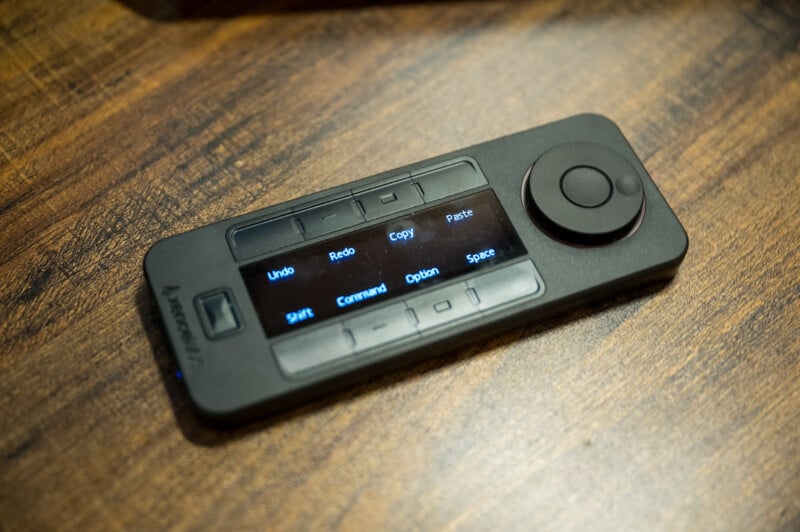
While most other tablets and displays have a variety of buttons built into the tablet, the Xencelabs line of products has become pretty well known for its wireless Quick Keys module that features eight shortcut buttons, a multi-function jog-dial with a ring around it, and an OLED display to clearly identify each button and what it does. The dials and buttons can be programmed to do a variety of custom functions and each can have its own light color that can be cycled through to identify them all.
The OLED display allows you to program up to 40 different shortcuts, cycling through a maximum of five sets of eight shortcuts by pressing the button at the top of the remote, and can be placed in four different orientations (left/right/up/down) based on each users preference, and each individual application the tablet is used with. While I typically like to have my buttons built into the tablets, I’ve gotten quite used to the programmable Quick Keys module from Xencelabs and I love how easy and clear it is to use. Especially since with built-in buttons, you can easily forget what button was programmed to what feature without having the software open to look at in the corner.
Xencelabs Pen Display 24: Pen Pressure and Usage
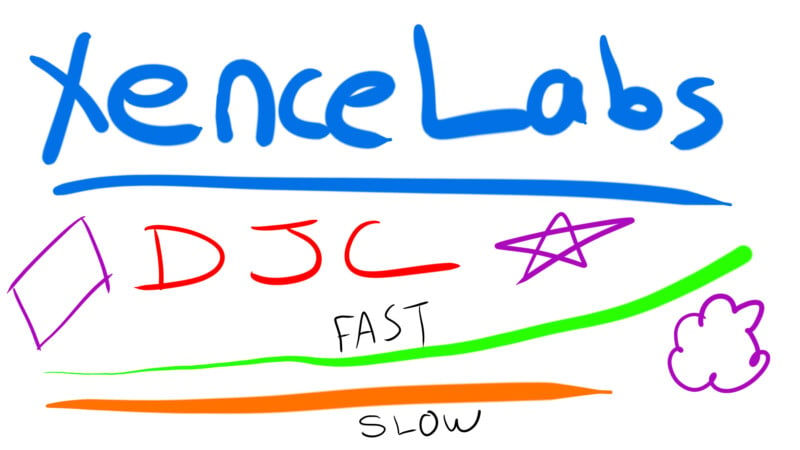
Like most top-tier modern tablets and display tablets, the Xencelabs 24 Studio Pen Display offers users an incredibly sensitive and stable experience with its devices, with each offering users a sensitivity and pressure activation as low as three grams and absolutely no jitter whatsoever in the operation. I honestly cannot say which system offers a more accurate experience at the pro level, but the Xencelabs 24 Studio Pen Tablet offers users an incredibly smooth and accurate experience ranging from barely touching the screen to putting a lot of pressure behind them, basically accounting for every style of artist imaginable.
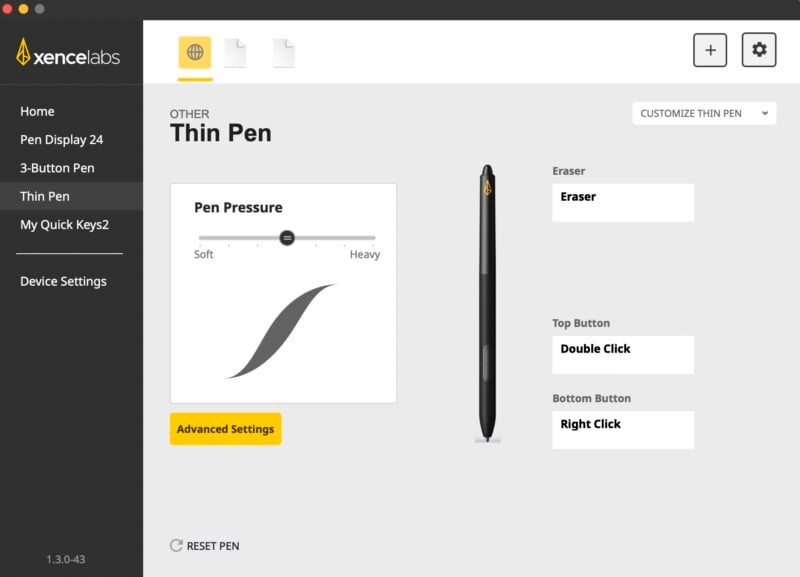
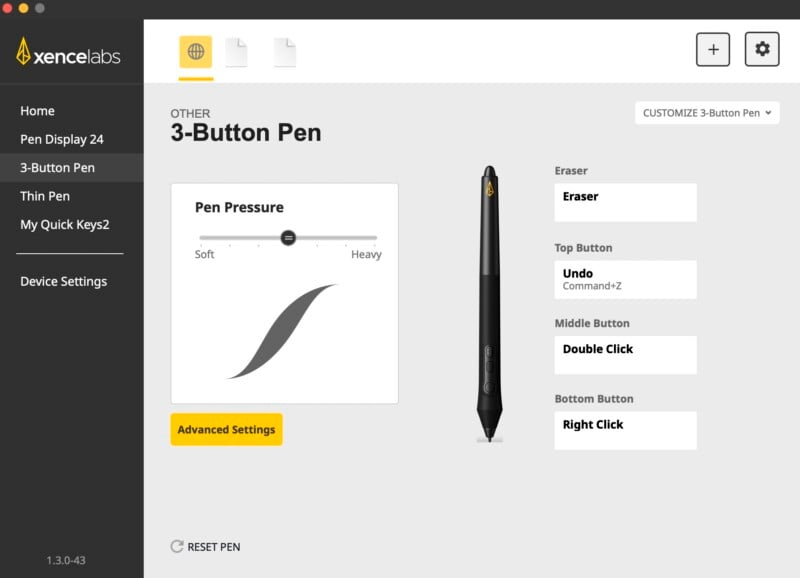
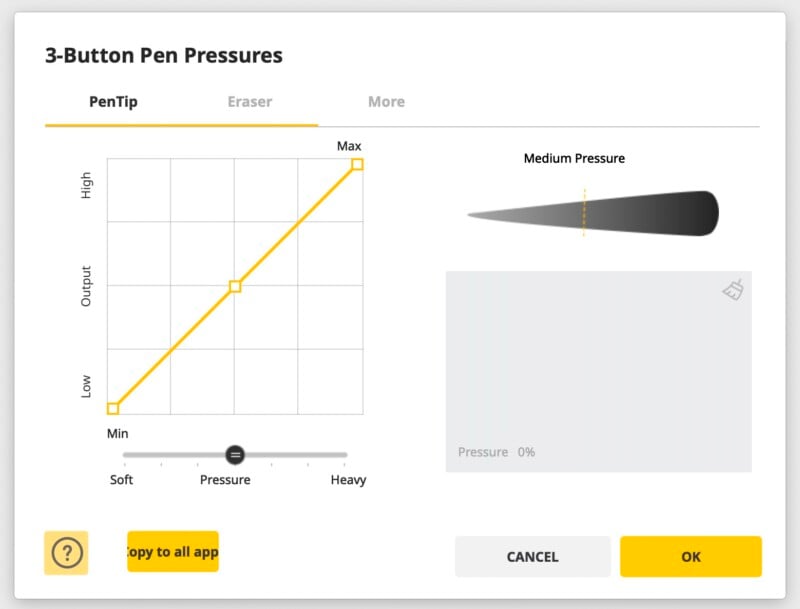
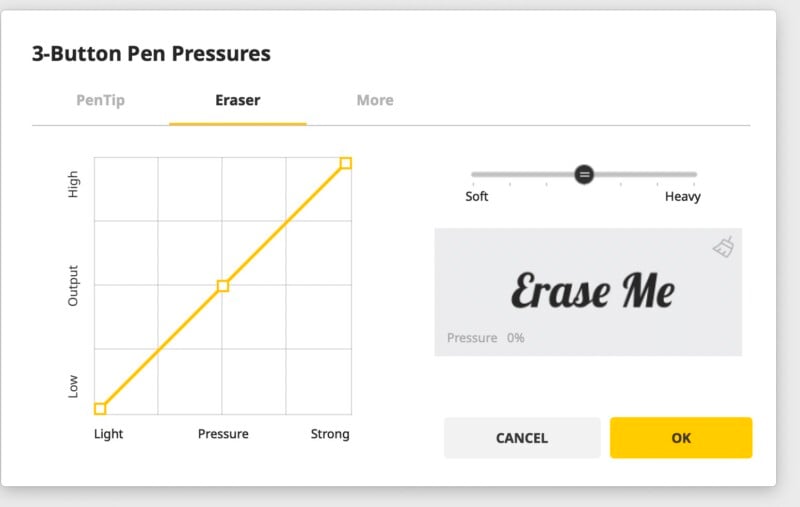
The Xencelabs pen display can recognize the tilt degree and pressure up to 8,192 levels with what feel like accurate and precise responses, and the software allows for an incredible amount of customization to suit each user’s individual needs. This even includes the pressure sensitivity of the eraser tool! I wish I still had the Cintiq available to really compare, but the pen of the Xencelabs 24 Pen Display actually felt a little more natural and accurate to use directly out of the box with no custom settings at all. So I can only imagine how well it can react when some modifications are made.
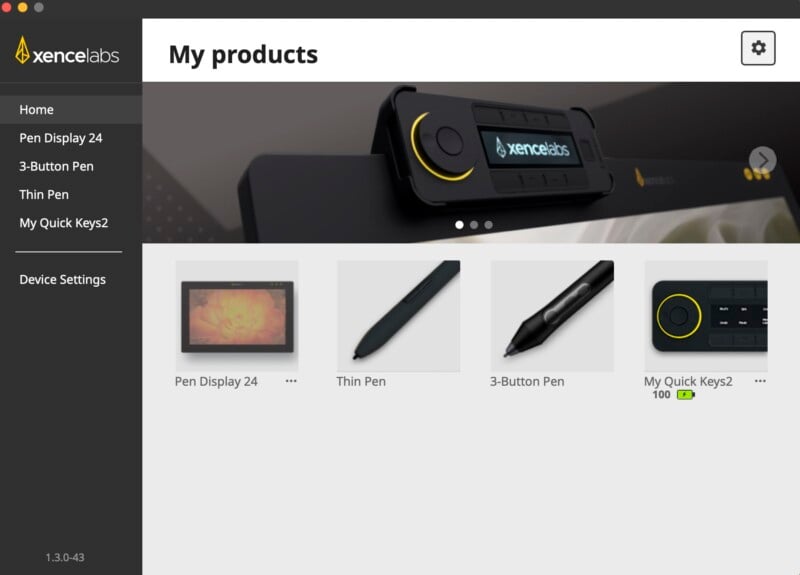
Xencelabs Pen Display 24: The Software
Installing the software is rather straightforward, and while most of these tablets allow you to jump right in, I always recommend rebooting your system after installing new hardware just to be sure everything is setup properly. Once you’ve finished the install, the Xencelabs 24 inch Studio Pen Display is pretty much ready to use with only your display resolution needing to be changed.
With my setup on an Apple computer, the default resolution was set to 1080p until I went into the display settings of the MacOS to change it. That being said, it was incredibly easy to do with a plethora of options available to users up to its maximum of 3,840 x 2,160. From here you can just go through the pages of the application and customize the Pen Display settings, pens, and quick key module to your desired configurations and sensitivity levels.

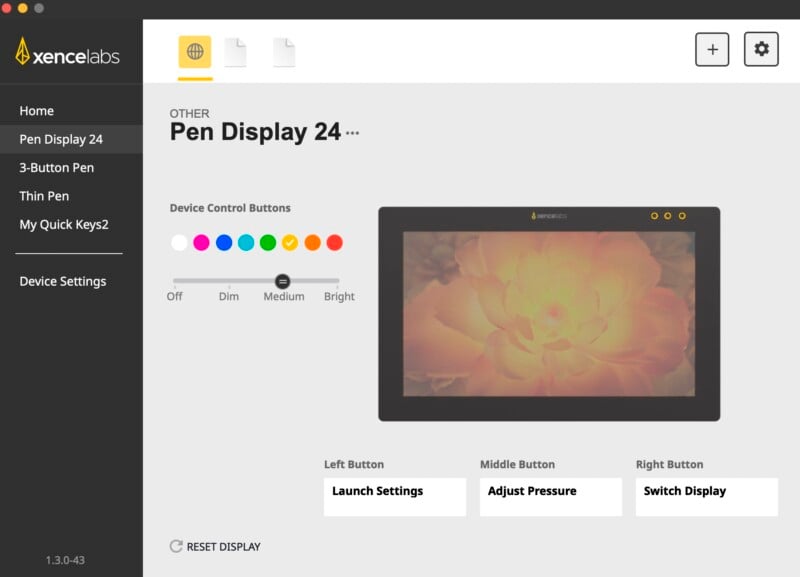
Since I haven’t covered this yet, there are three buttons on the display itself, so you don’t have to rely on the Quick Keys for everything. Located on the top right of the Pen Display, they can have the colors and brightness adjusted and are by default set to activate (from left to right respectively) the Launch Settings, Adjust Pressure, and Switch Display controls.
Coming For The King
While I really did love the Cintiq Pro 27, the price difference for the Xencelabs 24-inch Studio Pen Display just makes it so much more attractive. On one hand, the Cintiq has a three-inch larger display, touch capabilities, on-screen buttons, a rotating stand, and grips/buttons built into the screen. It is also a true 10-bit display, which means it can operate as both a pen tablet and a reference monitor.
On the other hand, with Xencelabs you have a much lighter and smaller footprint display, a much brighter display, no fans which means no noise, fully customizable and positionable quick keys, full Pantone support, and an “open source” design that will likely have a lot of 3D printable accessories available at home in the coming months. Oh, and perhaps most importantly, it’s half the price of Wacom’s Cintiq.
The Xencelabs 24-inch Studio Pen Display just felt fantastic to me. Every feature is designed with the artist in mind and it simply “just worked.” As a creative focusing solely on photography and retouching, I honestly don’t think there is a better pen display tablet on the market, especially at the $1,899 price.
Are There Alternatives?
The list of new competitors in the pen display tablet options has been growing in the last few years. On the professional side of things, we obviously have the $3,500 Wacom Cintiq Pro 27 and optional $470 adjustable stand which is great, but in my humble opinion, better suited for those who absolutely need a reference display or are more along the lines of a graphic artist doing design, illustration, animation, and video work than just photo retouching.
There are also other sizes of the older Wacom Cintiq Pro available, which includes the $1,599 16-inch, the $2,699 24-inch, and the to recently discontinued $3,147 32-inch models.
On the more prosumer level we have the $899 XP-Pen Artist 24 Pro which is only a 2K display but is also significantly cheaper. If you’re still looking to go cheaper but get a 4K display, the $829 Kamvas Pro 16 (4K) is another potential option.
The latest 12.9-inch iPad Pro is a strong contender for those who want accuracy in their pen work, but the flexibility of being able to edit on the move. There is also the 1080p Studio VK2200 Pro from Veikk for $385, and finally, the $2,799 Microsoft Surface Pro is a viable option for users who want a windows based all-in-one experience that is like the iPad.
Should You Buy It?
Yes. It is less than half of the price of Wacom’s latest Cintiq while still offering an incredibly responsive, professional, color-accurate, and vibrant product that is overall better suited for photographers and photo retouchers.